
c vscode 高亮_Chisel入门之路(一)之在windows下vscode搭建_部署Scala2.13.3开发环境
# STEP1:安装Scala官方插件Scala Syntax (官方插件,有个语法高亮功能也挺香的) STEP2:创建hello_world.scala文件STEP3:编辑hello_world.scala文件object HelloWorld{def main(args: Array[String]): Unit = {println("Hel...
·
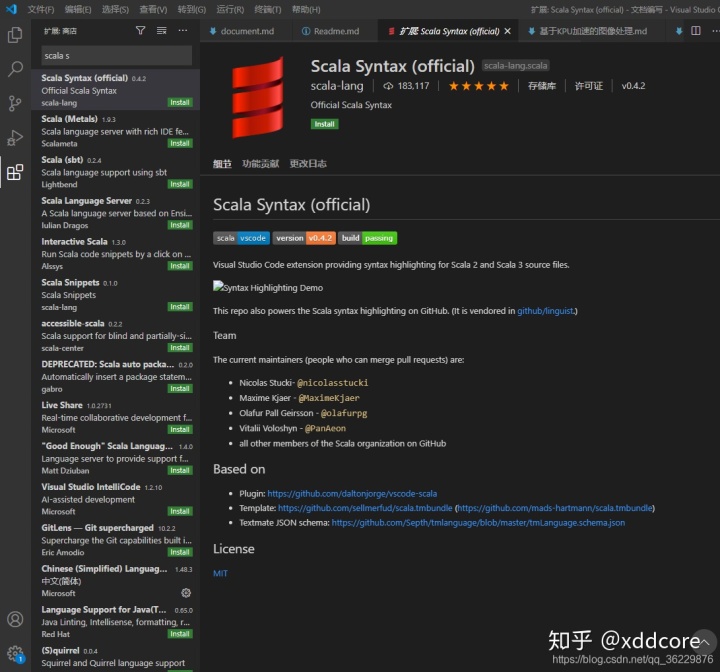
# STEP1:安装Scala官方插件Scala Syntax (官方插件,有个语法高亮功能也挺香的)
STEP2:创建hello_world.scala文件

STEP3:编辑hello_world.scala文件
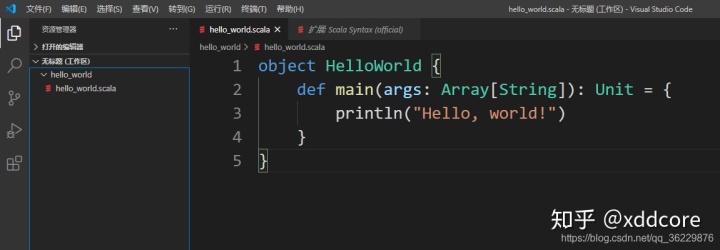
object HelloWorld
{
    def main(args: Array[String]): Unit = {
            println("Hello, world!")
            }
}
STEP4:确认java的版本(1.8或者11.)

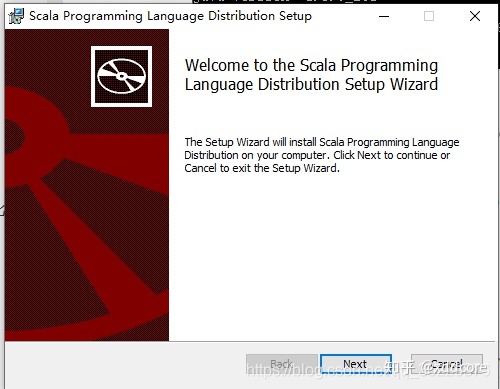
STEP5:下载Scala Windows版本的二进制文件
地址:https://downloads.lightbend.com/scala/2.13.3/scala-2.13.3.msi(没高速线路的话,会比较慢),csdn下载地址:https://download.csdn.net/download/qq_36229876/12779658

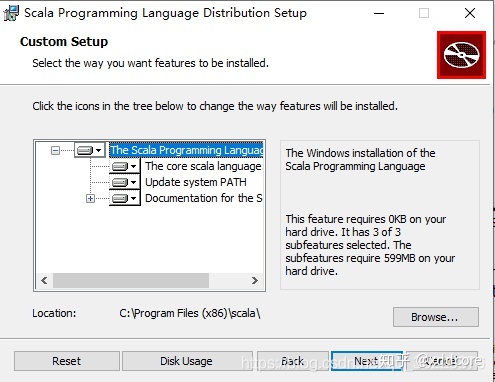
STEP6:双击进行安装,并一路next
记住这个安装路径,等下配置环境变量需要用
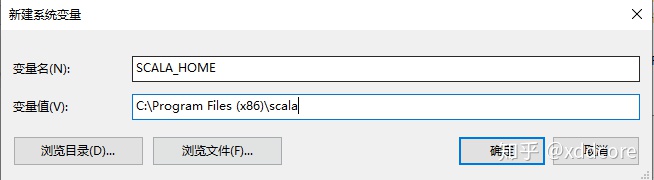
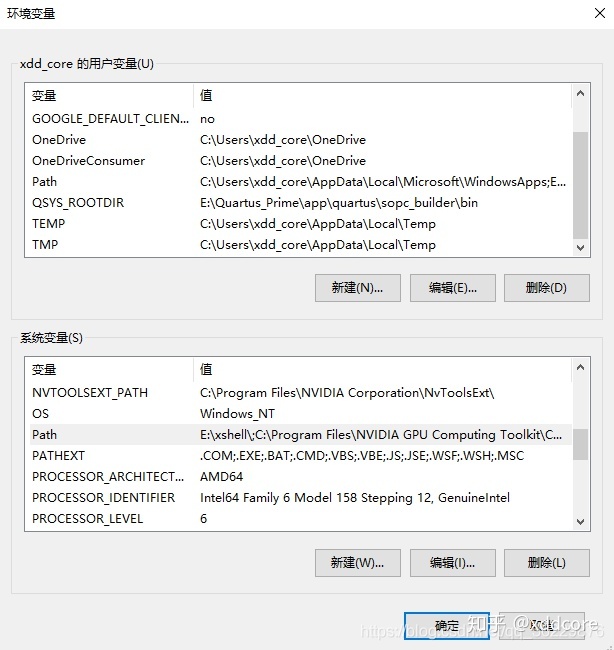
STEP7:配置环境变量

1.刚刚让记的那个安装路径
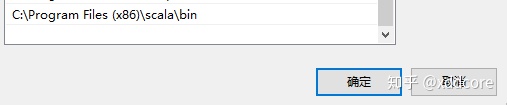
2.PATH变量下再新增值
至此安装完毕。
STEP8:交互模式测试一下
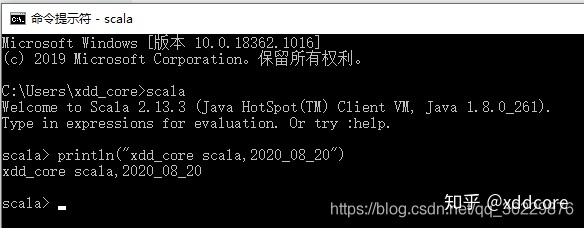
至此 Scala开发环境搭建成功,以下的STEP9为可选操作
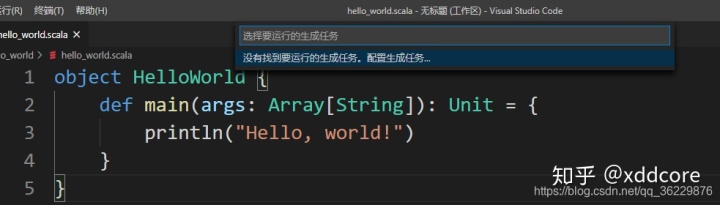
STEP9:实现vscode和scala编译器的无缝衔接
- 按下ctrl+shift+B,配置生成任务
- 编写运行生成任务.json
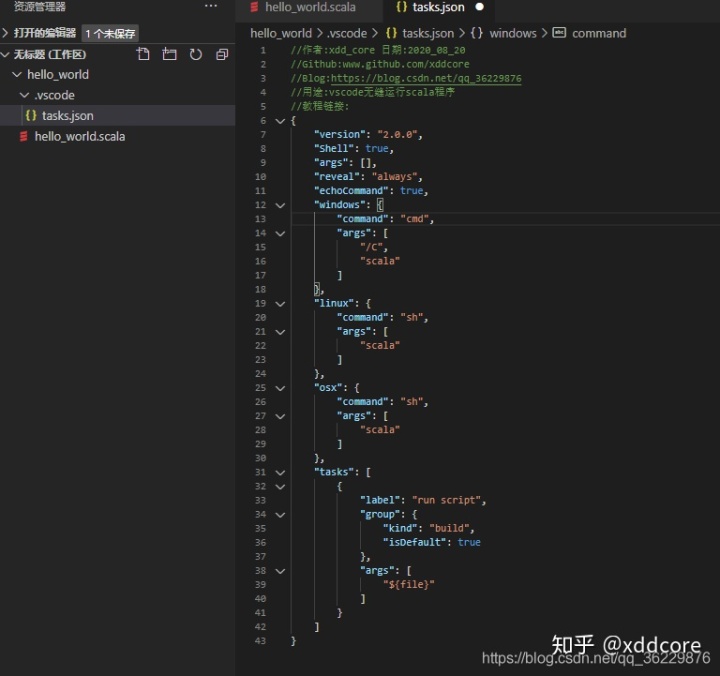
//作者:xdd_core 日期:2020_08_20
//Github:www.github.com/xddcore
//Blog:https://blog.csdn.net/qq_36229876
//用途:vscode无缝运行scala程序
//教程链接:https://blog.csdn.net/qq_36229876/article/details/108302815
{
    "version": "2.0.0",
    "Shell": true,
    "args": [],
    "reveal": "always",
    "echoCommand": true,
    "windows": {
        "command": "cmd",
        "args": [
            "/C",
            "scala"
        ]
    },
    "linux": {
        "command": "sh",
        "args": [
            "scala"
        ]
    },
    "osx": {
        "command": "sh",
        "args": [
            "scala"
        ]
    },
    "tasks": [
        {
            "label": "run script",
            "group": {
                "kind": "build",
                "isDefault": true
            },
            "args": [
                "${file}"
            ]
        }
    ]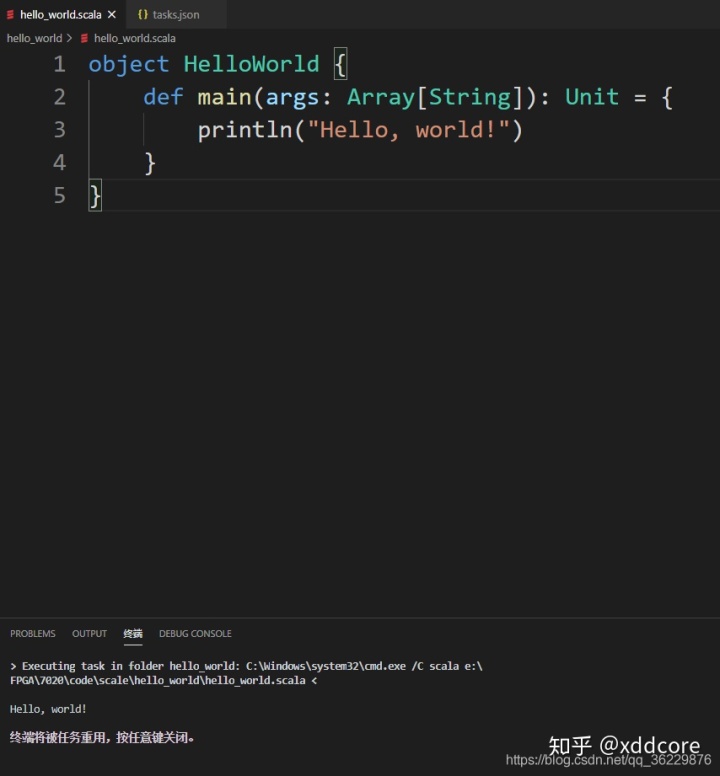
}- ctrl+shift+b进行测试

汇聚全球AI编程工具,助力开发者即刻编程。
更多推荐


 0
0 0
0- 0


 已为社区贡献1条内容

所有评论(0)