
Codex使用Cli-Proxy-API的oAuth反代
·
我这里使用的是codex oAuth的反代,win11环境。
使用的前提必须是有Plus号池,才能用codex oAuth的反代。
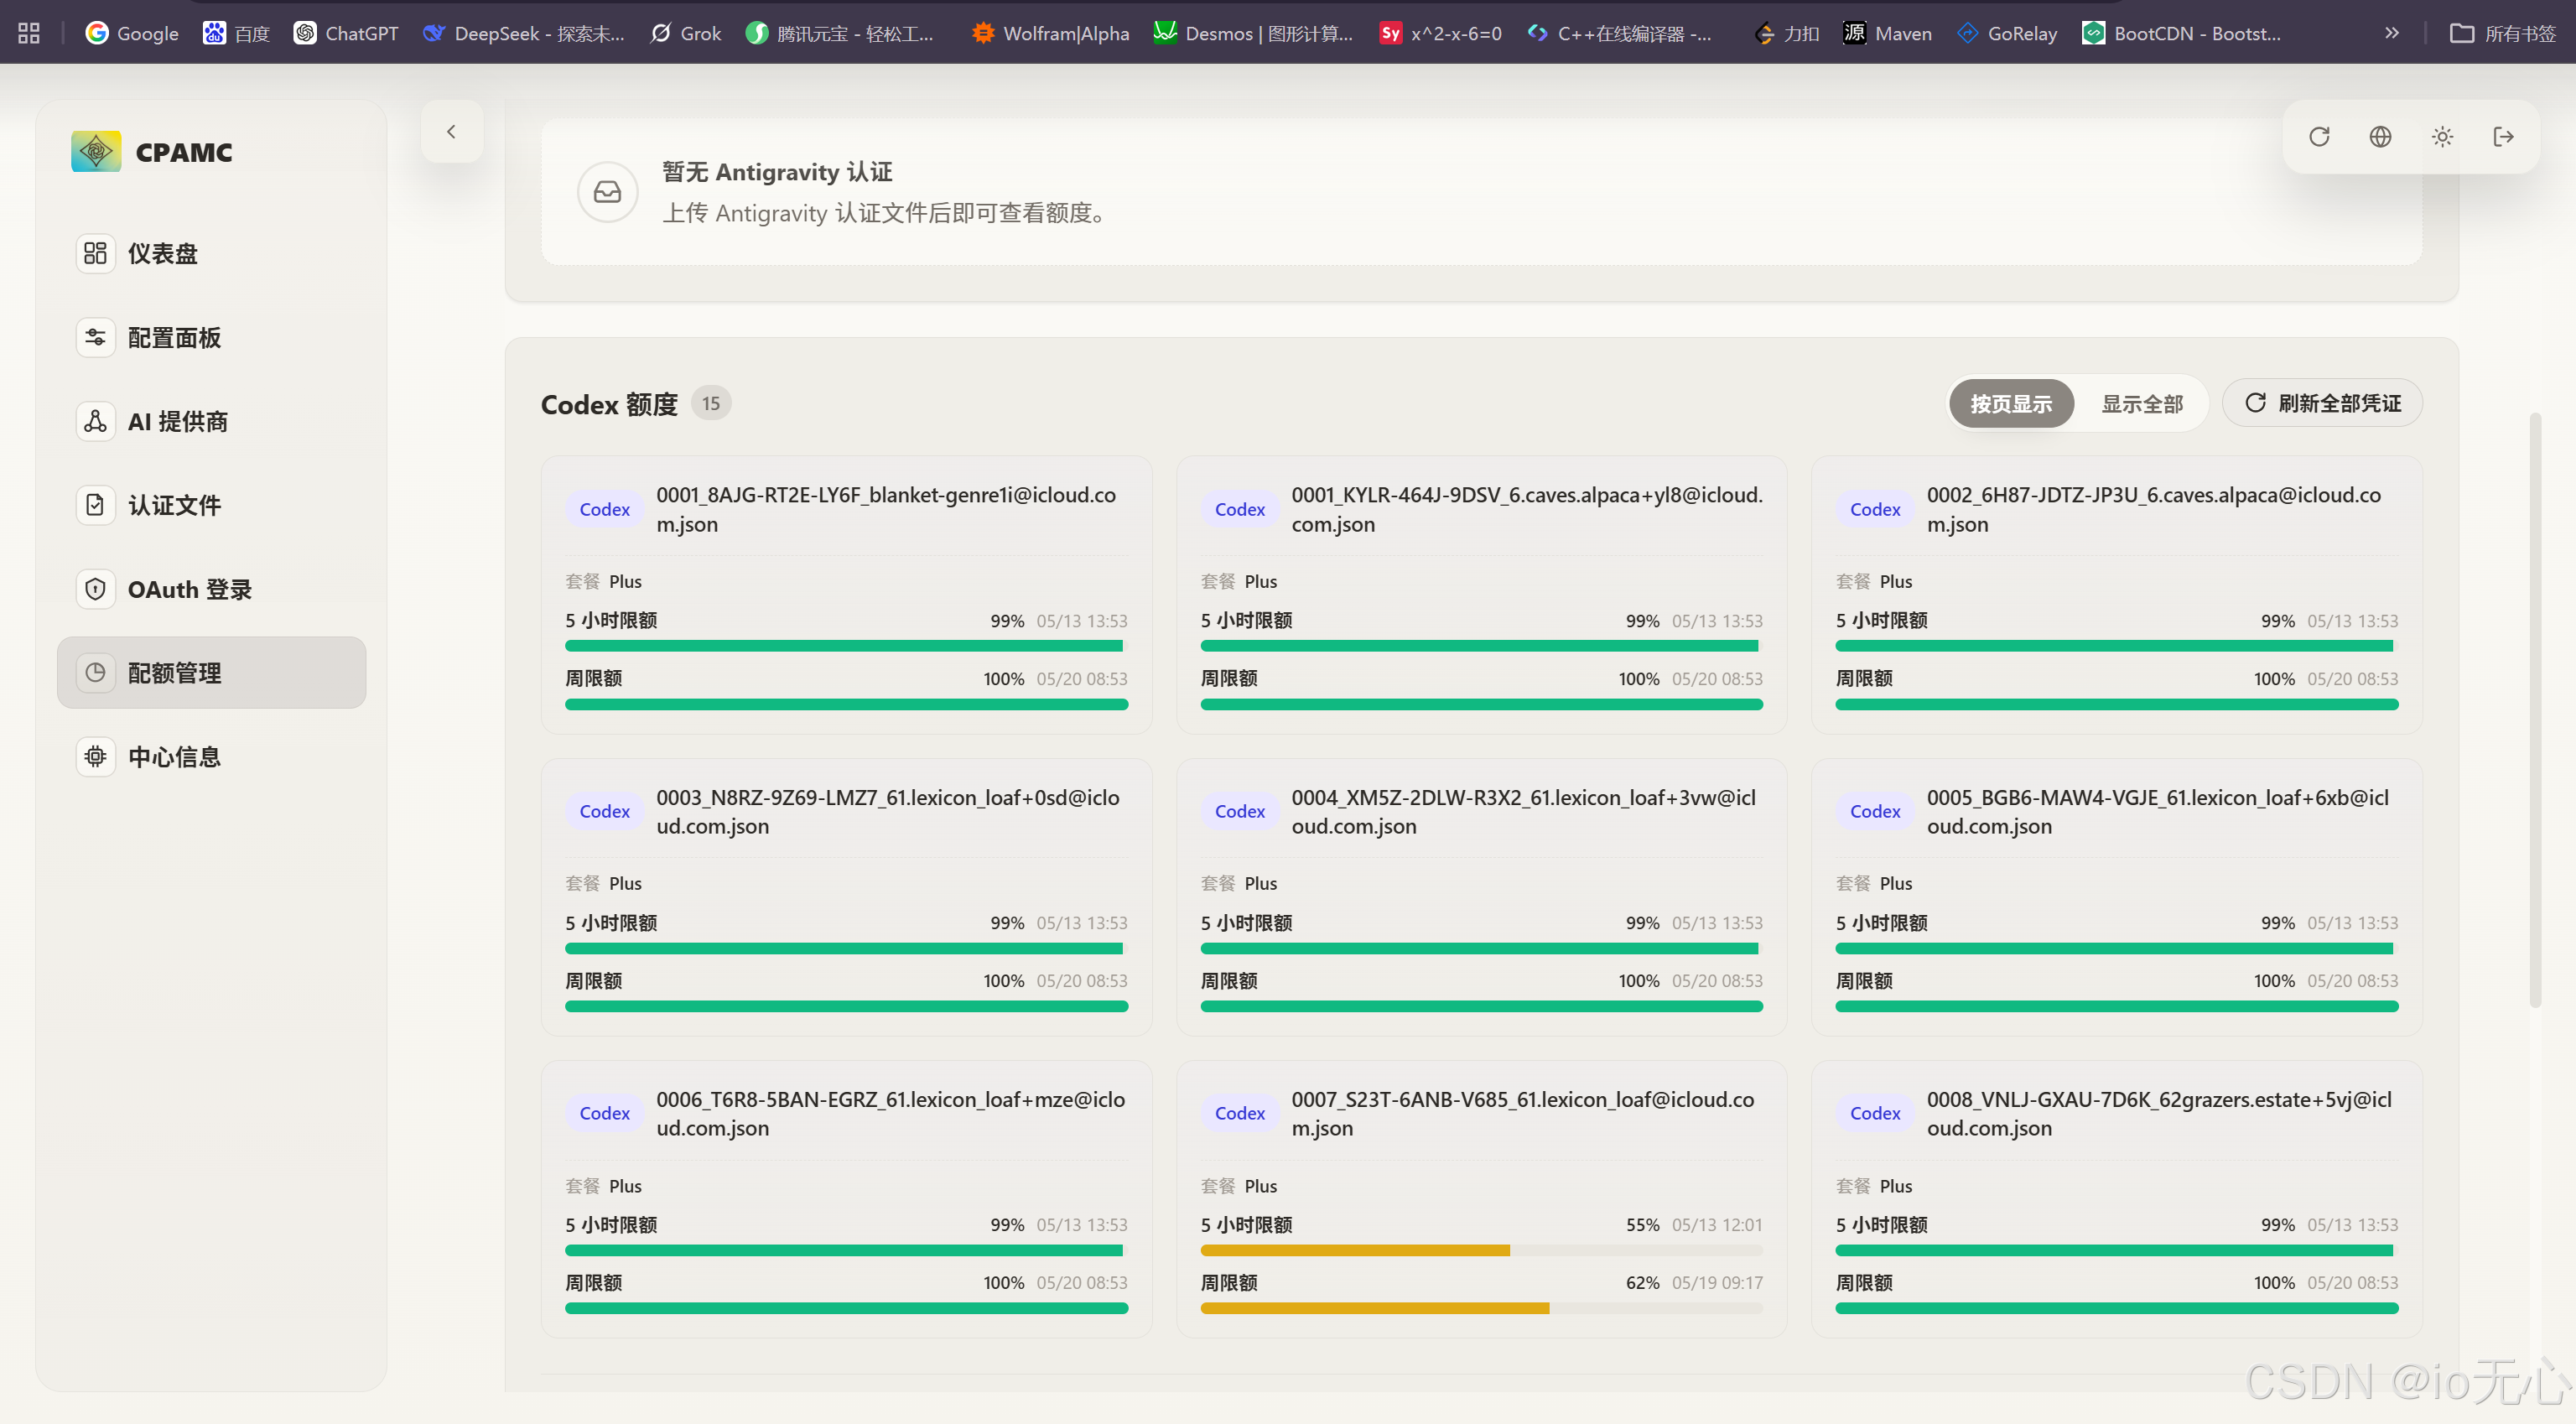
api管理面板为:https://github.com/router-for-me/Cli-Proxy-API-Management-Center
1、进入:C:\Users\你的用户名\.codex,把config.toml进行备份,然后把config.toml替换为下面的内容,注意IP和端口要配置成你的,43.160.220.191:8317,如果你用的Cli-Proxy-Api-Management-Center的话,默认端口就写8317。
model = "gpt-5.5"
model_reasoning_effort = "medium"
openai_base_url = "http://43.160.220.191:8317/v1"

[features]
multi_agent = true

[windows]
sandbox = "elevated"

[marketplaces.openai-bundled]
last_updated = "2026-05-13T00:26:03Z"
source_type = "local"
source = '\\?\C:\Users\xin\.codex\.tmp\bundled-marketplaces\openai-bundled'

[marketplaces.openai-primary-runtime]
last_updated = "2026-05-13T00:27:31Z"
source_type = "local"
source = '\\?\C:\Users\xin\.cache\codex-runtimes\codex-primary-runtime\plugins\openai-primary-runtime'

[plugins."documents@openai-primary-runtime"]
enabled = true

[plugins."spreadsheets@openai-primary-runtime"]
enabled = true

[plugins."presentations@openai-primary-runtime"]
enabled = true

[plugins."chrome@openai-bundled"]
enabled = true

[plugins."browser-use@openai-bundled"]
enabled = true

[projects.'d:\xin\documents\chatgptcodex']
trust_level = "trusted"

[projects.'d:\users\xin\desktop\学前教育作业']
trust_level = "trusted"

[projects.'d:\pythonproset\psai']
trust_level = "trusted"

[projects.'d:\pythonproset\psai-image']
trust_level = "trusted"

[projects.'d:\pythonproset\codex-proxy']
trust_level = "trusted"

[projects.'d:\users\xin\desktop\oauth']
trust_level = "trusted"2、用管理员身份打开PowerShell运行,下面的代码,密钥位置如图:
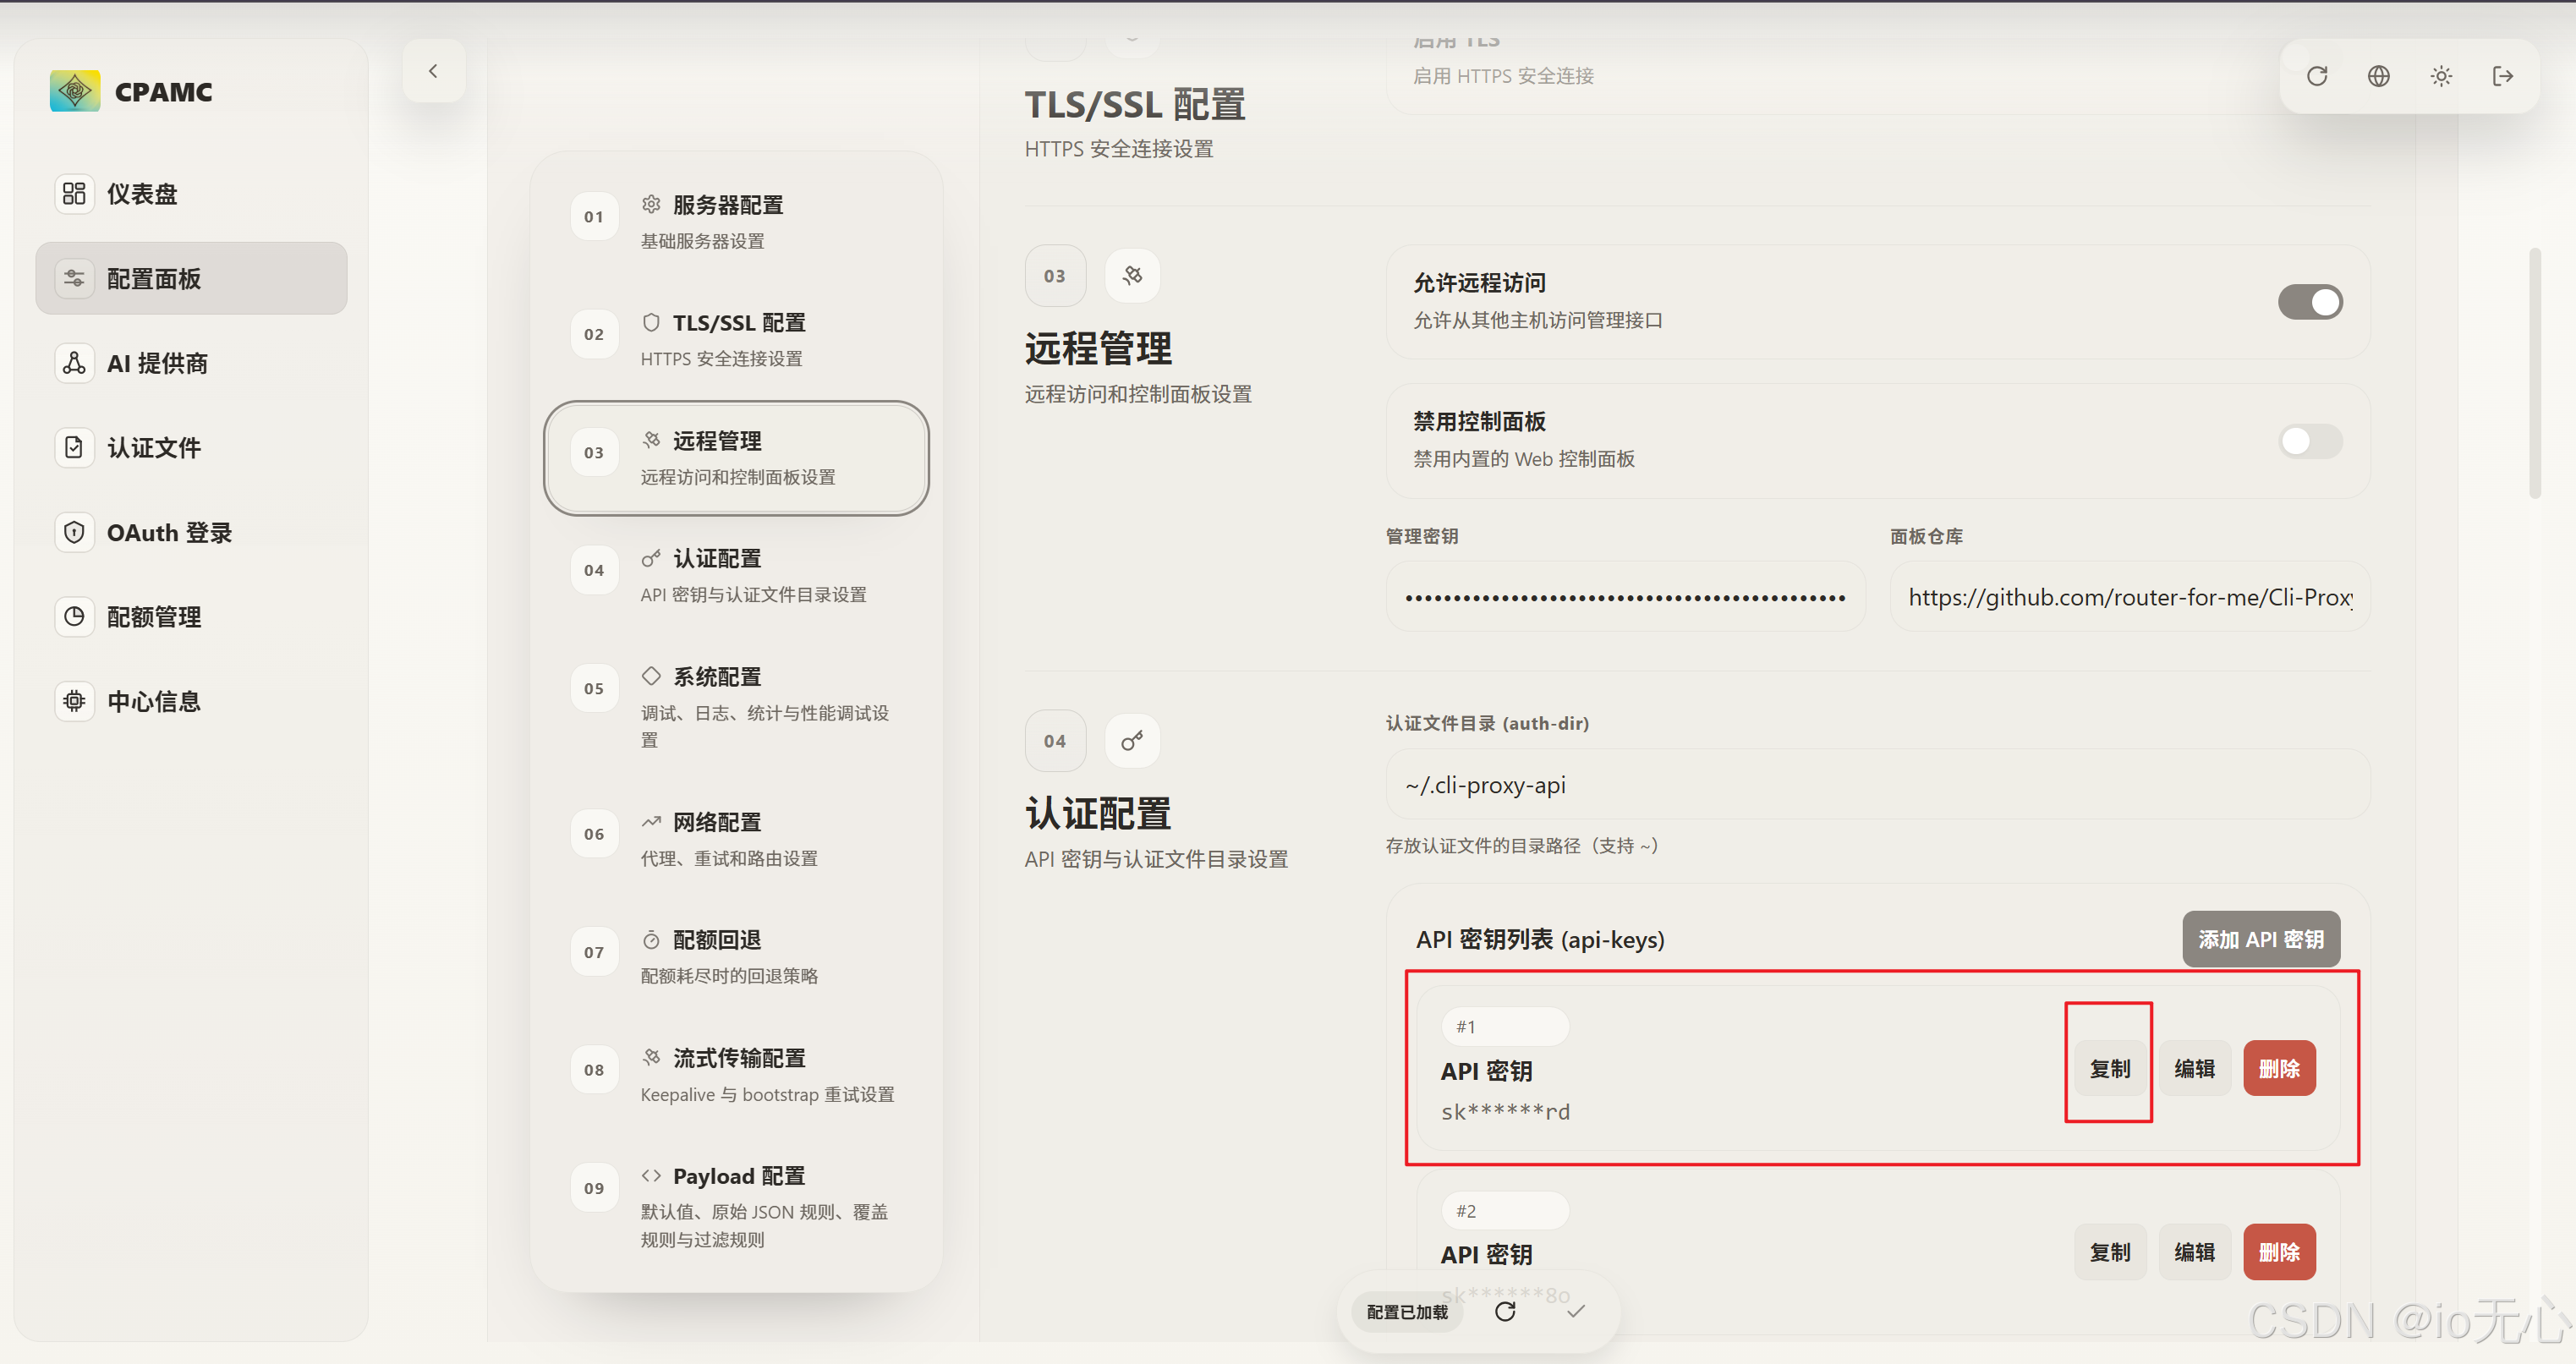
setx OPENAI_API_KEY "你的CLIProxyAPI密钥"3、退出本地Codex,并把C:\Users\xin\.codex下的auth.json给删掉。
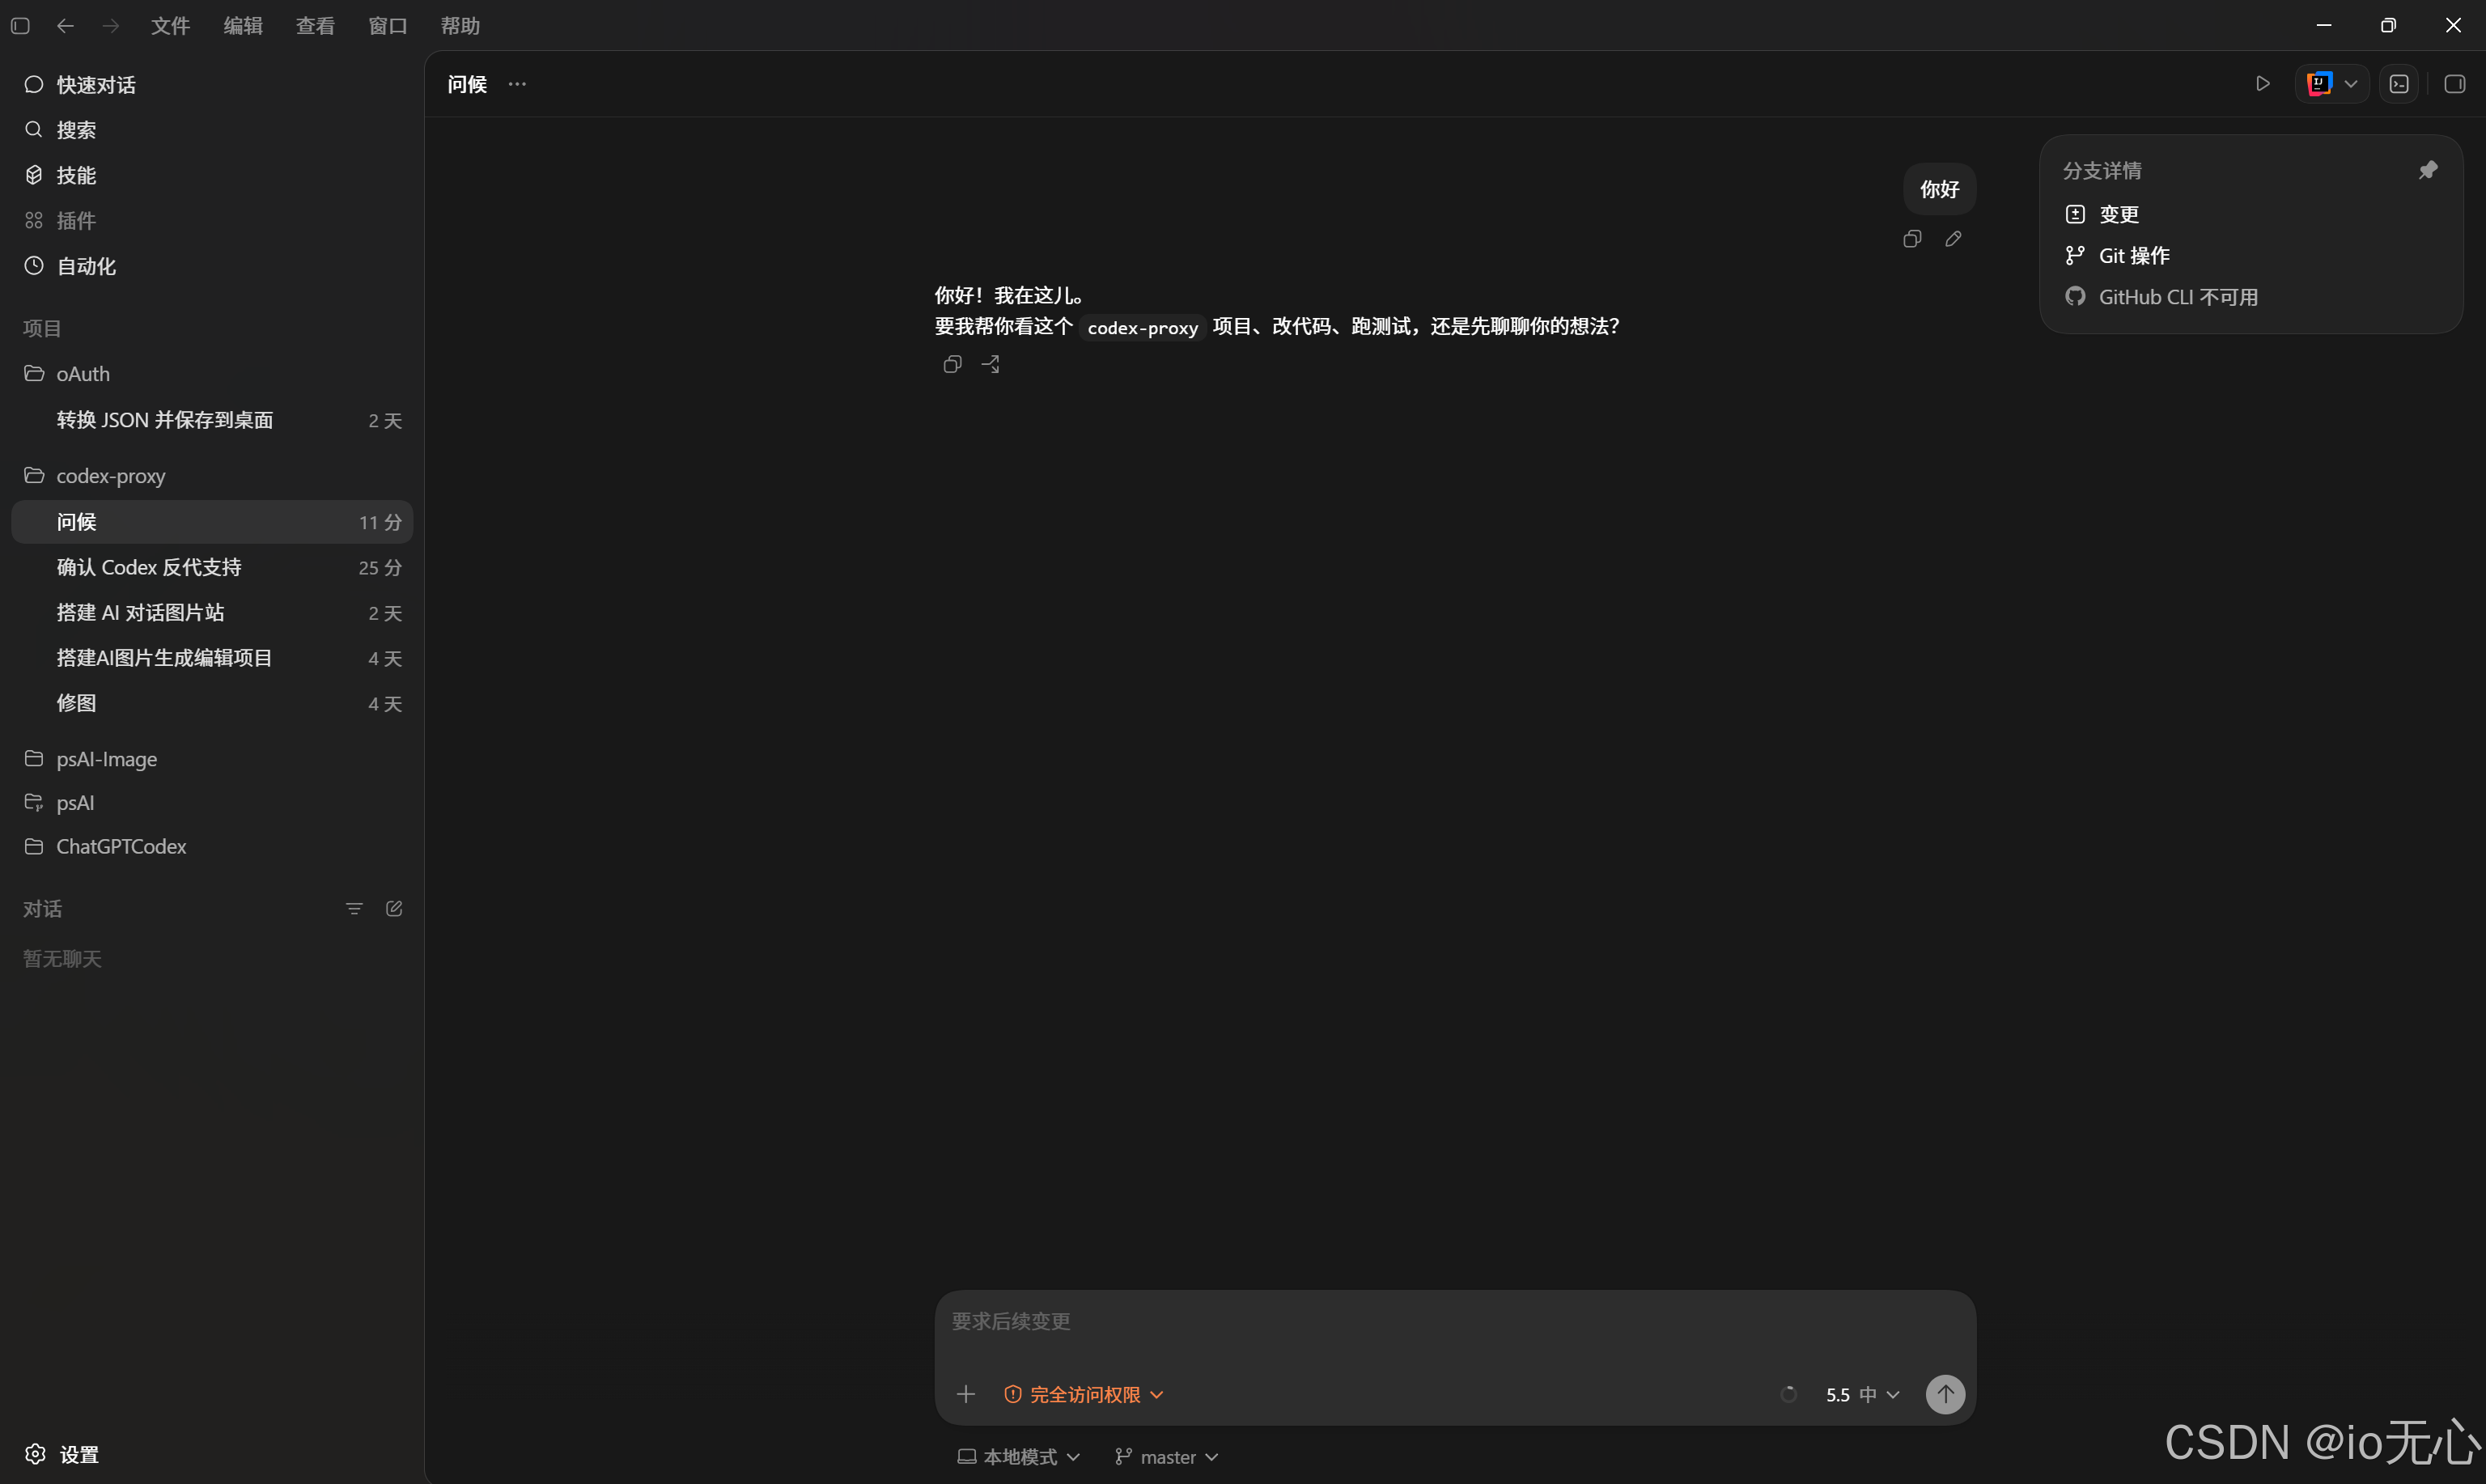
4、重新打开Codex会发现Codex已经是退出登录状态了,在登录界面选择使用key,然后把你的CliProxyAPI密钥填写进去选择登录就可以了(这里的秘钥与“setx OPENAI_API_KEY "你的CLIProxyAPI密钥”“)一样。
然后你就可以快乐的体验Codex啦🤣。

汇聚全球AI编程工具,助力开发者即刻编程。
更多推荐

 1
1 0
0- 0


 已为社区贡献1条内容

所有评论(0)