
Coza 本地搭建 + Ollama支持
·
前言
我这边是 window11 系统,安装 coza 系统 需要一起安装很多 配套周边软件。 所以这边 选取 docker 的方式安装。docker 按照的好处是 通过配置文件 可以一件帮助我们把周边软件一起安装了。不必自己手动配置。 然后 wls2 我这边之前就已经安装好了。wls2 云运行 在 windos 上的 ubuntu 系统。Ubuntu 运行 跑 docker 更加的方便
windos11 wls2的安装:
我这是已经安装好了。所以无法展示操作。同学们自己解决
docker 的安装:
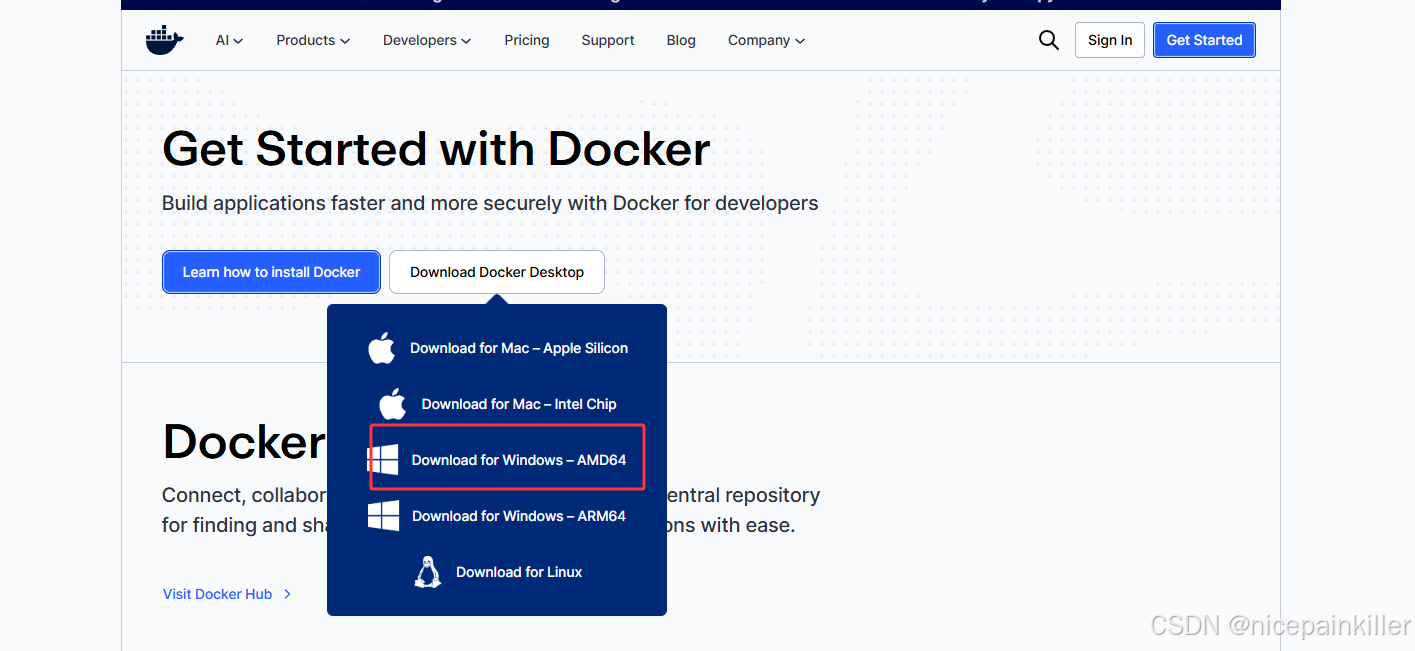
docker 的安装,https://www.docker.com/get-started/
我们选择 windos 64 位,
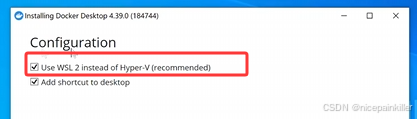
安装过程中我们有一个需要注意的地方:
这里要选择 使用 WSL2 ,这样才能使用我们安装的 WSL2. 还有就是 因为 docker 后面要拉取 配套软件的镜像 请确保你的网络能访问 外部网络
coze 安装:
获取 Coza 官方文件:https://github.com/coze-dev/coze-studio。 解压之后 主要有两个文件需要修改:
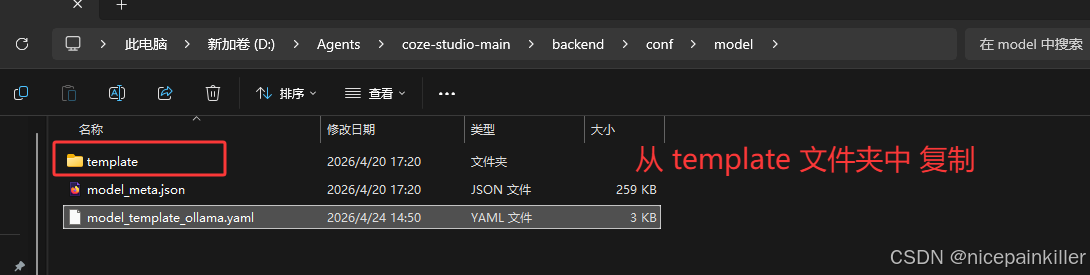
- 大模型的链接:从 template 文件夹中复制一个 model_template_ollama.yaml 到当前 文件夹中, 也就是配置 Ollama 本地模型 还有对应的模型
id: 68010
name: Ollama
icon_uri: default_icon/ollama.png
icon_url: ""
description:
    zh: ollama 模型简介
    en: ollama model description
default_parameters:
    - name: temperature
      label:
        zh: 生成随机性
        en: Temperature
      desc:
        zh: '- **temperature**: 调高温度会使得模型的输出更多样性和创新性,反之,降低温度会使输出内容更加遵循指令要求但减少多样性。建议不要与“Top p”同时调整。'
        en: '**Temperature**:\n\n- When you increase this value, the model outputs more diverse and innovative content; when you decrease it, the model outputs less diverse content that strictly follows the given instructions.\n- It is recommended not to adjust this value with \"Top p\" at the same time.'
      type: float
      min: "0"
      max: "1"
      default_val:
        balance: "0.8"
        creative: "1"
        default_val: "1.0"
        precise: "0.3"
      precision: 1
      options: []
      style:
        widget: slider
        label:
            zh: 生成多样性
            en: Generation diversity
    - name: max_tokens
      label:
        zh: 最大回复长度
        en: Response max length
      desc:
        zh: 控制模型输出的Tokens 长度上限。通常 100 Tokens 约等于 150 个中文汉字。
        en: You can specify the maximum length of the tokens output through this value. Typically, 100 tokens are approximately equal to 150 Chinese characters.
      type: int
      min: "1"
      max: "4096"
      default_val:
        default_val: "4096"
      options: []
      style:
        widget: slider
        label:
            zh: 输入及输出设置
            en: Input and output settings
meta:
    protocol: ollama
    capability:
        function_call: true
        input_modal:
            - text
        input_tokens: 128000
        json_mode: false
        max_tokens: 128000
        output_modal:
            - text
        output_tokens: 16384
        prefix_caching: false
        reasoning: false
        prefill_response: false
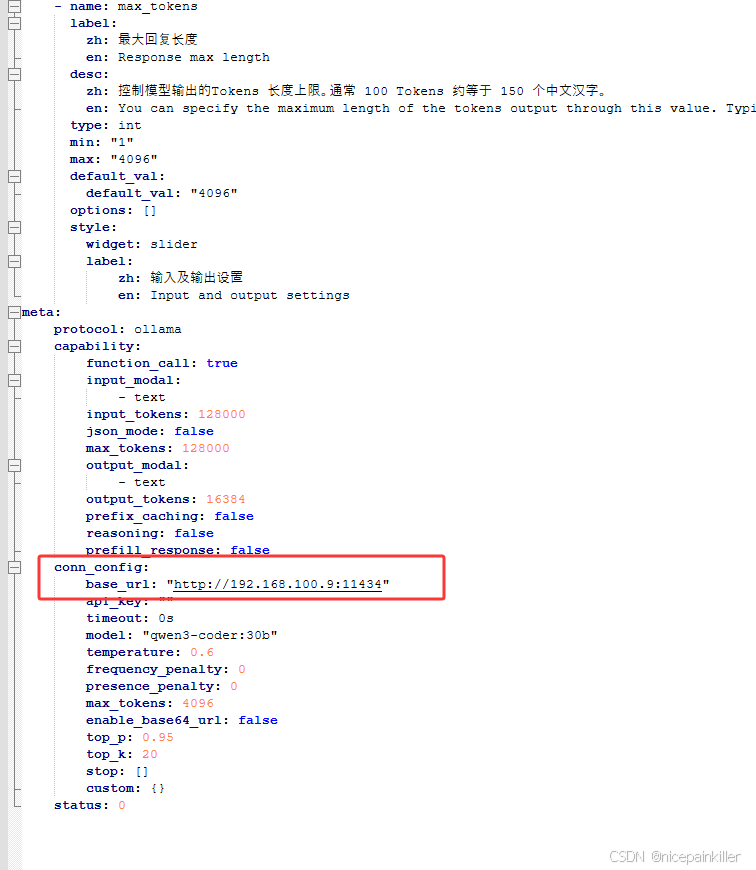
    conn_config:
        base_url: "http://192.168.100.9:11434"
        api_key: ""
        timeout: 0s
        model: "qwen3-coder:30b"
        temperature: 0.6
        frequency_penalty: 0
        presence_penalty: 0
        max_tokens: 4096
        enable_base64_url: false
        top_p: 0.95
        top_k: 20
        stop: []
        custom: {}
    status: 0
其中Id 很关键,如果你有多个模型的支持,务必要保证ID的唯一
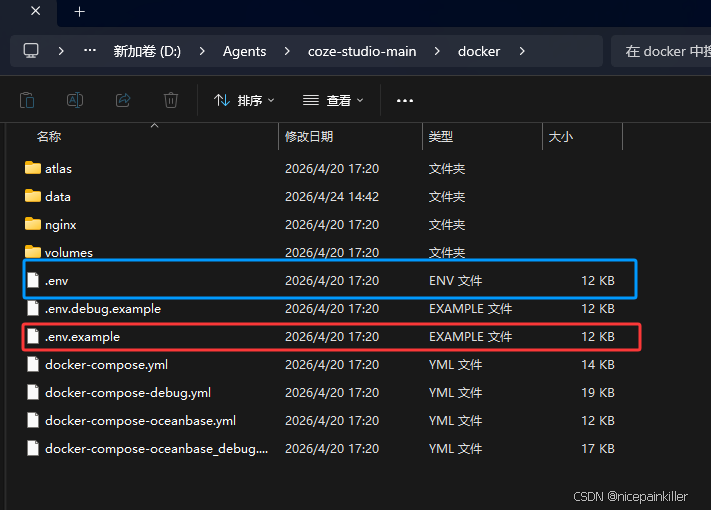
- docker 配置文件的修改:我们复制一份 .env.example 重命名为 .env 目前我们展示不需要修改。
Docker 拉取镜像 启动 coze:
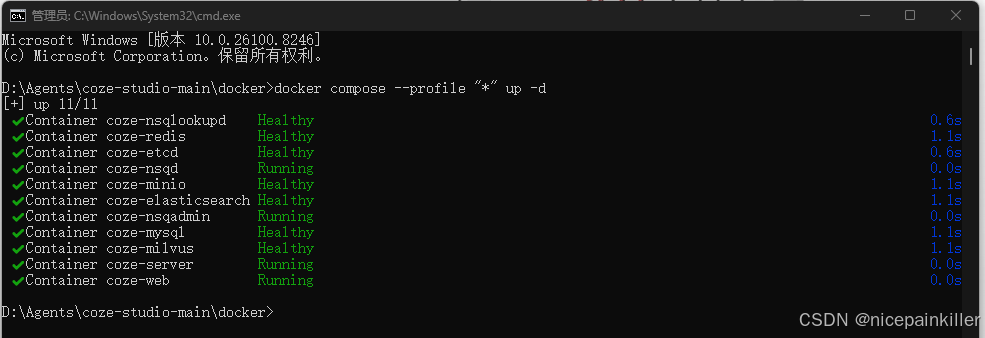
进入源码的 docker 目录: cmd 运行
docker compose --profile "*" up -d
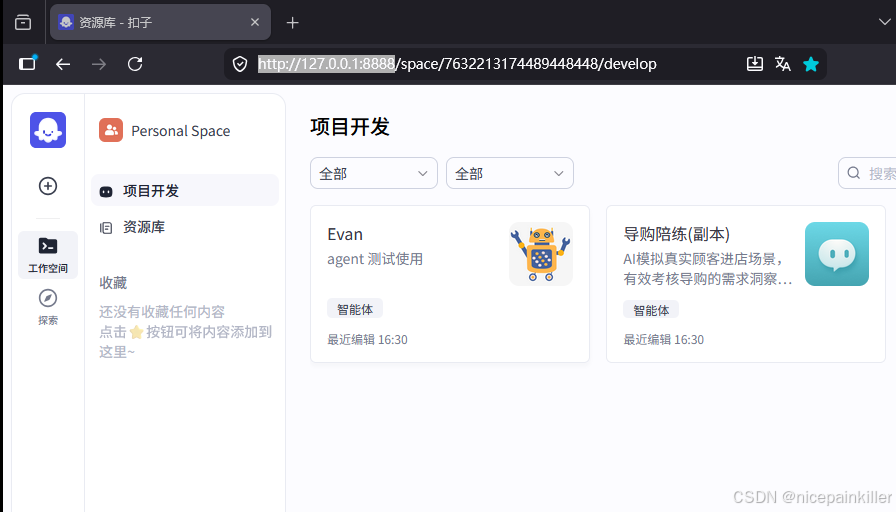
Coze 本地访问:http://127.0.0.1:8888
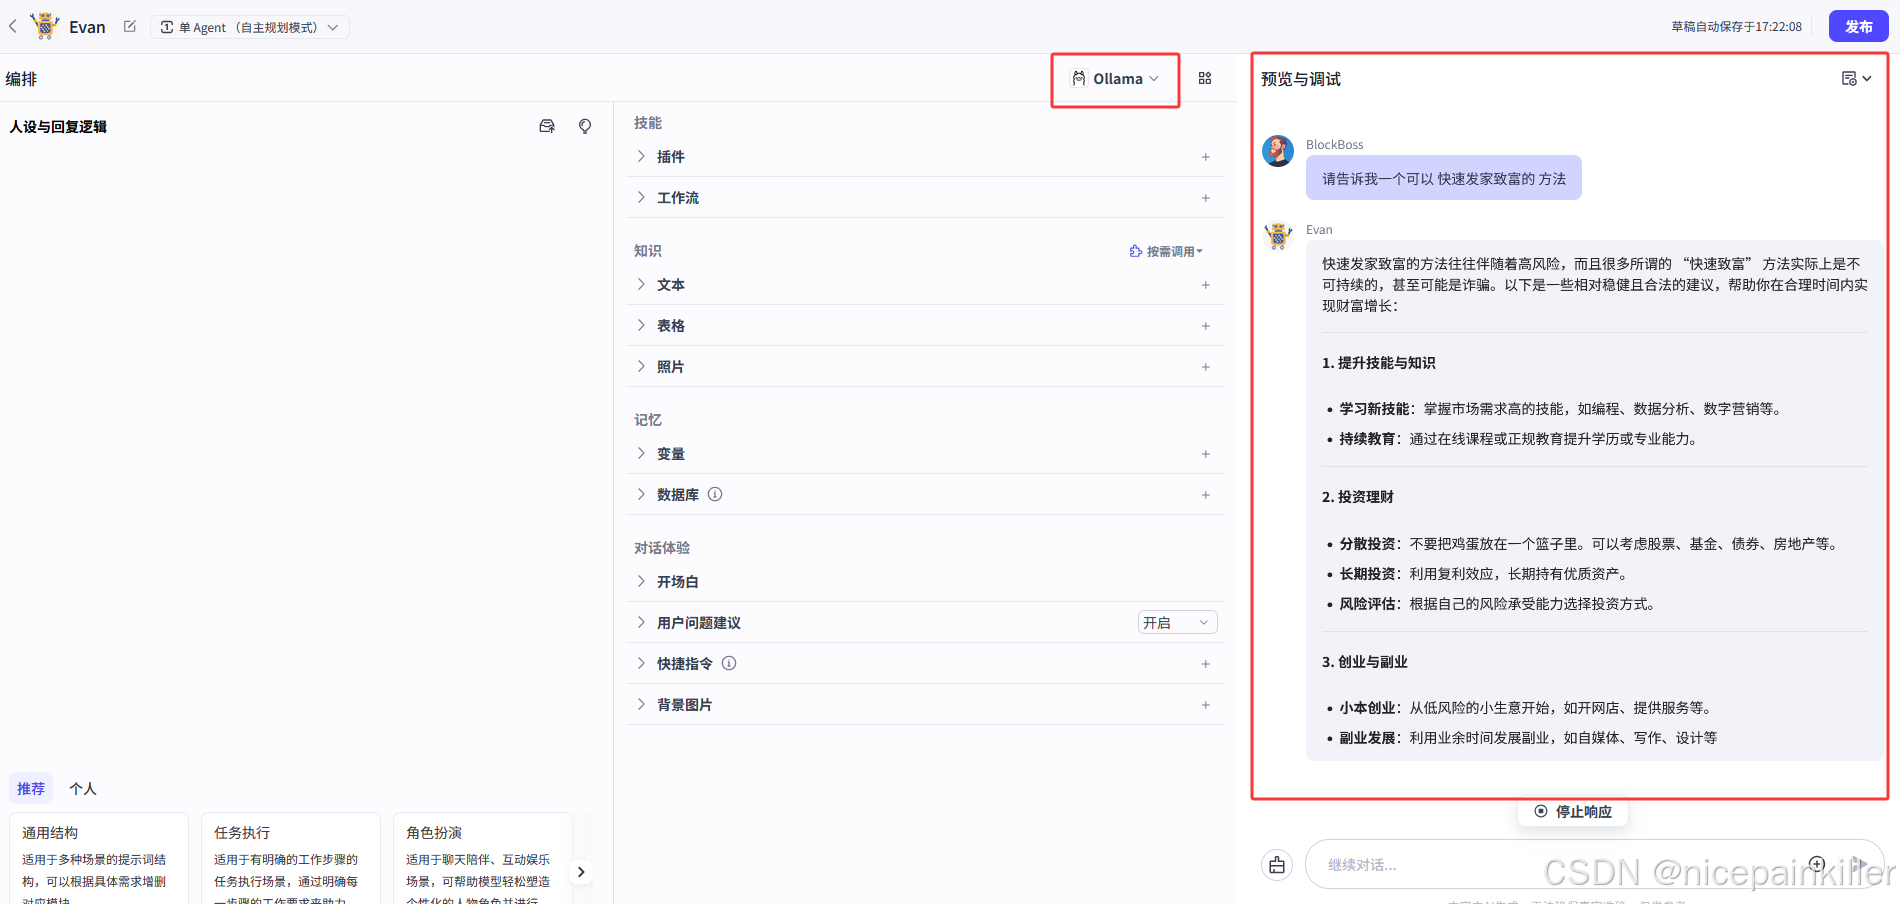
我们创建一个 智能体,通过对话测试 本地 Ollama 已经可以链接:

汇聚全球AI编程工具,助力开发者即刻编程。
更多推荐
 5
5 0
0- 0


 已为社区贡献3条内容

所有评论(0)