
llamafactory微调和部署qwen2.5模型含结果
·
文章目录
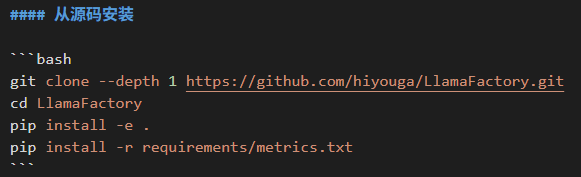
环境配置见llamafactory官方文档。我直接按照这三个步骤下载的。后面有需要再下,目前遇到vllm需要另外下载。
一、模型下载
使用modelscope进行下载,cache_dir是希望保存的目录。
from modelscope import snapshot_download

# 指定保存目录
model_dir = snapshot_download(
    'Qwen/Qwen2.5-7B-Instruct',
    cache_dir="/root/autodl-tmp/model"   # 比如 "/mnt/models"
)

二、模型部署
2.1 huggingface 推理框架
model_name_or_path: /root/autodl-tmp/model/Qwen/Qwen2___5-7B-Instruct
template: qwen
infer_backend: huggingface  # choices: [huggingface, vllm, sglang]
trust_remote_code: true
2.2 vllm推理框架
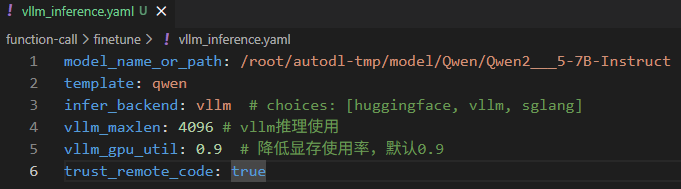
1.写yaml文件:
model_name_or_path: /root/autodl-tmp/model/Qwen/Qwen2___5-7B-Instruct
template: qwen
infer_backend: vllm  # choices: [huggingface, vllm, sglang]
vllm_maxlen: 4096 # vllm推理使用
vllm_gpu_util: 0.9  # 降低显存使用率,默认0.9
trust_remote_code: true
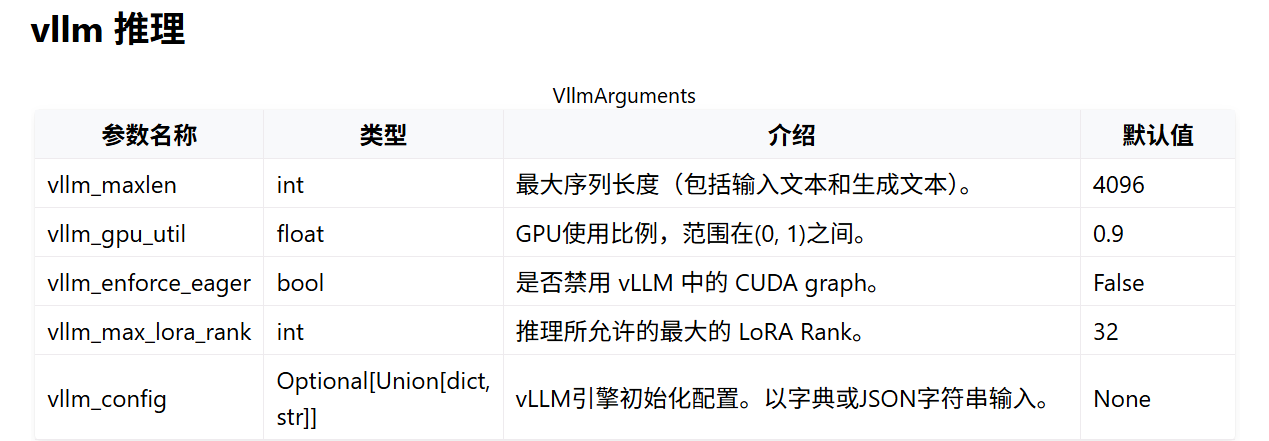
具体参数见:
https://llamafactory.readthedocs.io/zh-cn/latest/advanced/arguments.html
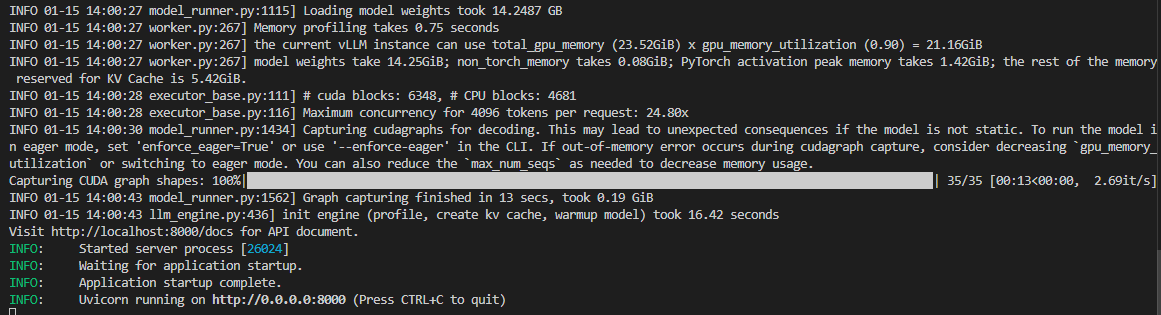
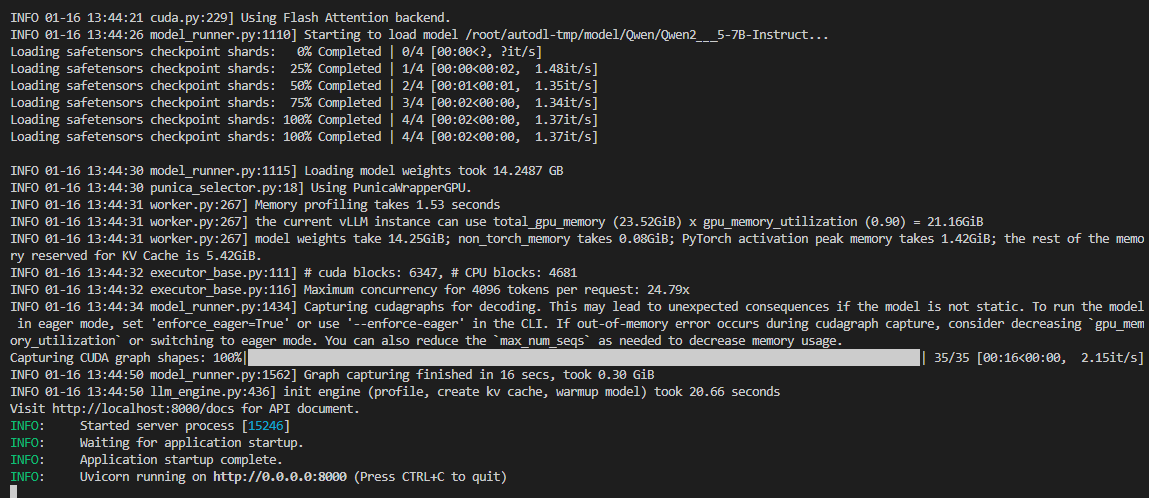
2.终端运行:
llamafactory-cli api vllm_inference.yaml

结果:
3.编写python代码运行
因为我使用的是以api风格部署的模型,需要使用openai的风格进行推理。具体见:
https://llamafactory.readthedocs.io/zh-cn/latest/getting_started/inference.html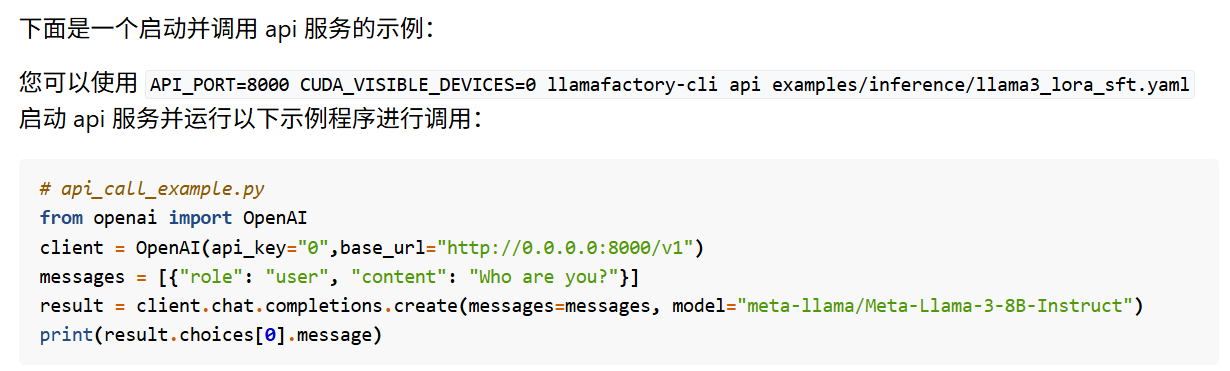
三、模型微调
3.1 准备数据
这部分参照llamafactory的官方介绍。见:https://llamafactory.readthedocs.io/zh-cn/latest/getting_started/data_preparation.html
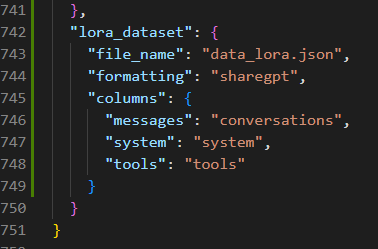
将数据放在data文件夹下,同时对dataset_info.json添加新增数据集的信息。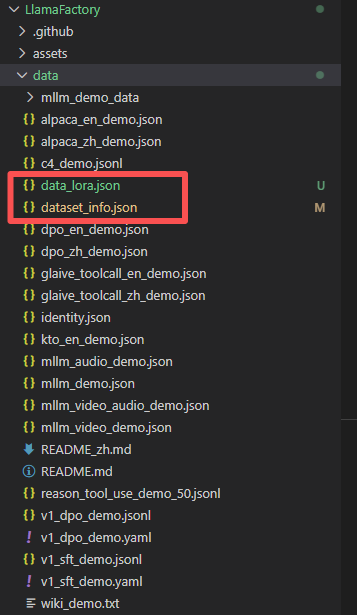
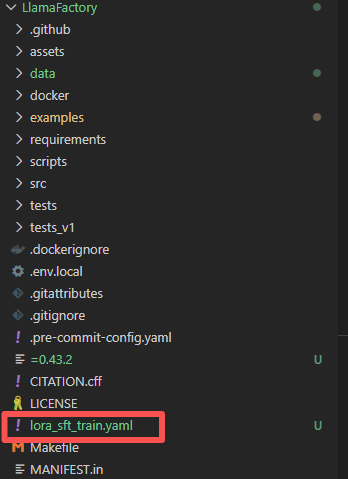
3.2 写yaml文件
将yaml文件放在Llamafactory的总文件目录下,在Llamafactory目录下运行这个yaml文件。因为数据集是从当前目录下查找data文件,放在别的地方会报错找不到data文件夹。
### model
model_name_or_path: /root/autodl-tmp/model/Qwen/Qwen2___5-7B-Instruct
trust_remote_code: true

### method
stage: sft
do_train: true
finetuning_type: lora
lora_rank: 8
lora_target: all

### dataset
dataset: lora_dataset # video: mllm_video_demo
template: qwen
cutoff_len: 3000
max_samples: 2000
overwrite_cache: true
preprocessing_num_workers: 16
dataloader_num_workers: 4

### output
output_dir: /root/autodl-tmp/model/lora/0115_rank8
logging_steps: 10
save_steps: 500
plot_loss: true
overwrite_output_dir: true
save_only_model: false
report_to: none  # choices: [none, wandb, tensorboard, swanlab, mlflow]

### train
per_device_train_batch_size: 1
gradient_accumulation_steps: 8
learning_rate: 1.0e-4
num_train_epochs: 3.0
lr_scheduler_type: cosine
warmup_ratio: 0.1
bf16: true
ddp_timeout: 180000000
resume_from_checkpoint: null

### eval
# val_size: 0.1
# per_device_eval_batch_size: 1
# eval_strategy: steps
# eval_steps: 500
参数见
https://llamafactory.readthedocs.io/zh-cn/latest/advanced/arguments.html
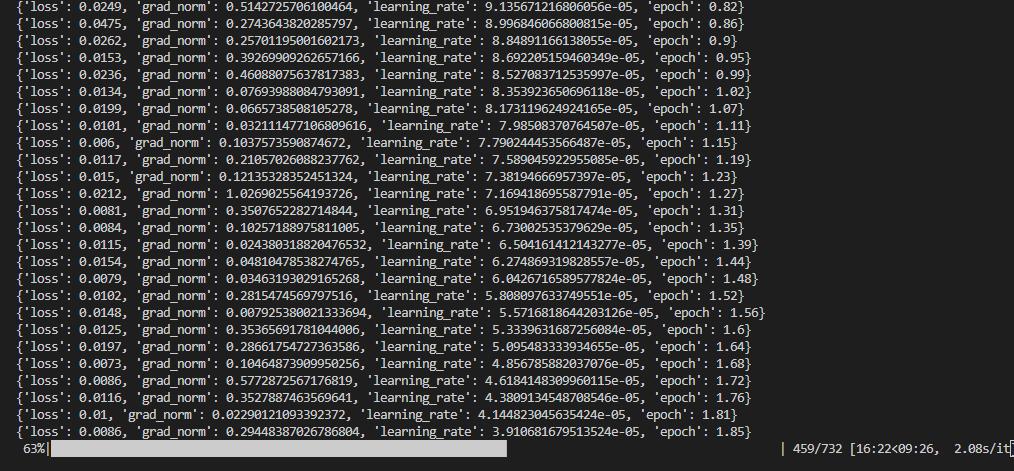
3.3 终端运行
llamafactory-cli train lora_sft_train.yaml

3.4 合并模型
1.写yaml文件
### model
model_name_or_path: /root/autodl-tmp/model/Qwen/Qwen2___5-7B-Instruct
adapter_name_or_path: /root/autodl-tmp/model/lora/0115_rank8
template: qwen
trust_remote_code: true

### export
export_dir: /root/autodl-tmp/model/merge/lora0115_rank8
export_size: 5
export_device: auto  # choices: [cpu, auto]
export_legacy_format: false
2.终端运行
llamafactory-cli export lora_sft_merge.yaml
3.5 推理
1.先合并模型
在3.4输出合并后的模型之后,使用3.4合并完的模型进行部署推理。
model_name_or_path: /root/autodl-tmp/model/merge/lora0115_rank8
template: qwen
infer_backend: vllm  # choices: [huggingface, vllm, sglang]
vllm_maxlen: 4096 # vllm推理使用
vllm_gpu_util: 0.9  # 降低显存使用率,默认0.9
trust_remote_code: true
2.不先合并模型(不是说不用合并)
model_name_or_path: /root/autodl-tmp/model/Qwen/Qwen2___5-7B-Instruct
adapter_name_or_path: /root/autodl-tmp/model/lora/0115_rank8
template: qwen
infer_backend: vllm  # choices: [huggingface, vllm, sglang]
vllm_maxlen: 4096 # vllm推理使用
vllm_gpu_util: 0.9  # 降低显存使用率,默认0.9
trust_remote_code: true
3.终端运行
llamafactory-cli api lora_sft_inference.yaml

汇聚全球AI编程工具,助力开发者即刻编程。
更多推荐
 11
11 0
0- 0


 已为社区贡献1条内容

所有评论(0)