
企业级 Linux 环境搭建指南:依赖管理、服务编译与可视化运维
·
配置 yum 仓库
yum 仓库配置
yum 工具的配置文件是 /etc/yum.conf,该文件包括两部分:
- 全局配置:main 块,提供每个仓库默认配置。
- 每个仓库的独立配置。
[root@localhost ~ 20:50:07]# cat /etc/yum.conf
[main]
cachedir=/var/cache/yum/$basearch/$releasever
keepcache=0
debuglevel=2
logfile=/var/log/yum.log
exactarch=1
obsoletes=1
gpgcheck=1
plugins=1
installonly_limit=5
bugtracker_url=http://bugs.centos.org/set_project.php?project_id=23&ref=http://bugs.centos.org/bug_report_page.php?category=yum
distroverpkg=centos-release

#  This is the default, if you make this bigger yum won't see if the metadata
# is newer on the remote and so you'll "gain" the bandwidth of not having to
# download the new metadata and "pay" for it by yum not having correct
# information.
#  It is esp. important, to have correct metadata, for distributions like
# Fedora which don't keep old packages around. If you don't like this checking
# interupting your command line usage, it's much better to have something
# manually check the metadata once an hour (yum-updatesd will do this).
# metadata_expire=90m

# PUT YOUR REPOS HERE OR IN separate files named file.repo
# in /etc/yum.repos.d
使用如下命令查看完整的配置内容:
[root@localhost ~ 20:57:27]# yum install -y yum-utils
已加载插件:fastestmirror
Loading mirror speeds from cached hostfile
 * base: mirrors.aliyun.com
 * extras: mirrors.aliyun.com
 * updates: mirrors.aliyun.com
软件包 yum-utils-1.1.31-54.el7_8.noarch 已安装并且是最新版本
无须任何处理
# 我这里是已经安装过了
main 部分设置全局配置:
- enabled = 1,仓库默认启用。
- gpgcheck = 1,仓库默认启用gpg校验。
- keepcache = 0,不保存缓存。
- cachedir = /var/cache/yum,缓存文件保存的位置。
- reposdir = /etc/yum.repos.d, /etc/yum/repos.d,yum仓库配置文件。
yum管理的软件包存放在yum仓库,yum仓库配置文件存放在/etc/yum.repos.d目录。
[root@localhost ~ 20:58:46]# cd /etc/yum.repos.d/
[root@localhost yum.repos.d 20:58:56]# ls
CentOS-Base.repo       CentOS-Vault.repo
CentOS-CR.repo         CentOS-x86_64-kernel.repo
CentOS-Debuginfo.repo  docker-ce.repo
CentOS-fasttrack.repo  epel.repo
CentOS-Media.repo      mirrors.aliyun.com_kubernetes_yum_repos_kubernetes-el7-x86_64_.repo
CentOS-Sources.repo
yum 仓库管理
查看 yum 仓库
# 查看启用的yum仓库
[root@localhost yum.repos.d 20:59:01]# yum repolist
已加载插件:fastestmirror
Loading mirror speeds from cached hostfile
 * base: mirrors.aliyun.com
 * extras: mirrors.aliyun.com
 * updates: mirrors.aliyun.com
源标识                                                         源名称                                          状态
base/7/x86_64                                                  CentOS-7 - Base - mirrors.aliyun.com            10,072
docker-ce-stable/7/x86_64                                      Docker CE Stable - x86_64                          337
epel/x86_64                                                    Extra Packages for Enterprise Linux 7 - x86_64  13,791
extras/7/x86_64                                                CentOS-7 - Extras - mirrors.aliyun.com             526
mirrors.aliyun.com_kubernetes_yum_repos_kubernetes-el7-x86_64_ added from: https://mirrors.aliyun.com/kubernet  1,022
updates/7/x86_64                                               CentOS-7 - Updates - mirrors.aliyun.com          6,173
repolist: 31,921

# 查看 yum 所有仓库,包括未启用的仓库
[root@localhost yum.repos.d 21:00:25]# yum repolist all
启用和禁用仓库
# 启用
[root@localhost yum.repos.d 21:00:25]# yum-config-manager --enable epel-debuginfo

# 禁用
[root@localhost yum.repos.d 21:12:49]# yum-config-manager --disable epel-debuginfo
也可以编辑仓库配置文件,将仓库中enabled值设置为1启用,设置为0禁用。
# 查看禁用的仓库清单
[root@localhost yum.repos.d 21:12:52]# vim /etc/yum.repos.d/epel.repo
[epel-debuginfo]
name=Extra Packages for Enterprise Linux 7 - $basearch - Debug
baseurl=http://mirrors.aliyun.com/epel/7/$basearch/debug
failovermethod=priority
enabled=0
# 将enabled设置为1启用,设置为0禁用
gpgkey=file:///etc/pki/rpm-gpg/RPM-GPG-KEY-EPEL-7
gpgcheck=0
仓库缓存管理
更新缓存后,yum install命令可补全软件包名称。
# 清理缓存数据
[root@localhost yum.repos.d 21:23:45]# yum clean
all           cache         dbcache       expire-cache  headers       metadata      packages

# 清理所有缓存数据
[root@localhost yum.repos.d 21:23:45]# yum clean all
已加载插件:fastestmirror
正在清理软件源: base docker-ce-stable epel extras mirrors.aliyun.com_kubernetes_yum_repos_kubernetes-el7-x86_64_
               : updates
Cleaning up list of fastest mirrors

# 创建缓存数据
[root@localhost yum.repos.d 21:24:38]# yum makecache
已加载插件:fastestmirror
....
mirrors.aliyun.com_kubernetes_yum_repos_kubernetes-el7-x86_64_                                             1022/1022
mirrors.aliyun.com_kubernetes_yum_repos_kubernetes-el7-x86_64_                                             1022/1022
mirrors.aliyun.com_kubernetes_yum_repos_kubernetes-el7-x86_64_                                             1022/1022
元数据缓存已建立
添加 kubernetes 仓库
[root@localhost yum.repos.d 21:26:04]# yum-config-manager --add-repo=https://mirrors.aliyun.com/kubernetes/yum/repos/kubernetes-el7-x86_64/

[root@localhost yum.repos.d 21:35:07]# cat /etc/yum.repos.d/mirrors.aliyun.com_kubernetes_yum_repos_kubernetes-el7-x86_64_.repo

[mirrors.aliyun.com_kubernetes_yum_repos_kubernetes-el7-x86_64_]
name=added from: https://mirrors.aliyun.com/kubernetes/yum/repos/kubernetes-el7-x86_64/
baseurl=https://mirrors.aliyun.com/kubernetes/yum/repos/kubernetes-el7-x86_64/
enabled=1

# 安装 kubectl 包
[root@localhost yum.repos.d 21:36:33]# yum install kubectl --nogpgcheck
添加 docker-ce 仓库
[root@localhost ~ 21:37:48]# cat << 'EOF' > /etc/yum.repos.d/docker-ce.repo
[docker-ce-stable]
name=Docker CE Stable - $basearch
baseurl=https://mirrors.aliyun.com/docker-ce/linux/centos/$releasever/$basearch/stable
enabled=1
gpgcheck=0
EOF

# 查看docker版本
[root@localhost ~ 21:37:48]# yum list docker-ce
已加载插件:fastestmirror
Loading mirror speeds from cached hostfile
 * base: mirrors.aliyun.com
 * extras: mirrors.aliyun.com
 * updates: mirrors.aliyun.com
可安装的软件包
docker-ce.x86_64                             3:26.1.4-1.el7                         docker-ce-stable
epel 仓库
EPEL(Extra Packages for Enterprise Linux),是由Fedora Special Interest Group维护的Enterprise Linux(RHEL、CentOS)中经常用到的包。
# 直接使用aliyun的源
[root@localhost ~ 21:38:20]# curl -s -o /etc/yum.repos.d/epel.repo http://mirrors.aliyun.com/repo/epel-7.repo
源码安装软件
源码安装 nginx
介绍
Nginx是一个高性能的HTTP和反向代理web服务器。
官方地址:https://nginx.org
安装
# 安装依赖
[root@localhost ~ 21:41:59]# yum install gcc make pcre-devel zlib-devel

# 下载
[root@localhost ~ 21:41:59]#  wget https://nginx.org/download/nginx-1.24.0.tar.gz

# 解压
[root@localhost ~ 21:49:35]# tar -xf nginx-1.24.0.tar.gz

# 配置
[root@localhost ~ 21:49:35]# cd nginx-1.24.0/
[root@localhost nginx-1.24.0 21:50:16]# ./configure --prefix=/usr/local/nginx
# 将所有的nginx相关文件存放在/usr/local/nginx

# 编译安装
[root@localhost nginx-1.24.0 21:51:05]# make && make install
[root@localhost nginx-1.24.0 21:51:47]# ls /usr/local/nginx/
conf  html  logs  sbin

# 配置环境变量
[root@localhost nginx-1.24.0 21:52:10]# export PATH=$PATH:/usr/local/nginx/sbin/
[root@localhost nginx-1.24.0 21:53:39]# echo 'export PATH=$PATH:/usr/local/nginx/sbin/' >> ~/.bashrc
使用
# 启动服务
[root@centos7 ~]# nginx

# 验证
[root@localhost ~ 21:55:52]# curl -s http://10.1.8.10 | grep Thank
<p><em>Thank you for using nginx.</em></p>

# 退出服务
[root@localhost ~ 21:56:26]# nginx -s quit
命令总结:
- nginx,启动服务
- nginx -s quit,待nginx进程处理任务完毕进行停止。
- nginx -s stop,查出nginx进程id再使用kill命令强制杀掉进程。
- nginx -s reload,重新加载服务。
配置 nginx 服务
[root@localhost ~ 21:56:26]# cp /usr/lib/systemd/system/sshd.service /etc/systemd/system/nginx.service
[root@localhost ~ 21:57:17]# vim /etc/systemd/system/nginx.service
[Unit]
Description=Nginx server daemon

[Service]
Type=forking
ExecStart=/usr/local/nginx/sbin/nginx -c /usr/local/nginx/conf/nginx.conf
ExecReload=/usr/local/nginx/sbin/nginx -s reload
ExecStop=/usr/local/nginx/sbin/nginx -s quit

[Install]
WantedBy=multi-user.target
[root@centos7 ~]# systemctl daemon-reload
[root@centos7 ~]# systemctl enable nginx.service --now
源码安装 cmatrix
介绍
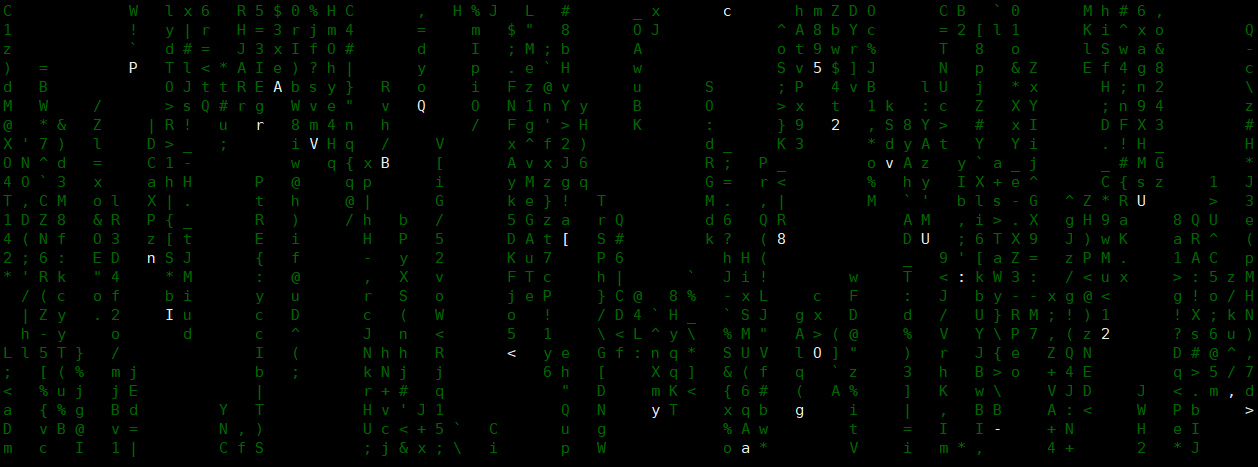
Cmatrix 是一款 Linux 环境下的炫酷屏保软件其效果类似于黑客帝国电影中的代码雨。
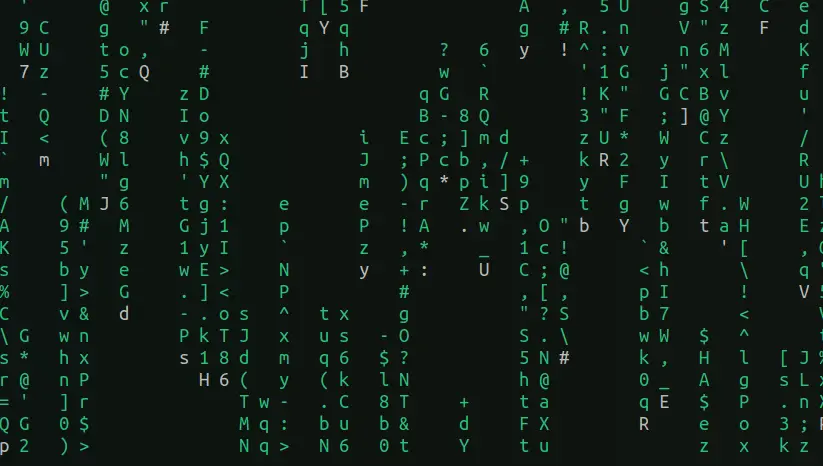
项目地址:https://github.com/abishekvashok/cmatrix
安装
# 安装依赖包
[root@localhost ~ 21:59:22]# yum -y install gcc make autoconf ncurses-devel

# 下载
[root@localhost ~ 21:59:47]# wget https://laoma.cloud/course-materials/softwares/stage01/cmatrix-1.2.tar.gz

# 解压
[root@localhost ~ 22:01:04]# tar -xf cmatrix-1.2.tar.gz

# 配置软件
[root@localhost ~ 22:03:02]# cd cmatrix-1.2/
[root@localhost cmatrix-1.2 22:03:05]# ./configure --prefix=/usr/local/cmatrix


# 编译并安装
[root@localhost cmatrix-1.2 22:03:42]# make && make install
使用
# 配置环境变量
[root@localhost cmatrix-1.2 22:03:46]# export PATH=$PATH:/usr/local/cmatrix/bin

# 帮助信息
[root@localhost cmatrix-1.2 22:04:21]# cmatrix --help
 Usage: cmatrix -[abBfhlsVx] [-u delay] [-C color]
 -a: Asynchronous scroll
 -b: Bold characters on
 -B: All bold characters (overrides -b)
 -f: Force the linux $TERM type to be on
 -l: Linux mode (uses matrix console font)
 -o: Use old-style scrolling
 -h: Print usage and exit
 -n: No bold characters (overrides -b and -B, default)
 -s: "Screensaver" mode, exits on first keystroke
 -x: X window mode, use if your xterm is using mtx.pcf
 -V: Print version information and exit
 -u delay (0 - 10, default 4): Screen update delay
 -C [color]: Use this color for matrix (default green)


# 执行
[root@localhost cmatrix-1.2 22:05:38]# cmatrix
# 效果如下:
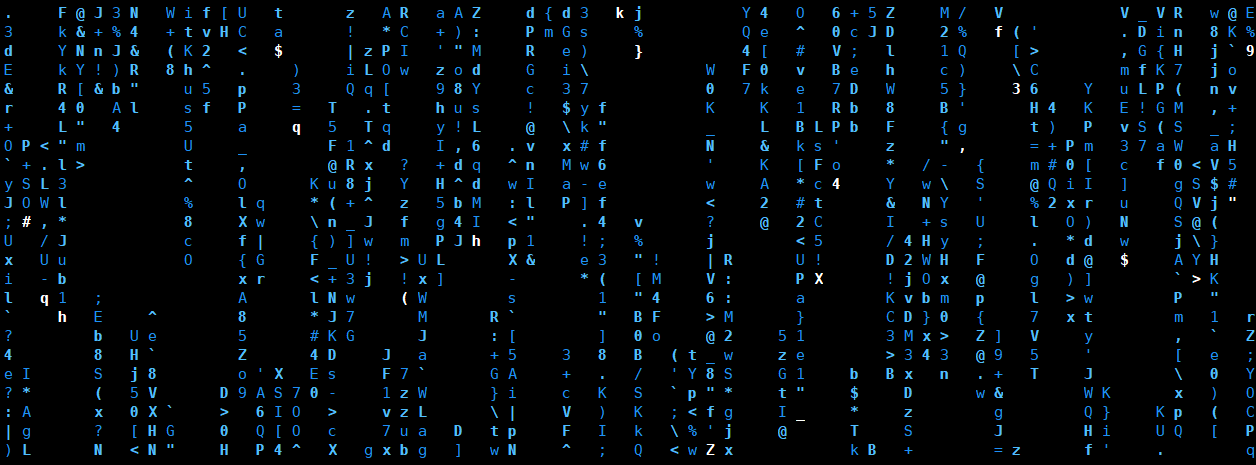
[root@localhost cmatrix-1.2 22:08:25]# cmatrix -b -u 3 -C blue
# -b 加粗字体
# -u 滚动速度
# -C 字体颜色 绿色(green)、红色(red)、蓝色(blue)、白色(white)、黄色(yellow)、青色(cyan)、洋红色(magenta)以及黑色(black)这些颜色。
随时改变颜色
当然,你无需重新启动程序,就可以随时改变显示的颜色。但需要记住,不同的键位对应着不同的颜色。在 Cmatrix 未关闭的情况下,如果你按下了存储在键位上的指令,显示的颜色将会直接变更。
| 颜色 | 相应键位 | 对应数字键 |
|---|---|---|
| 红色 | ! | shift+1 |
| 绿色 | @ | shift+2 |
| 黄色 | # | shift+3 |
| 蓝色 | $ | shift+4 |
| 洋红色 | % | shift+5 |
| 青色 | ^ | shift+6 |
| 白色 | & | shift+7 |
| 黑色 | ) | shift+8 |
自由调整速度
在 Cmatrix 运行的过程中,你可以按 0 到 9 的任何一位数字键来随意改变当前的更新速度。

汇聚全球AI编程工具,助力开发者即刻编程。
更多推荐

 4
4 0
0- 0


 已为社区贡献3条内容

所有评论(0)