
Docker-compose部署三节点Doris集群
·
说明:
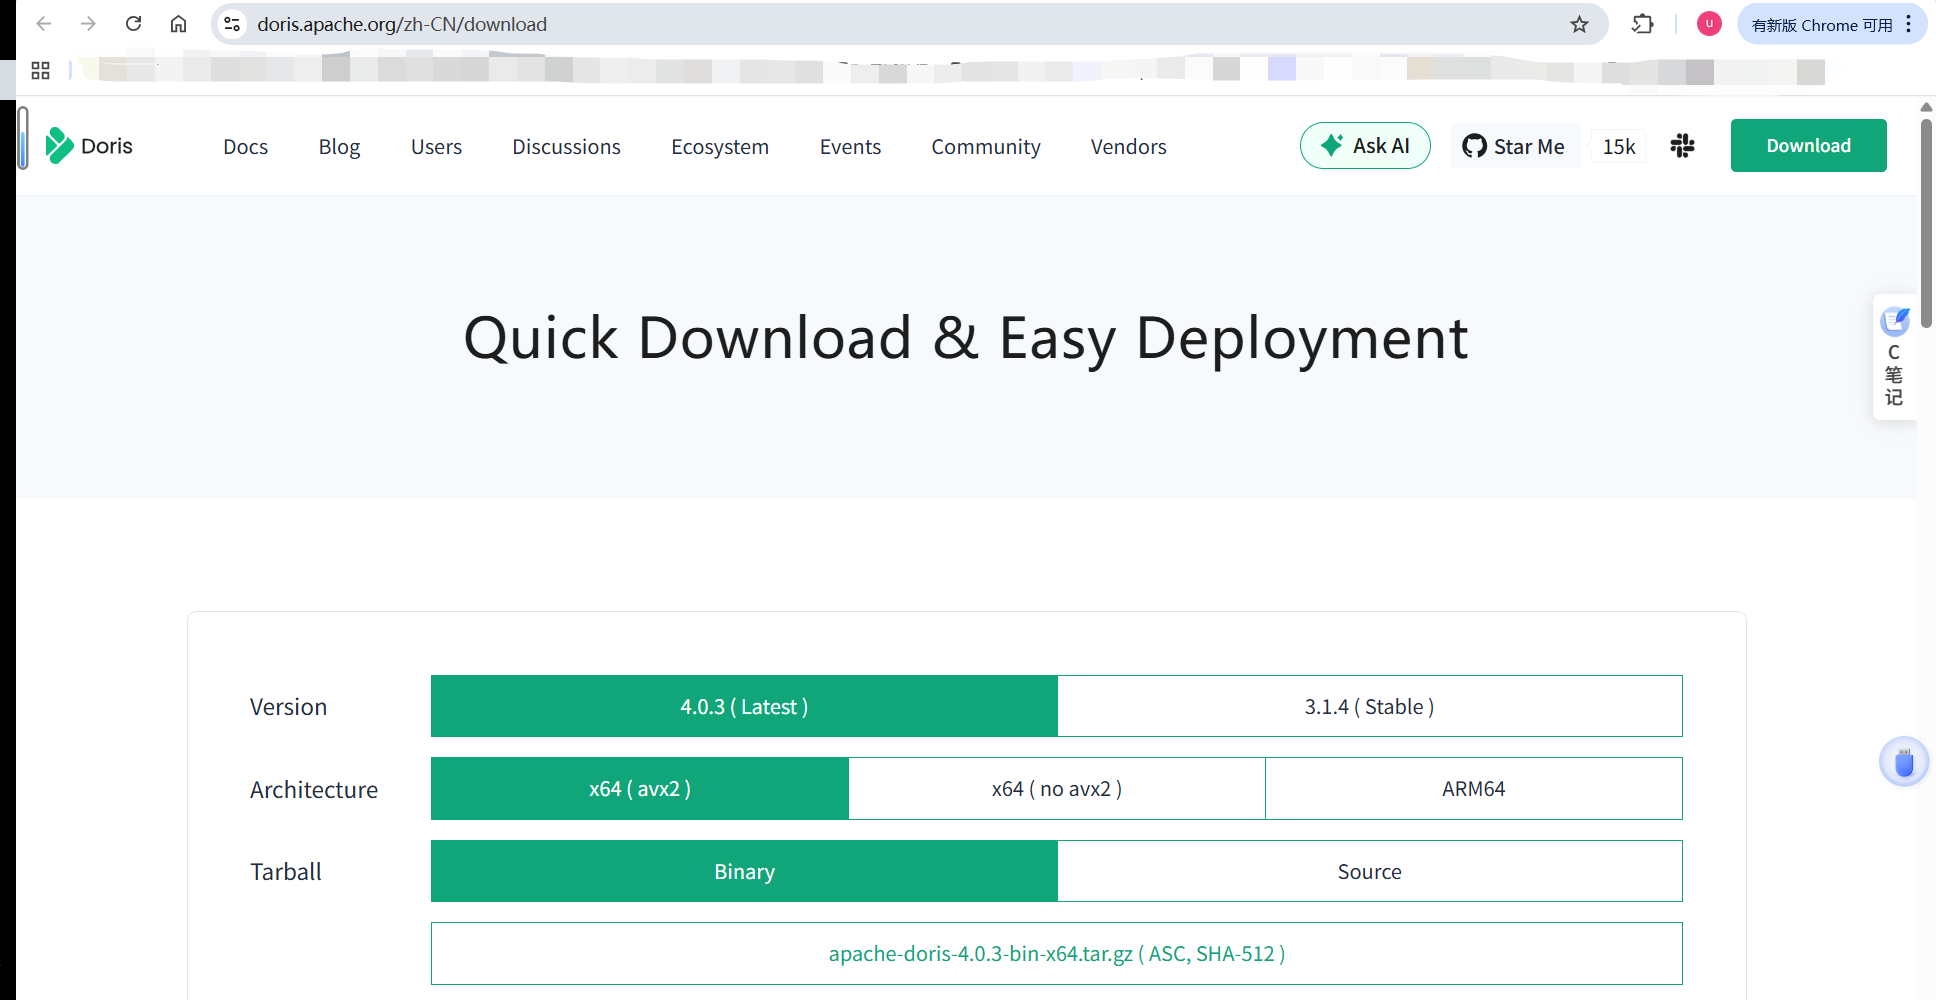
本篇文章解决了使用源码或者二进制包部署的复杂配置步骤,如果有Docker的基础环境,则配置该集群可以大大节约部署时间。
准备工作:
一、每台下载镜像:(DockerHub官方镜像)
- Docker基础环境
- docker-compose基础环境
docker pull apache/doris:be-4.0.3
docker pull apache/doris:fe-4.0.3
二、每台机器执行以下命令
# 1. 关闭防火墙(所有节点执行)
systemctl stop firewalld && systemctl disable firewalld

# 2. 关闭SELinux(所有节点执行)
setenforce 0
sed -i 's/^SELINUX=enforcing$/SELINUX=disabled/' /etc/selinux/config
本篇介绍关于创建三节点Doris集群
- 10.128.25.41(fe+be)
- 10.128.25.42(fe+be)
- 10.128.25.43(fe+be)
创建部署目录:
在三台机器分别执行
mkdir -p /mnt/disk/docker-app/doris-cluster/fe/{log,data}
mkdir -p /mnt/disk/docker-app/doris-cluster/be/{log,data}
在41机器上编辑docker-compose.yml文件:
services:
  doris-fe:
    image: apache/doris:fe-4.0.3
    container_name: doris-fe
    hostname: fe-41
    network_mode: "host"
    volumes:
      - ./fe/data:/opt/apache-doris/fe/doris-meta
      - ./fe/log:/opt/apache-doris/fe/log
    environment:
      - FE_SERVERS=fe1:10.128.25.41:9010,fe2:10.128.25.42:9010,fe3:10.128.25.43:9010
      - FE_ID=1
    restart: always

  doris-be:
    image: apache/doris:be-4.0.3
    container_name: doris-be
    hostname: be-41
    network_mode: "host"
    volumes:
      - ./be/data:/opt/apache-doris/be/storage
      - ./be/log:/opt/apache-doris/be/log
    environment:
      - FE_SERVERS=fe1:10.128.25.41:9010,fe2:10.128.25.42:9010,fe3:10.128.25.43:9010
      - BE_ADDR=10.128.25.41:9050
    depends_on:
      - doris-fe
    restart: always
在42机器上编辑docker-compose.yml文件:
services:
  doris-fe:
    image: apache/doris:fe-4.0.3
    container_name: doris-fe
    hostname: fe-44
    network_mode: "host"
    volumes:
      - ./fe/data:/opt/apache-doris/fe/doris-meta
      - ./fe/log:/opt/apache-doris/fe/log
    environment:
      - FE_SERVERS=fe1:10.128.25.41:9010,fe2:10.128.25.42:9010,fe3:10.128.25.43:9010
      - FE_ID=2
    restart: always

  doris-be:
    image: apache/doris:be-4.0.3
    container_name: doris-be
    hostname: be-44
    network_mode: "host"
    volumes:
      - ./be/data:/opt/apache-doris/be/storage
      - ./be/log:/opt/apache-doris/be/log
    environment:
      - FE_SERVERS=fe1:10.128.25.41:9010,fe2:10.128.25.42:9010,fe3:10.128.25.43:9010
      - BE_ADDR=10.128.25.42:9050
    depends_on:
      - doris-fe
    restart: always
在43机器上编辑docker-compose.yml文件:
services:
  doris-fe:
    image: apache/doris:fe-4.0.3
    container_name: doris-fe
    hostname: fe-45
    network_mode: "host"
    volumes:
      - ./fe/data:/opt/apache-doris/fe/doris-meta
      - ./fe/log:/opt/apache-doris/fe/log
    environment:
      - FE_SERVERS=fe1:10.128.25.41:9010,fe2:10.128.25.42:9010,fe3:10.128.25.43:9010
      - FE_ID=3
    restart: always

  doris-be:
    image: apache/doris:be-4.0.3
    container_name: doris-be
    hostname: be-45
    network_mode: "host"
    volumes:
      - ./be/data:/opt/apache-doris/be/storage
      - ./be/log:/opt/apache-doris/be/log
    environment:
      - FE_SERVERS=fe1:10.128.25.41:901,fe2:10.128.25.42:9010,fe3:10.128.25.43:9010
      - BE_ADDR=10.128.25.43:9050
    depends_on:
      - doris-fe
    restart: always
最终 三台机器同时执行启动命令:
docker-compose up -d验证:
在任意节点上执行:
mysql -h 127.0.0.1 -P9030 -uroot
检查前端节点:
SHOW PROC '/frontends';
检查后端节点:
SHOW BACKENDS;
各自能输出三条正确的前端或者后端信息即成功。
Doris数据库默认没有密码(空值登录),修改密码需要登入数据库:
然后修改密码:
SET PASSWORD FOR 'root' = PASSWORD('12345678');
然后就可以使用用户密码登录数据库了,使用任意IP的9030端口即可,例如:
连接10.128.25.41 的9030端口,连接方法和MySQL大差不差。
监控(可选)
- 查看 Web UI:
http://10.128.25.41:8030(FE 的 HttpPort) - 查看 BE 监控:
http://10.128.25.41:8040

汇聚全球AI编程工具,助力开发者即刻编程。
更多推荐



 0
0 0
0- 0


 已为社区贡献2条内容

所有评论(0)