
JDBC数据连接池druid使用(下载 导入 配置 编程 获取)
·
Druid使用步骤
1. 导入jar包
阿里巴巴druid.jar下载链接
https://mvnrepository.com/artifact/com.alibaba/druid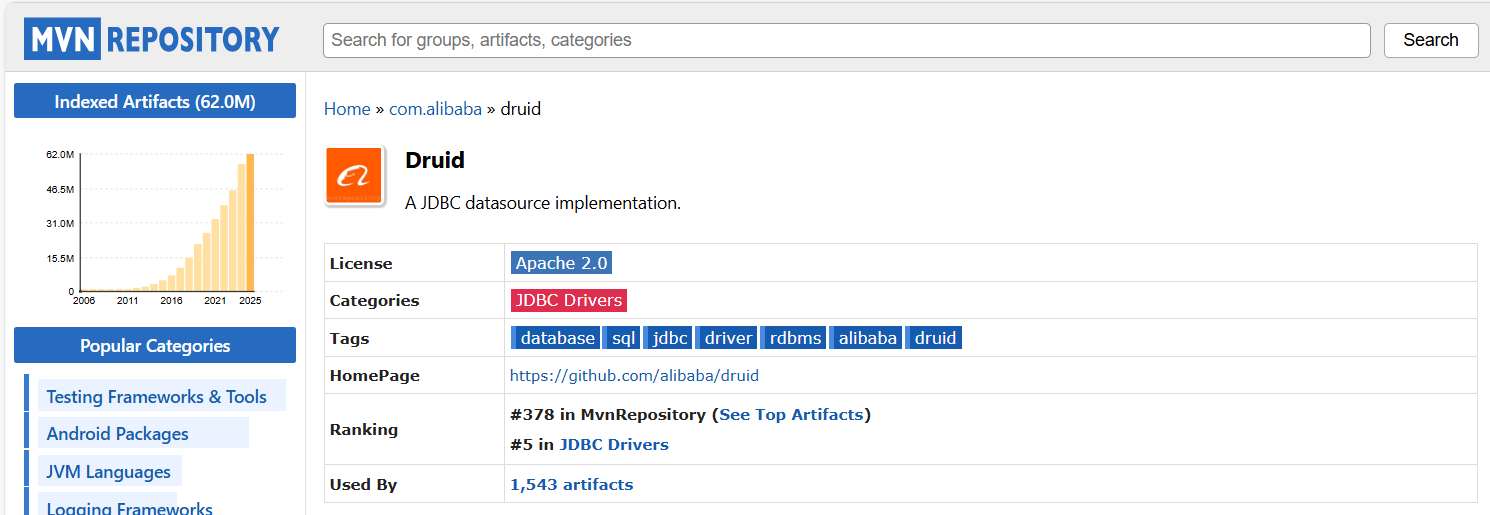
选择合适的版本,点击下载jar包。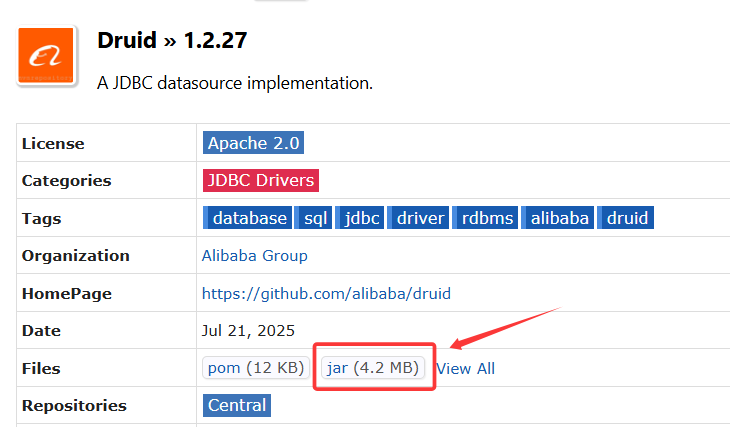
文件夹中找到jar包,ctrl+c复制。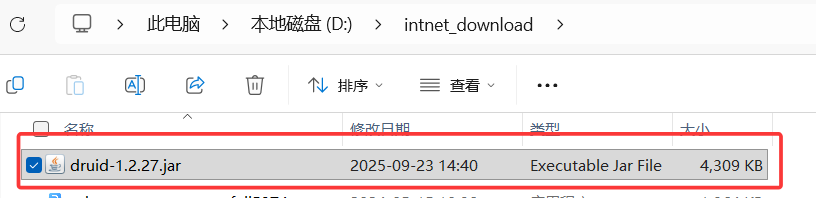
打开项目,粘贴至lib文件目录下。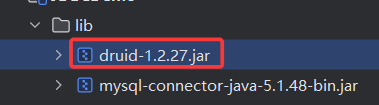
右键,add as library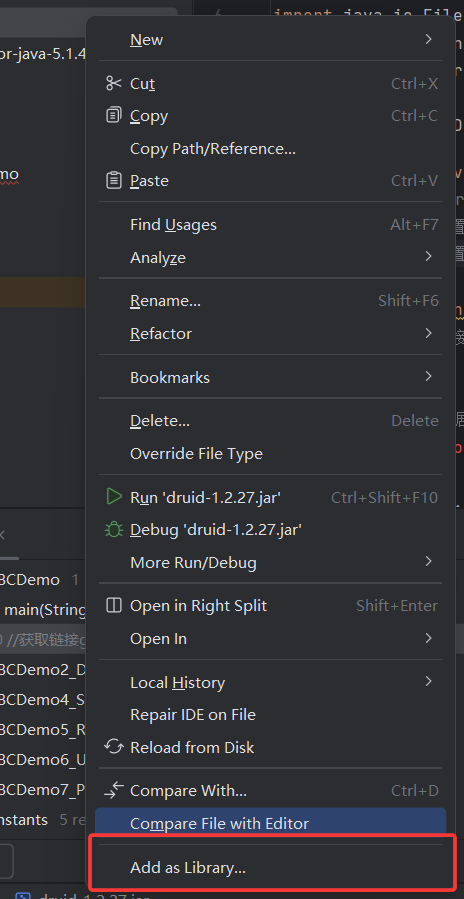
选择为Module Library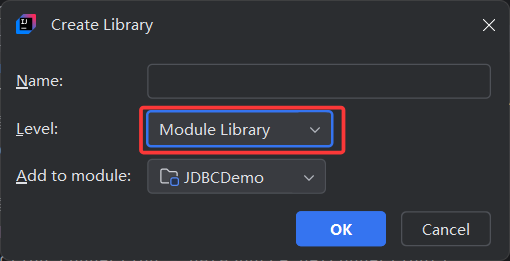
2. 定义配置文件
在src文件目录下新建配置文件 druid.properties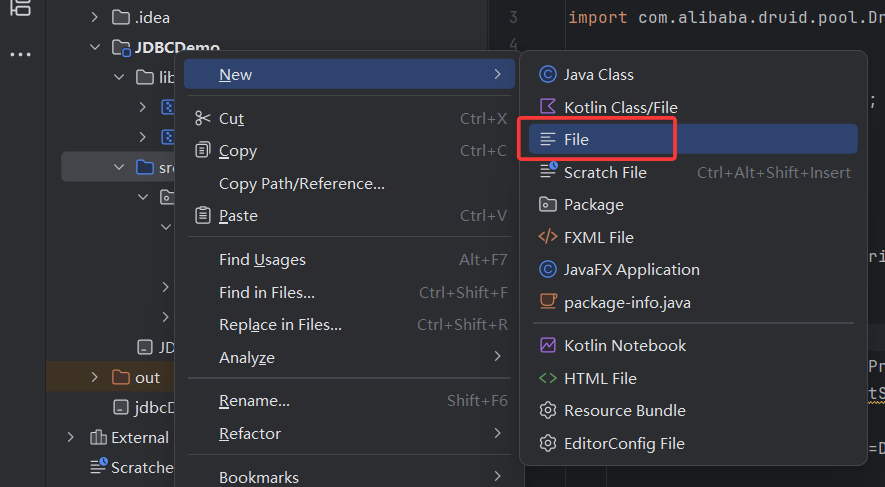

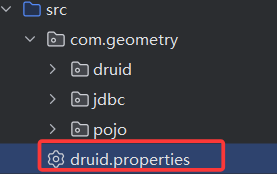
配置属性如下:
driverClassName=com.mysql.jdbc.Driver
//databasename换成自己实际数据库名称
url=jdbc:mysql://localhost:3306/databasename?useSSL=false&useServerPrepStmts=true
username=root  //换成自己实际用户名和密码
password=root
initialSize=5
maxActive=10
maxWait=3000
3. 编码获取连接池连接
创建dtuid的Java类
package com.geometry.druid;
import com.alibaba.druid.pool.DruidDataSourceFactory;
import javax.sql.DataSource;
import java.io.FileInputStream;
import java.sql.Connection;
import java.util.Properties;

public class DruidDemo {
    public static void main(String[] args) throws Exception {
        //1. 导入jar包
        //2. 定义配置文件
        //3. 加载配置文件
        Properties prop = new Properties();
        //注意修改实际druid配置文件的路径
        prop.load(new FileInputStream("JDBCDemo/src/druid.properties"));
        //4. 获取连接池对象
        DataSource dataSource =DruidDataSourceFactory.createDataSource(prop);
        //5. 获取数据库连接
        DruidDataSourceFactory.createDataSource(prop);
        Connection connection = dataSource.getConnection();
        System.out.println(connection);
        //System.out.println(System.getProperty("user.dir"));
    }
}
4. 成功连接
控制台提示连接(虽然是红色的,但是是成功连接的)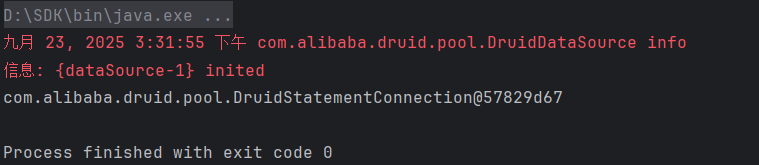

汇聚全球AI编程工具,助力开发者即刻编程。
更多推荐


 5
5 0
0- 0


 已为社区贡献1条内容

所有评论(0)