
debian13编译安装postgresql18.1
·
postgresql编译安装
一、下载源码和依赖包
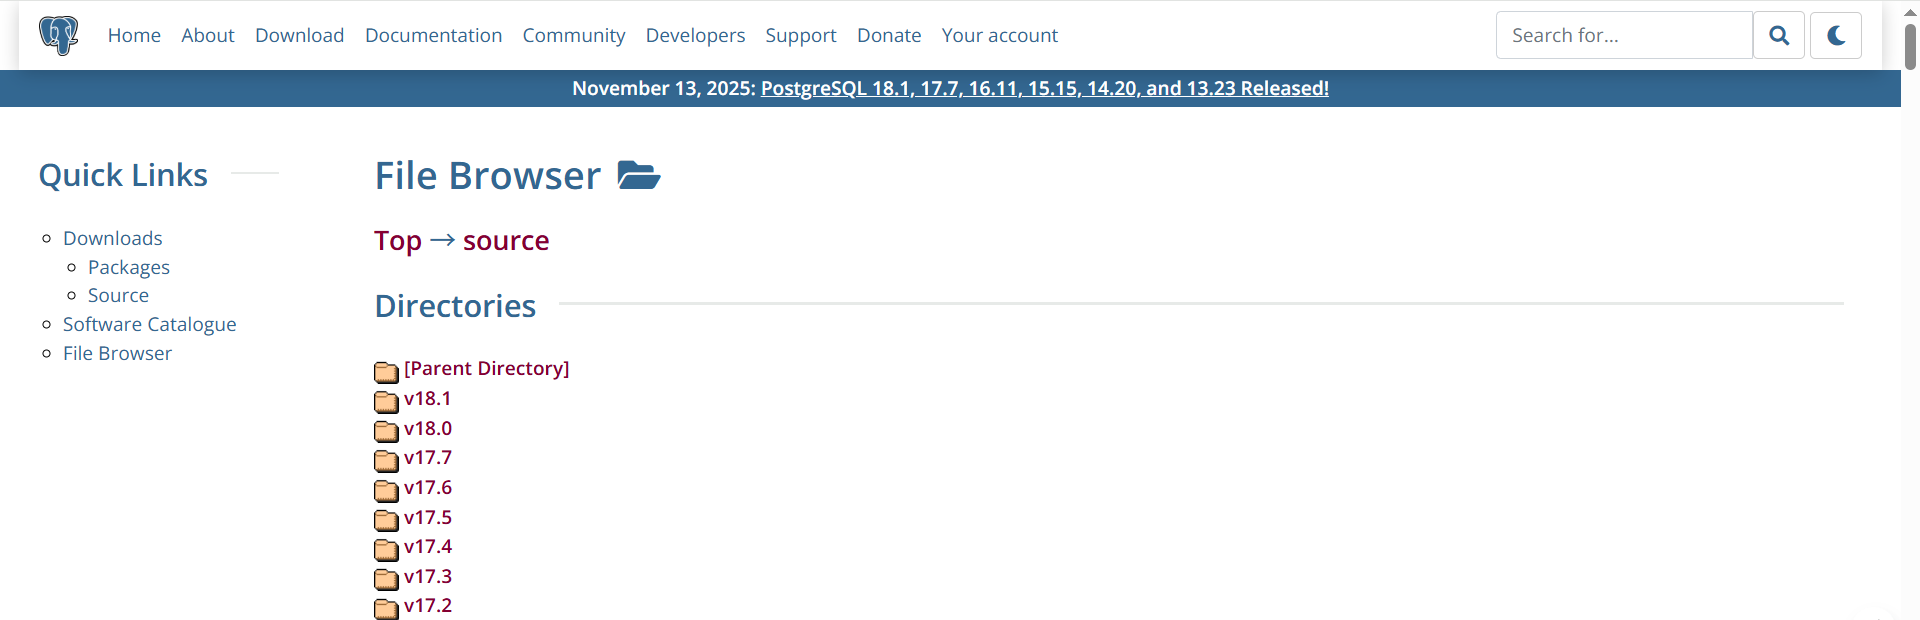
step 1:源码包下载地址:https://www.postgresql.org/ftp/source/
二、编译安装数据库
step 1:创建用户和目录
mkdir /opt/postgresql/data -p
groupadd pgsql
useradd -g pgsql -G pgsql -d /opt/postgresql pgsql
chown -R pgsql:pgsql /opt/postgresql
passwd pgsql #修改密码
密码:rofine@123
step 2:上传安装包到服务器,并赋予权限
chmod 777 postgresql-18.1.tar.gz
step 3:安装依赖
如果可以连接apt源,直接安装。
apt install -y \
  pkg-config \
  libicu-dev \
  flex \
  bison \
  libreadline-dev \
  gcc \
  make \
  zlib1g-dev
如果没有apt源,可以下载在外网相同环境下载deb包,然后安装。
apt install -y --download-only -o Dir::Cache::Archives="./" pkg-config libicu-dev
flex bison libreadline-dev gcc make zlib1g-dev
step 4:切换pgsql用户,解压文件到指定目录
su - pgsql
tar -zxvf postgresql-18.1.tar.gz -C /opt/postgresql
step 5:编译安装
cd /opt/postgresql/postgresql-18.1
./configure --prefix=/opt/postgresql
make -j2 && make install
/opt/postgresql/bin/initdb -D /opt/postgresql/data/
touch /opt/postgresql/logfile
step 6:配置环境变量
vim ~/.bash_profile

		export PGDATA=/opt/postgresql/data
		export PATH=$PATH:$HOME/bin:/opt/postgresql/bin
		export LD_LIBRARY_PATH=$LD_LIBRARY_PATH:/opt/postgresql/lib
		export PGDATABASE=postgres
		export PGPORT=5432
source ~/.bash_profile
step 7:使用pgsql用户启动postgres
cd /opt/postgresql
./pgsql/bin/pg_ctl -D ./pgsql/pgsql_data/ -l ./pgsql/logfile start
waiting for server to start.... done
server started
#查看pgsql状态
ps -ef | grep postgres | grep -v grep
pgsql    13912     1  0 15:36 pts/2    00:00:00 /home/postgresql/bin/postgres -D ./pgsql/pgsql_data
pgsql    13914 13912  0 15:36 ?        00:00:00 postgres: checkpointer process
pgsql    13915 13912  0 15:36 ?        00:00:00 postgres: writer process
pgsql    13916 13912  0 15:36 ?        00:00:00 postgres: wal writer process
pgsql    13917 13912  0 15:36 ?        00:00:00 postgres: autovacuum launcher process
pgsql    13918 13912  0 15:36 ?        00:00:00 postgres: stats collector process
pgsql    13919 13912  0 15:36 ?        00:00:00 postgres: bgworker: logical replication launcher
step 8:配置postgresql.conf文件
使用pgsql用户执行
打开postgresql.conf文件,修改以下参数

cd /opt/postgresql/pgsql/pgsql_data
vim postgresql.conf #编辑文件
listen_addresses= '*' #地址为*	port = 5432 #修改端口
step 9:配置hosts文件
打开/etc/hosts文件,修改以下参数
vim /etc/hosts #编辑文件
127.0.0.1   postgresql
step 10:修改数据库配置
sed -i -e"s/^#listen_addresses =.*$/listen_addresses = '*'/" $DATADIR/postgresql.conf

sed -i -e"s/^max_connections = 100.*$/max_connections = 1000/" $DATADIR/postgresql.conf

sed -i -e"s/^shared_buffers =.*$/shared_buffers = 2GB/" $DATADIR/postgresql.conf

sed -i -e"s/^#effective_cache_size = 128MB.*$/effective_cache_size = 4GB/" $DATADIR/postgresql.conf

sed -i -e"s/^#work_mem = 1MB.*$/work_mem = 128MB/" $DATADIR/postgresql.conf

echo "host all all 0.0.0.0/0 md5" >> $DATADIR/pg_hba.conf
step 11:添加系统systemd服务启动
cat >> /etc/systemd/system/postgresql.service <<EOF

[Unit]

Description=PostgreSQL database server

After=network.target

[Service]

Type=forking

User=pgsql

Group=pgsql

#Environment=PGDATA=/opt/postgresql/data

#OOMScoreAdjust=-1000

ExecStart=/opt/postgresql/bin/pg_ctl -D /opt/postgresql/data -l /opt/postgresql/logfile start

ExecStop=/opt/postgresql/bin/pg_ctl stop -D /opt/postgresql/data

ExecReload=/opt/postgresql/bin/pg_ctl reload -D /opt/postgresql/data

TimeoutSec=300

[Install]

WantedBy=multi-user.target

EOF
systemctl daemon-reload
systemctl start postgresql.service
systemctl enable postgresql.service
step 12:重启数据库
systemctl restart postgresql.service
EOF

汇聚全球AI编程工具,助力开发者即刻编程。
更多推荐
 7
7 0
0- 0


 已为社区贡献1条内容

所有评论(0)