
【Linux】基本指令收尾(下)
目录
1 . tar
概念:打包/解包,不打开它,直接看内容。
1.1 语法
语法: tar [-cxtzjvf] ⽂件与⽬录 ....
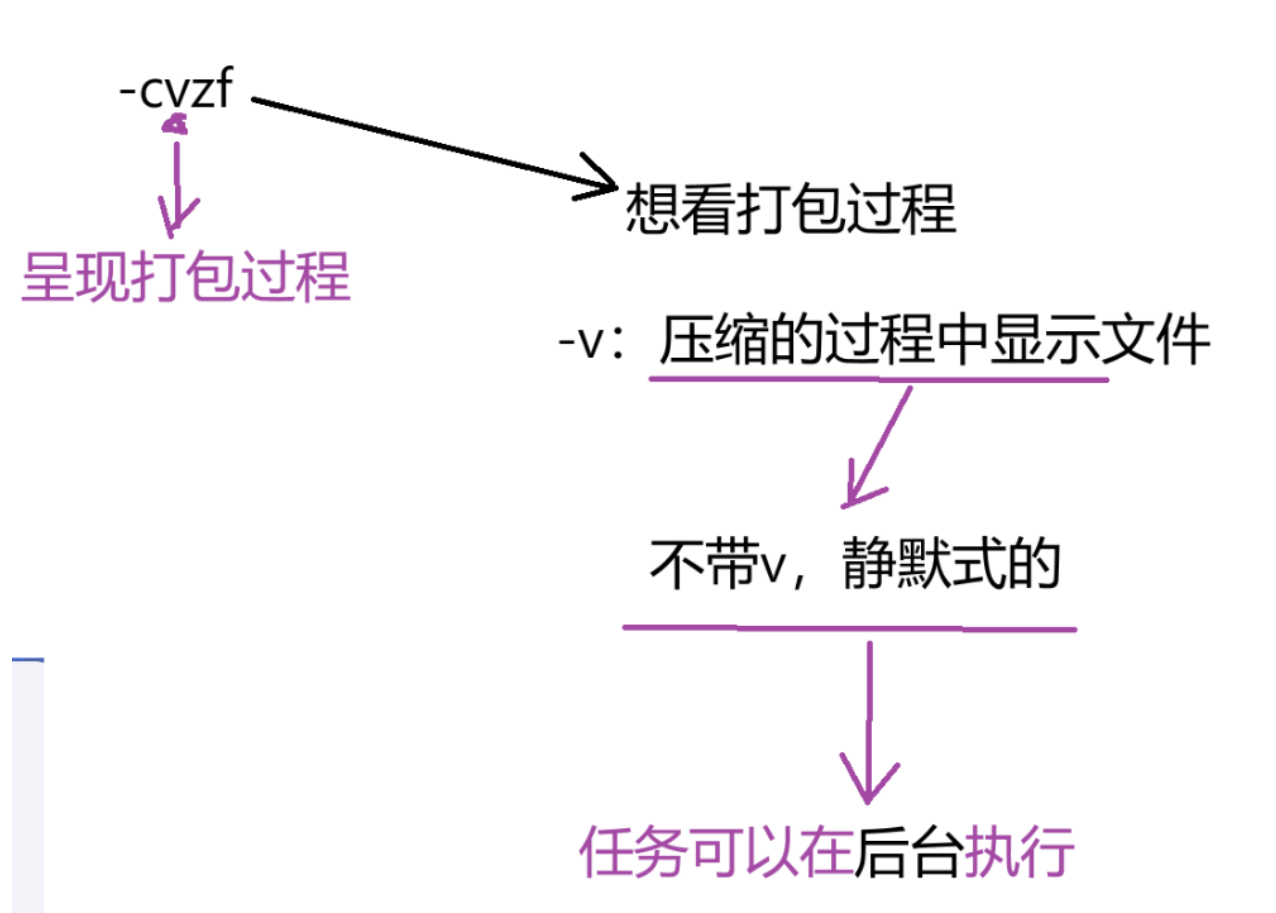
参数:• -c :建⽴⼀个压缩⽂件的参数指令(create 的意思);• -x :解开⼀个压缩⽂件的参数指令!• -t :查看 tarfile ⾥⾯的⽂件!• -z :是否同时具有 gzip 的属性?亦即是否需要⽤ gzip 压缩?• -j :是否同时具有 bzip2 的属性?亦即是否需要⽤ bzip2 压缩?• -v :压缩的过程中显⽰⽂件!这个常⽤,但不建议⽤在背景执⾏过程!• -f :使⽤档名,请留意,在 f 之后要⽴即接档名喔!不要再加参数!• -C : 解压到指定⽬录
1.2 实践
[root@linux ~]$ tar -cvf /tmp/etc.tar /etc<==仅打包,不压缩!
[root@linux ~]$ tar -zcvf /tmp/etc.tar.gz /etc <==打包后,以 gzip 压缩
[root@linux ~]$ tar -jcvf /tmp/etc.tar.bz2 /etc <==打包后,以 bzip2 压缩
特别注意,在参数f之后的文件档名是自己取的,我们习惯上都用,tar来作为辨识。
如果加z参数,则以.tar.gz或.tgz来代表gzip压缩过的 tar file。
如果加j参数,则以.tar.bz2来作为附档名啊。
上述指令在执行的时候,会显示一个警告讯息:
『`tar: Removing leading `/" from member names`』[root@linux ~]$ tar -ztvf /tmp/etc.tar.gz因为我们使用gzip压缩,所以要查阅该tar file内的文件时,就得要加上z这个参数,这很重要!
[root@linux ~]$ cd /usr/local/src
[root@linux src]$ tar -zxvf /tmp/etc.tar.gz[root@linux ~]$ cd /tmp
[root@linux tmp]$ tar -zxvf /tmp/etc.tar.gz etc/passwd[root@linux ~]$ tar -zxvpf /tmp/etc.tar.gz /etc
# 这个 -p 的属性是很重要的,尤其是当您要保留原本⽂件的属性时![root@linux ~]$ tar -N "2005/06/01" -zcvf home.tar.gz /home[root@linux ~]$ tar --exclude /home/dmtsai -zcvf myfile.tar.gz /home/* /etc[root@linux ~]$ cd /tmp
[root@linux tmp]$ tar -cvf - /etc | tar -xvf -1.3 常用选项
1.3.1 -czf
[root@VM-4-17-centos dir1]# tar -czf Greyrat.tgz Greyrat-c:(create)创建。
-z:压缩。
-f:名字。
1.3.2 -xzf
解压到当前路径——
[root@VM-4-17-centos dir1]# tar -xzf Greyrat.tgz
解压包
解压到指定路径:-C(选项)——
[root@VM-4-17-centos dir1]# tar -xzf Greyrat.tgz -C/root1.3.3-cvzf
-v:呈现打包过程。
1.4 实践
#===============================================
# 示例 1: 使用 tar -czf 打包并压缩目录(不显示过程)
#===============================================
# 创建测试目录和文件
[root@VM-4-17-centos dir1]# mkdir -p test_dir
[root@VM-4-17-centos dir1]# echo "测试文件1" > test_dir/file1.txt
[root@VM-4-17-centos dir1]# echo "测试文件2" > test_dir/file2.txt
[root@VM-4-17-centos dir1]# ls ./test_dir
file1.txt  file2.txt
# 打包并压缩 test_dir 目录为 archive.tgz(-c:创建 -z:gzip压缩 -f:指定文件名)
[root@VM-4-17-centos dir1]# tar -czf archive.tgz test_dir
[root@VM-4-17-centos dir1]# ls
archive.tar.gz  test_dir

#==========================================
# 示例 2: 使用 tar -xzf 解压压缩包(不显示过程)
#==========================================
# 先删除原目录
[root@VM-4-17-centos dir1]# rm -rf test_dir
[root@VM-4-17-centos dir1]# ls
archive.tgz
# 解压 archive.tgz(-x:解压 -z:识别gzip压缩 -f:指定压缩包)
[root@VM-4-17-centos dir1]# tar -xzf archive.tgz
[root@VM-4-17-centos dir1]# ls
archive.tgz  test_dir
[root@VM-4-17-centos dir1]# ls -l test_dir
total 8
-rw-r--r-- 1 root root 14 Oct 16 10:28 file1.txt
-rw-r--r-- 1 root root 14 Oct 16 10:28 file2.txt

#=======================================
# 示例 3: 使用 tar -xzf -C 解压到指定目录
#=======================================
# 创建目标目录
[root@VM-4-17-centos dir1]# mkdir -p target_dir
[root@VM-4-17-centos dir1]# ls
archive.tgz  target_dir  test_dir
# 解压到指定目录 target_dir(-C:指定解压路径)
[root@VM-4-17-centos dir1]# tar -xzf archive.tgz -C target_dir
[root@VM-4-17-centos dir1]# ls ./target_dir
test_dir

# ======================================
# 示例 4: 使用 tar -cvzf 打包压缩并显示过程
# ======================================
# -v:显示详细过程(verbose)
[root@VM-4-17-centos dir1]# tar -cvzf visible__archive.tgz test_dir
test_dir/
test_dir/file2.txt
test_dir/file1.txt
[root@VM-4-17-centos dir1]# ls
archive.tgz  target_dir  test_dir  visible__archive.tgz

# ===================================
# 示例 5: 使用 tar -xvzf 解压并显示过程
# ===================================
# 清理已经存在的测试文件
[root@VM-4-17-centos dir1]# rm -rf test_dir
# -v:显示解压的每个文件
[root@VM-4-17-centos dir1]# tar -xvzf visible__archive.tgz
test_dir/
test_dir/file2.txt
test_dir/file1.txt
[root@VM-4-17-centos dir1]# ls
archive.tgz  target_dir  test_dir  visible__archive.tgz

#====================================
#补充:在任意 tar 命令末尾加 &,例如:
#====================================
tar -czf big_archive.tar.gz /path/to/large_dir &  # 后台打包
tar -xzf big_archive.tar.gz -C /target &         # 后台解压
# 所以我们大部分时候也可以不用v
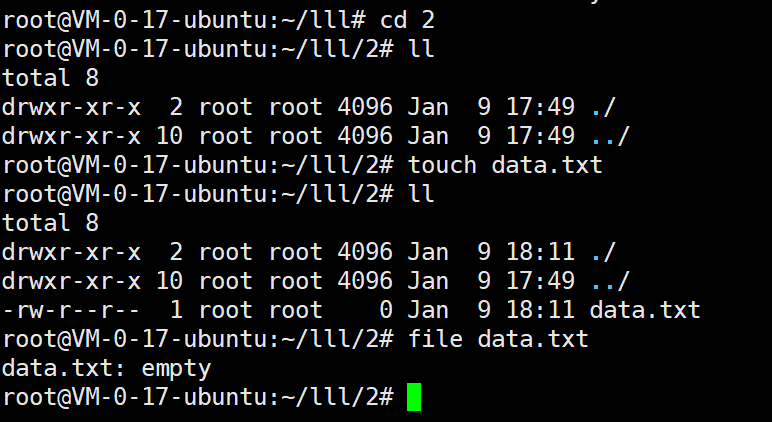
2 file
概念:查看一个文件更加详细的内容。
2.1 常用选项
• -c:详细显⽰指令执⾏过程,便于排错或分析程序执⾏的情形。• -z:尝试去解读压缩⽂件的内容。
语法:file [选项] ⽂件或⽬录...
3.scp
3.1 实践
3.1.1 从本地拷贝文件到远程服务器
scp /path/to/local/file.txt username@remote_server_ip:/path/to/remote/directory/示例:将本地的report.pdf拷贝到 IP 为192.168.1.100的服务器的/home/user/downloads/目录下,登录用户是admin。
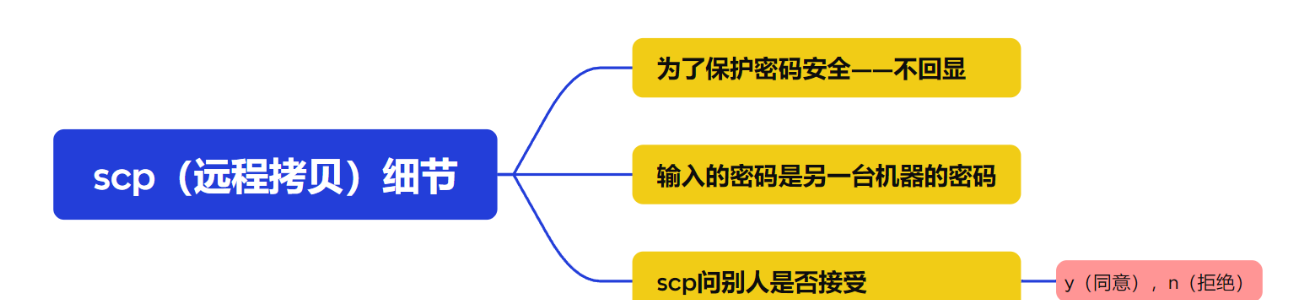
scp ./report.pdf admin@192.168.1.100:/home/user/downloads/执行后:系统会提示您输入admin用户在192.168.1.100这台服务器上的密码。
3.1.2 从远程服务器拷贝文件到本地
scp username@remote_server_ip:/path/to/remote/file.txt /path/to/local/directory/示例:将远程服务器example.com上用户alice家目录下的database.backup文件拷贝到本地的/tmp/目录。
scp alice@example.com:~/database.backup /tmp/备注:这里的~代表用户alice的家目录。
4. bc
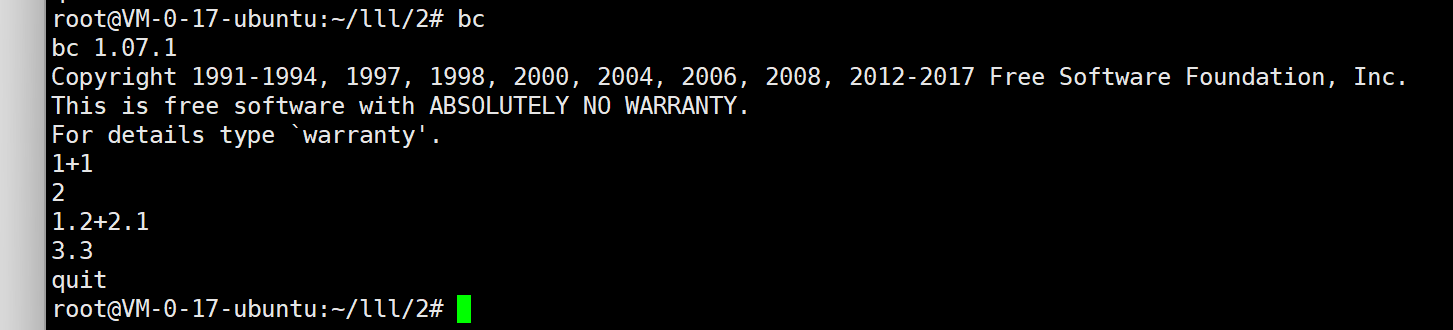
Linux下的计算器

4.1 退出键
敲出quit退出
4.2 示例
还能组合运用

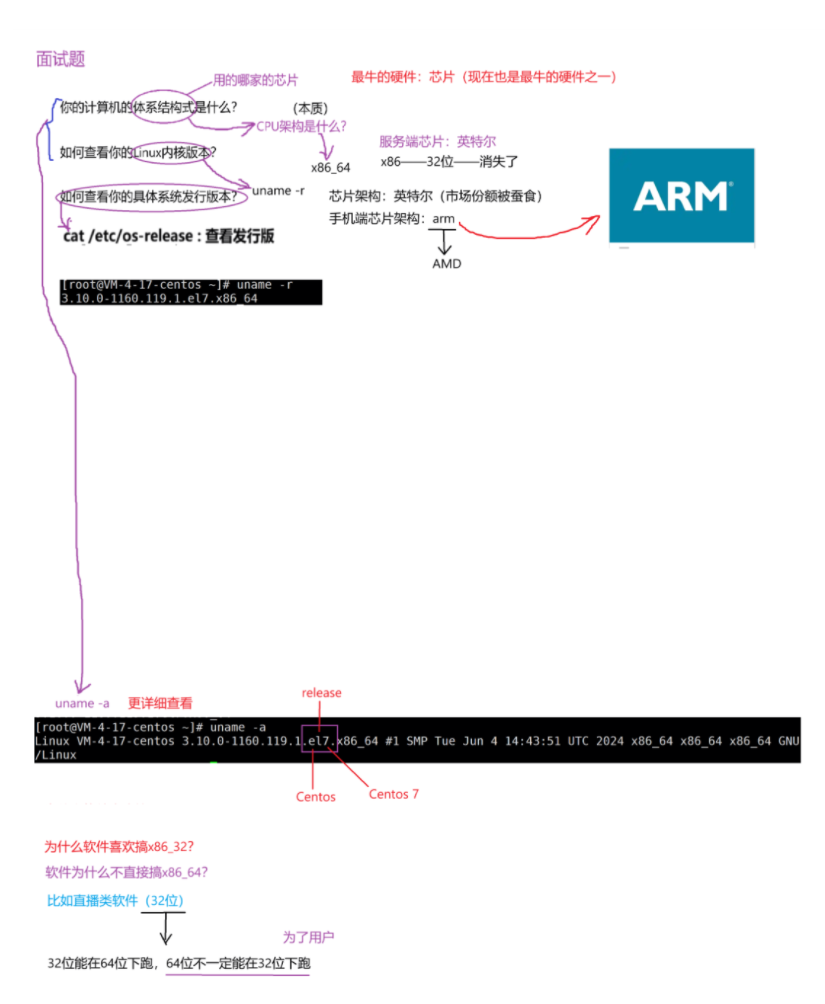
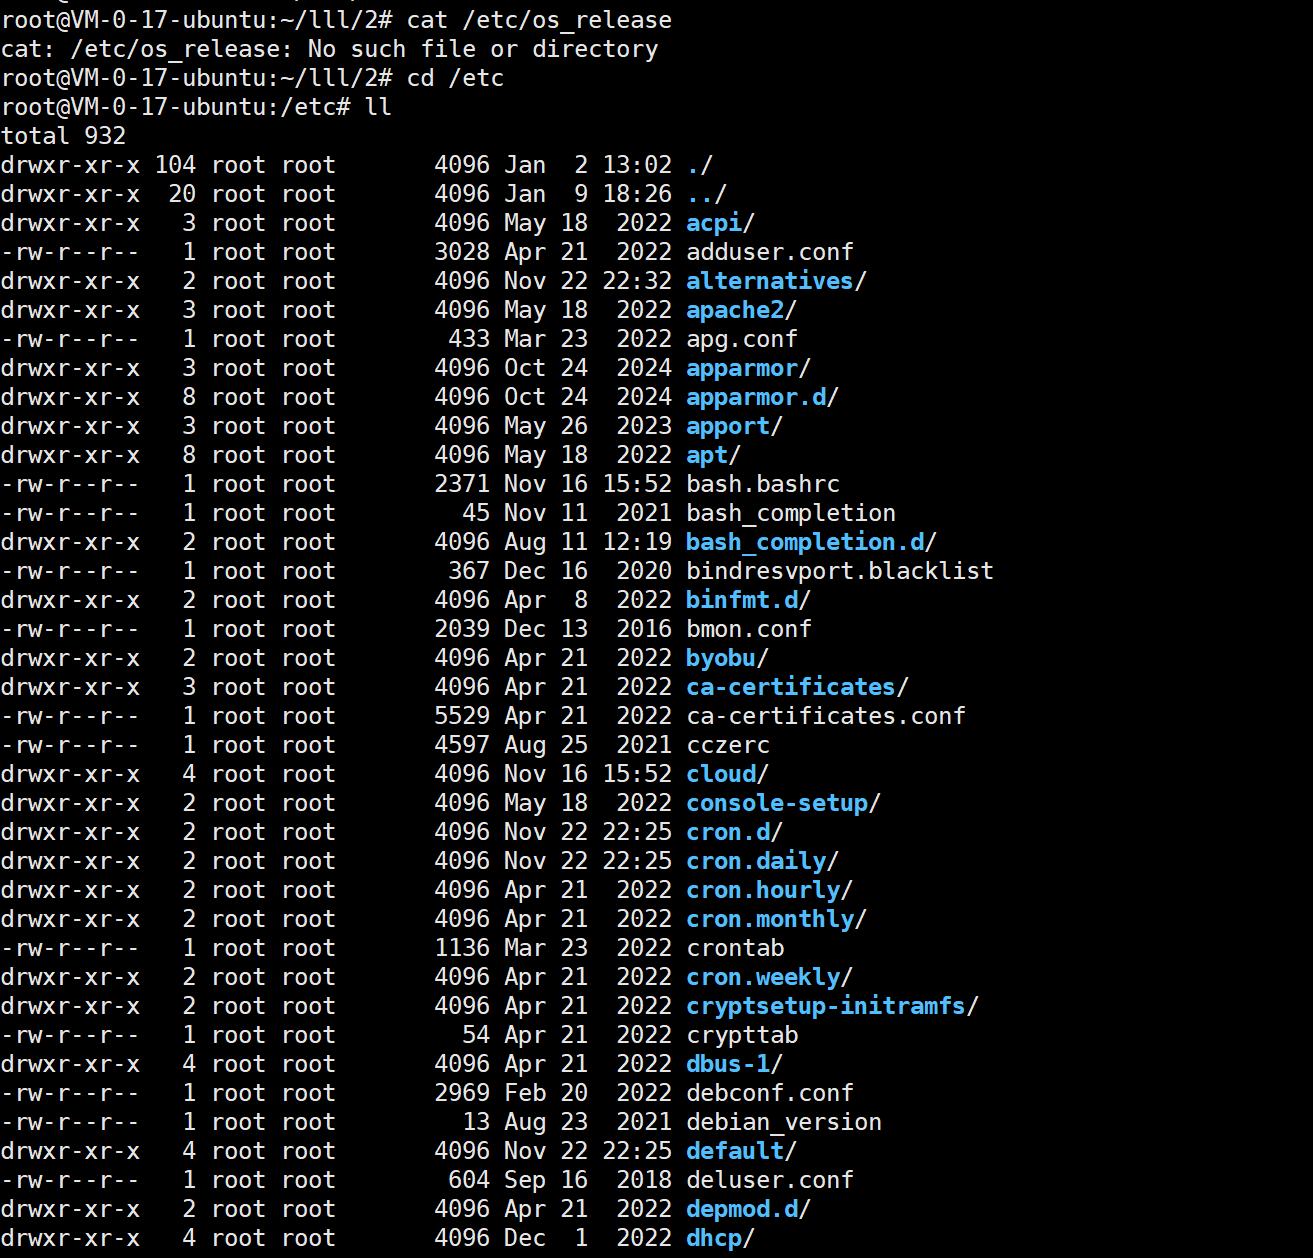
5 . 三个问题
你的计算机的体系结构式是什么?
如何查看你的Linux内核版本?
如何查看你的具体系统发行版本?
6. 热键
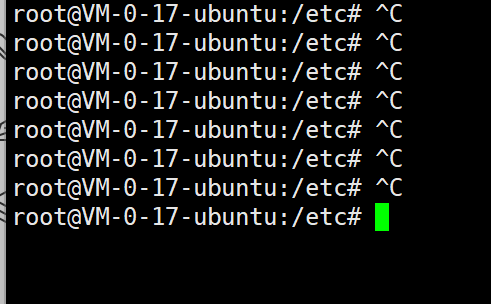
6.1 Ctrl + c
[Ctrl]-c按键---让当前的程序『停掉』。终止异常。
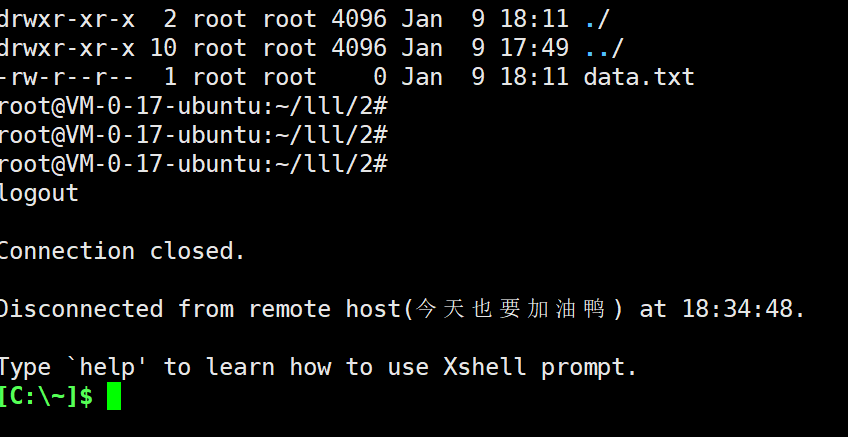
6.2 Ctrl + d
[Ctrl]-d按键---通常代表着:『键盘输⼊结束(End Of File, EOF 戒 End OfInput)』的意思;另外,他也可以⽤来取代exit。就是退出登录。
6.3 Tab
[Tab] 按键——具有 [命令补全] 和 [档案补齐] 的功能。
对命令行进行补齐——常见的命令。
记命令就只要记个大概就能【Tab】找一下,命令的几个字母记得越多越能【Tab】。
啥也不写,直接【Tab】两次,就会先退出登录,再退出XShell。

注意:不一定都能【Tab】出来。
7 history
历史上的所有指令。
7.1 记录上限
历史指令默认上限是1000行,到了1000行,再写一条指令,就会把1000行中最前面的那个顶掉。
新写一个,最老的就被挤出去了。
但是,用环境变量可以改大,这里不展开,后面介绍【环境变量】时会介绍。
7.2 实践
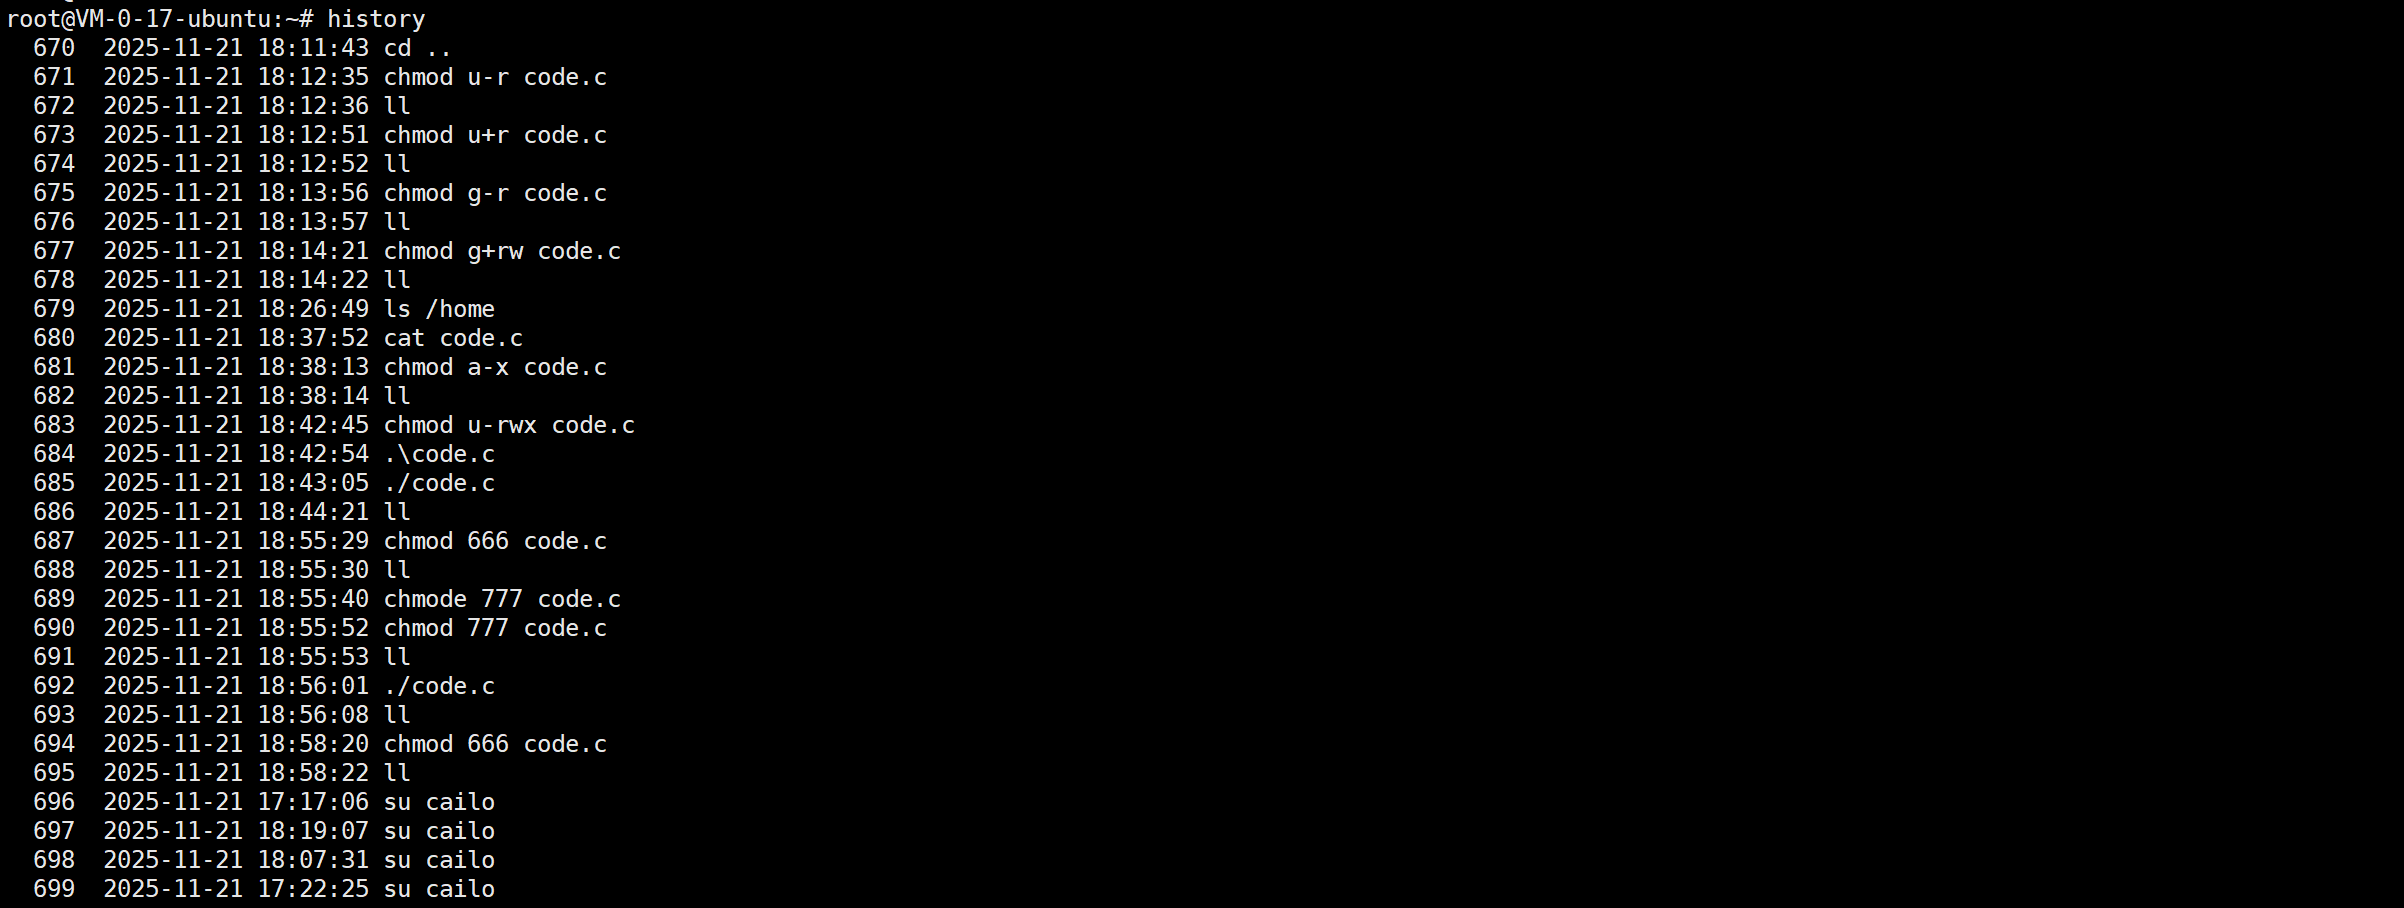
测试是不是1000行

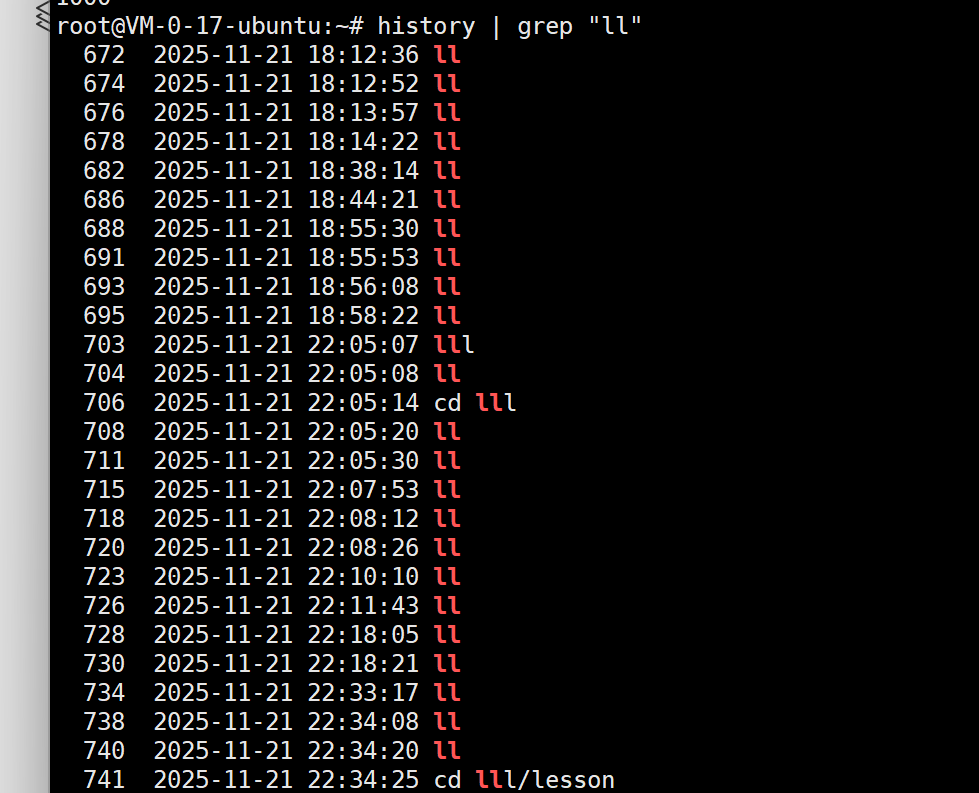
7.3history | grep "[要过滤的指令]"
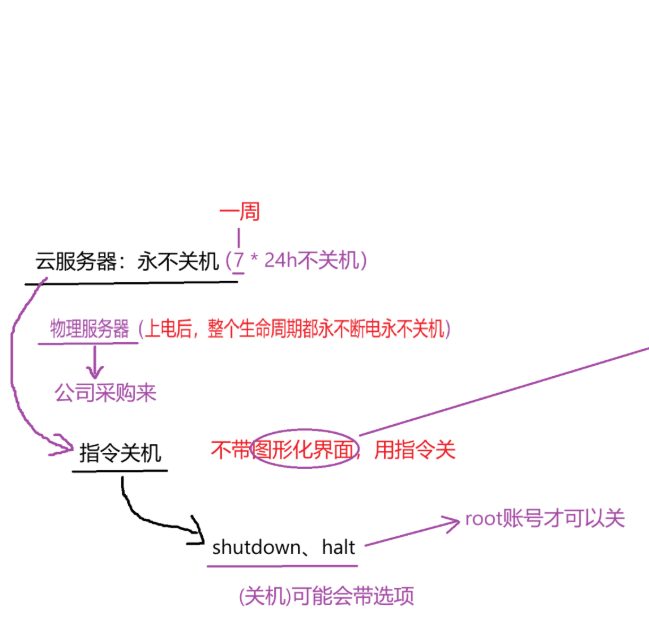
8.云服务器永不关机
8.1 linux
8.2 windows
shutdown \?9. 关机
语法:shutdown [选项]常⻅选项:• -h:将系统的服务停掉后,⽴即关机。• -r:在将系统的服务停掉之后就重新启动• -t sec:-t 后⾯加秒数,亦即『过⼏秒后关机』的意思
9.1 拓展命令
• 安装和登录命令:login、shutdown、halt、reboot、install、mount、umount、chsh、exit、last;• ⽂件处理命令:file、mkdir、grep、dd、find、mv、ls、diff、cat、ln;• 系统管理相关命令:df、top、free、quota、at、lp、adduser、groupadd、kill、crontab;• ⽹络操作命令:ifconfig、ip、ping、netstat、telnet、ftp、route、rlogin、rcp、finger、mail、 nslookup;• 系统安全相关命令:passwd、su、umask、chgrp、chmod、chown、chattr、sudo ps、who;• 其它命令:tar、unzip、gunzip、unarj、mtools、man、unendcode、uudecode。
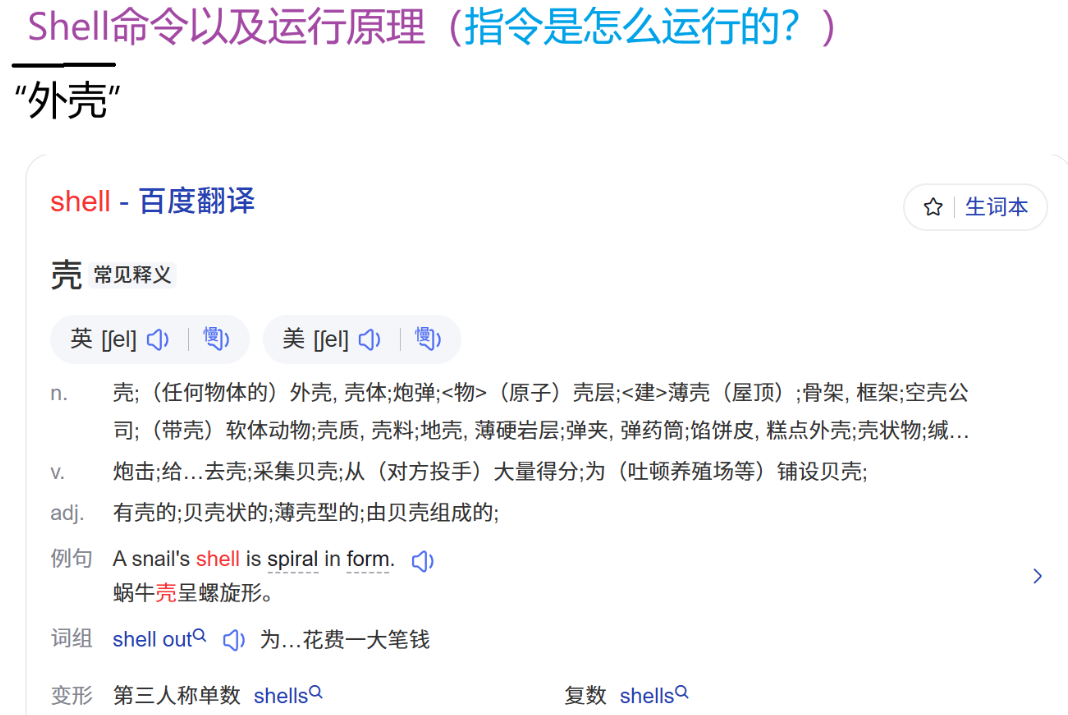
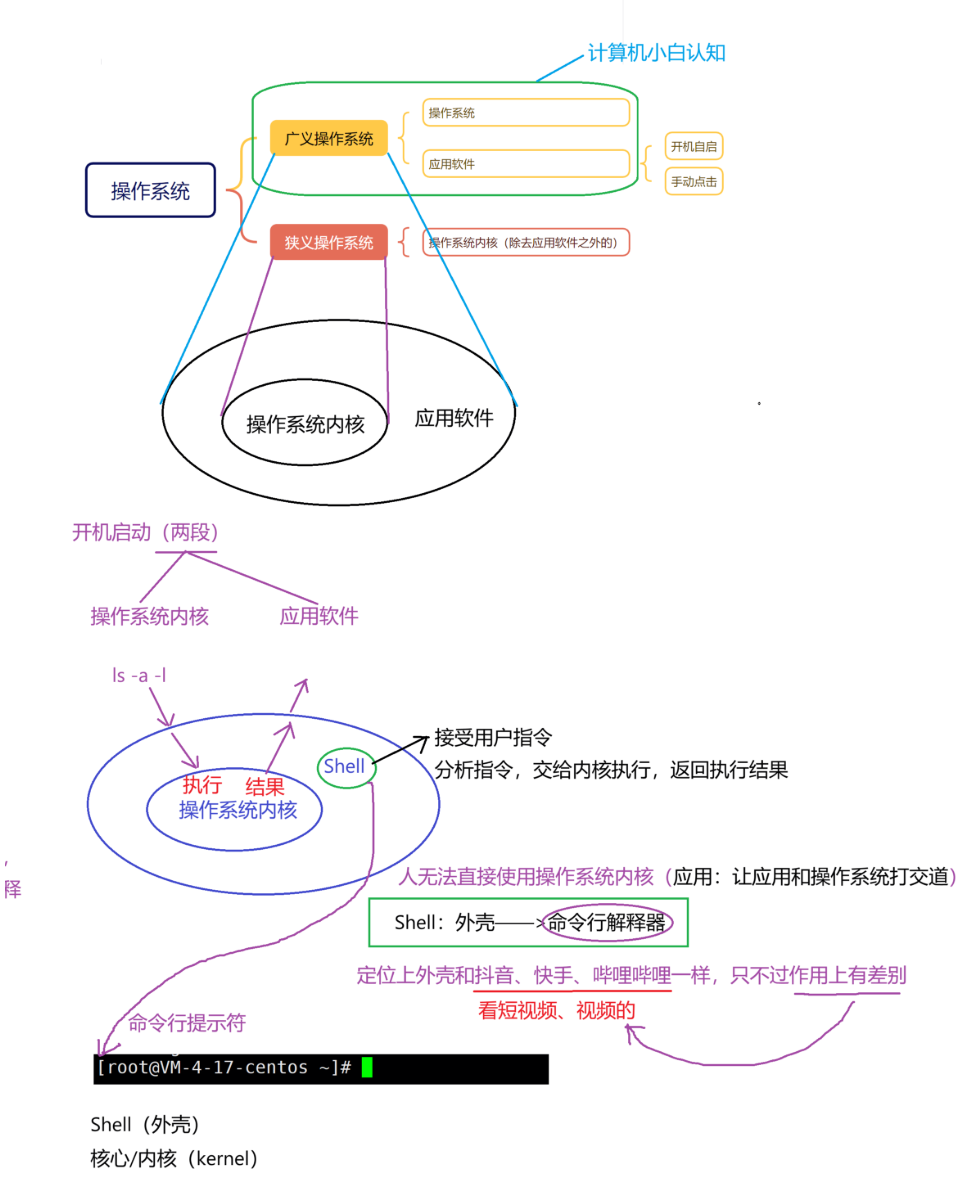
10 shell及其原理
10.1 Shell(外壳)
10.2 操作系统的初步认识
10.3 理解shell
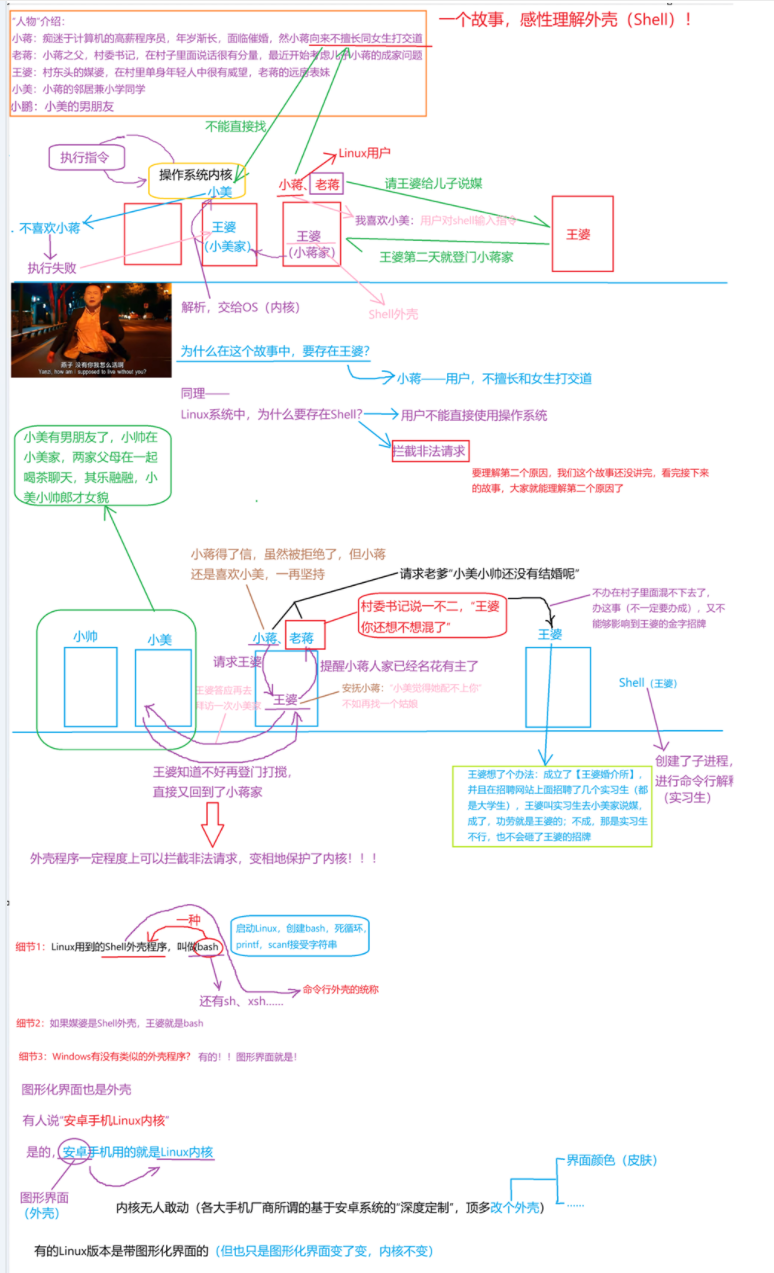
如果说你是一个闷骚且害羞的程序员,那shell就像媒婆,操作系统内核就是你们村头漂亮的且有让你心动的MM小美。你看上了小美,但是有不好意思直接表白,那就让你你家人找媒婆帮你提亲,所有的事情你都直接跟媒婆沟通,由媒婆转达你的意思给小美,而我们找到媒婆姓王,所以我们叫它王婆,它对应我们常使用的bash。
接下来,我们就用一个故事,感性理解Shell(外壳)——

汇聚全球AI编程工具,助力开发者即刻编程。
更多推荐



 22
22 0
0- 0


 已为社区贡献18条内容

所有评论(0)