
linux安装nginx和前端部署vue项目
·
1、打包前端项目
npm run build执行完后会在根目录下生成一个dist文件夹,这个dist文件夹就是我们后面要部署到nginx的东西。
2、将dist文件夹上传到服务器中
自己建一个目录,上传即可(尽量不要在root目录下,可能涉及权限问题)
3、安装配置nginx
3.1 在安装nginx前需要先安装安装gcc、pcre-devel、zlib-devel、openssl-devel
yum -y install gcc pcre-devel zlib-devel openssl openssl-devel
3.2 下载nginx
下载地址:https://nginx.org/download/
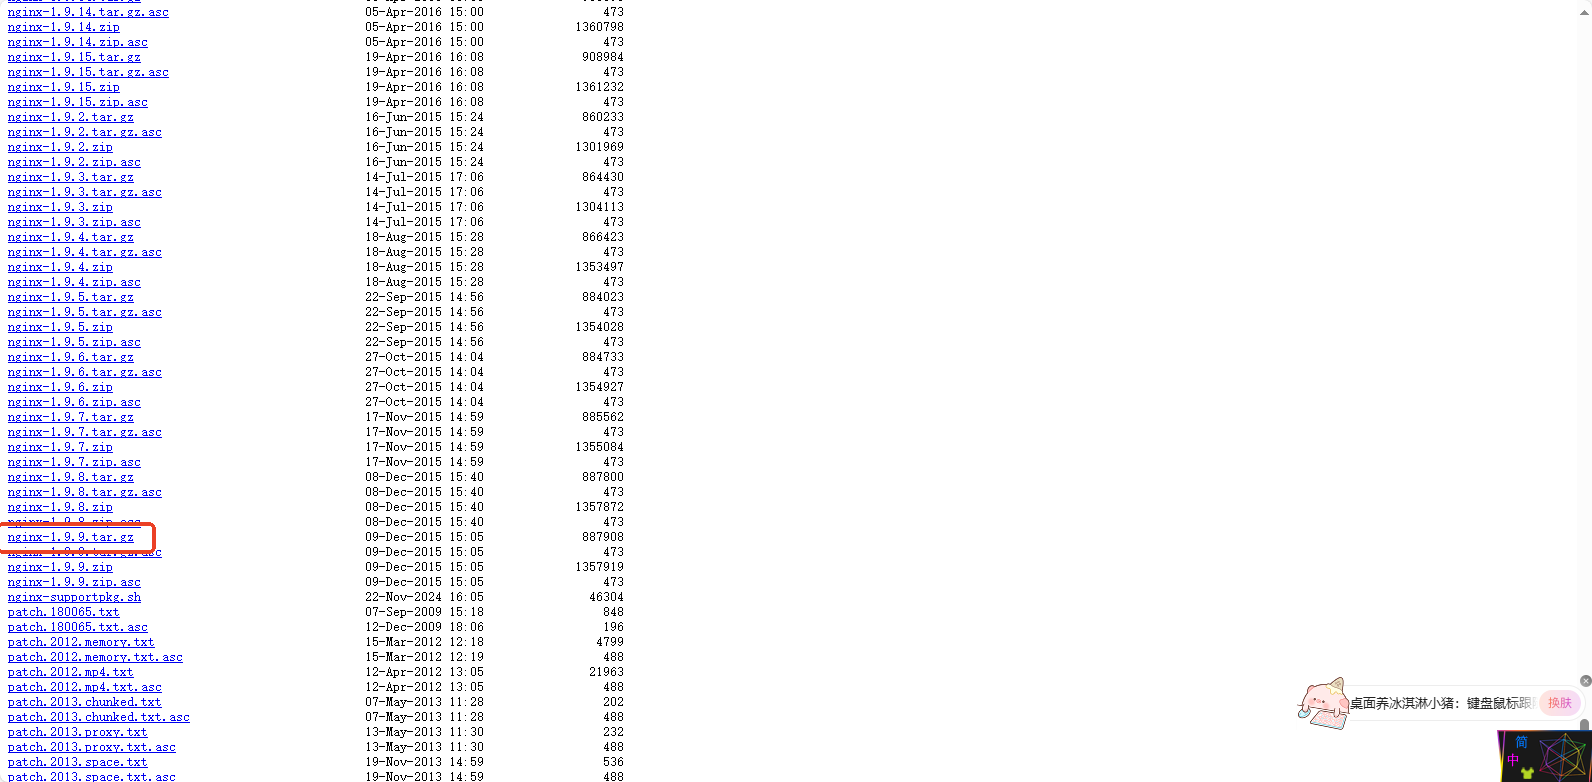
下载图中所选最新版本,移动到/home/kts/ktsworkplace/front/nginx(我准备存放nginx的位置)下
注:也可以先进入到上述目录,然后执行下面这条命令一键下载tar包,更方便
wget http://nginx.org/download/nginx-1.9.9.tar.gz
解压
tar -zxvf nginx-1.9.9.tar.gz
进入nginx目录
cd nginx-1.9.9
进行配置
下面三条命令依次执行,上一个执行完后再执行下一个
./configure --prefix=/home/kts/ktsworkplace/front/nginx
make
make install3.3 修改配置文件
如果有xtcp的话直接打开当前目录/home/kts/ktsworkplace/front/nginx/conf
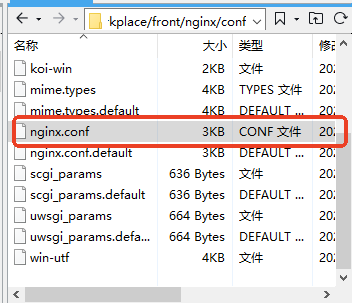
需要修改以下几处
需要注意的是dist文件夹尽量放在根目录下自己建的文件夹里,不要放在root里,可能会涉及权限问题,导致前端报错403
#user  nobody;
worker_processes  1;

#error_log  logs/error.log;
#error_log  logs/error.log  notice;
#error_log  logs/error.log  info;

#pid        logs/nginx.pid;


events {
    worker_connections  1024;
}


http {
    include       mime.types;
    default_type  application/octet-stream;

    #log_format  main  '$remote_addr - $remote_user [$time_local] "$request" '
    #                  '$status $body_bytes_sent "$http_referer" '
    #                  '"$http_user_agent" "$http_x_forwarded_for"';

    #access_log  logs/access.log  main;

    sendfile        on;
    #tcp_nopush     on;

    #keepalive_timeout  0;
    keepalive_timeout  65;

    #gzip  on;

    server {
        listen       8080;
        server_name  localhost;

        #charset koi8-r;

        #access_log  logs/host.access.log  main;

        location / {
            root   html;
            index  index.html index.htm;
        }

        #error_page  404              /404.html;

        # redirect server error pages to the static page /50x.html
        #
        error_page   500 502 503 504  /50x.html;
        location = /50x.html {
            root   html;
        }

        # proxy the PHP scripts to Apache listening on 127.0.0.1:80
        #
        #location ~ \.php$ {
        #    proxy_pass   http://127.0.0.1;
        #}

        # pass the PHP scripts to FastCGI server listening on 127.0.0.1:9000
        #
        #location ~ \.php$ {
        #    root           html;
        #    fastcgi_pass   127.0.0.1:9000;
        #    fastcgi_index  index.php;
        #    fastcgi_param  SCRIPT_FILENAME  /scripts$fastcgi_script_name;
        #    include        fastcgi_params;
        #}

        # deny access to .htaccess files, if Apache's document root
        # concurs with nginx's one
        #
        #location ~ /\.ht {
        #    deny  all;
        #}
    }


    # another virtual host using mix of IP-, name-, and port-based configuration
    #
    #server {
    #    listen       8000;
    #    listen       somename:8080;
    #    server_name  somename  alias  another.alias;

    #    location / {
    #        root   html;
    #        index  index.html index.htm;
    #    }
    #}


    # HTTPS server
    #
    #server {
    #    listen       443 ssl;
    #    server_name  localhost;

    #    ssl_certificate      cert.pem;
    #    ssl_certificate_key  cert.key;

    #    ssl_session_cache    shared:SSL:1m;
    #    ssl_session_timeout  5m;

    #    ssl_ciphers  HIGH:!aNULL:!MD5;
    #    ssl_prefer_server_ciphers  on;

    #    location / {
    #        root   html;
    #        index  index.html index.htm;
    #    }
    #}

}
修改listen 后面的监听位置(此处我修改为8080),具体根据前端代码的实际情况去选取监听端口位置,至于为什么要进行修改部分原因如下:
在Linux系统中,端口号小于1024的端口(包括80端口)是特权端口,只有root用户或具有相应权限的进程才能绑定。
4、启动nginx
cd /home/kts/ktsworkplace/front/nginx/sbin
./nginx //启动nginx
启动成功在浏览器中输入你前端的地址。
如果成功则显示图中Welcome to nginx!
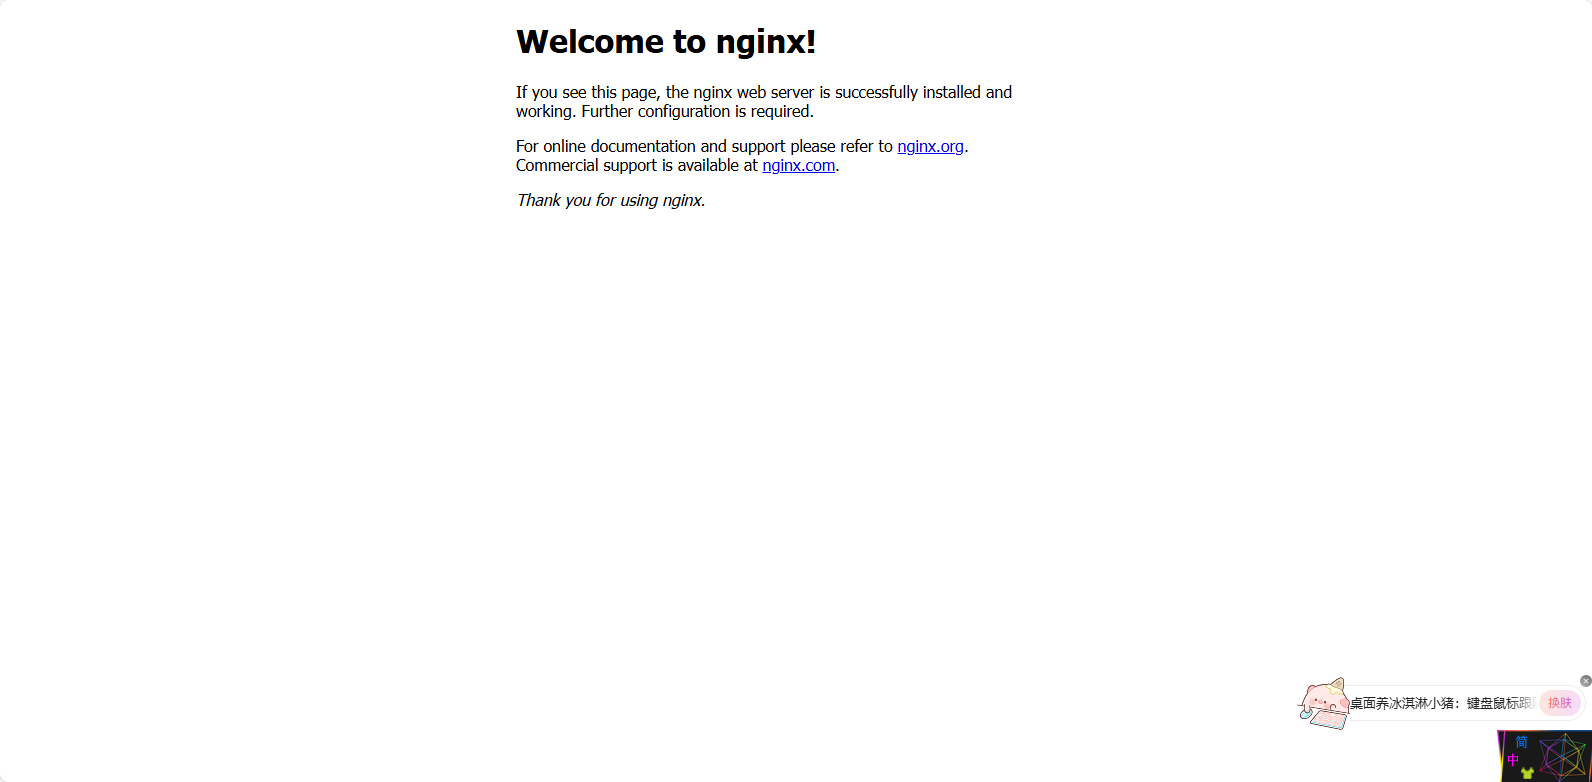
5、当之后每次修改配置文件后,nginx都要进行重启
# 未配置环境变量使用绝对路径运行
/home/kts/ktsworkplace/front/nginx/sbin/nginx -s reload
汇聚全球AI编程工具,助力开发者即刻编程。
 4
4 0
0- 0


 已为社区贡献1条内容

所有评论(0)