
Python pytesseract OCR+Selenium模拟【识别并提交文字型验证码】实现账号登录_以古诗文网为例
·
本文以古诗文网[https://www.gushiwen.cn/user/login.aspx]账号登录为例,利用PIL、OpenCV以及pytesseract光学字符识别工具从文字型验证码中提取文字内容,并结合Selenium库模拟人类行为,实现文字型验证码账号登录。
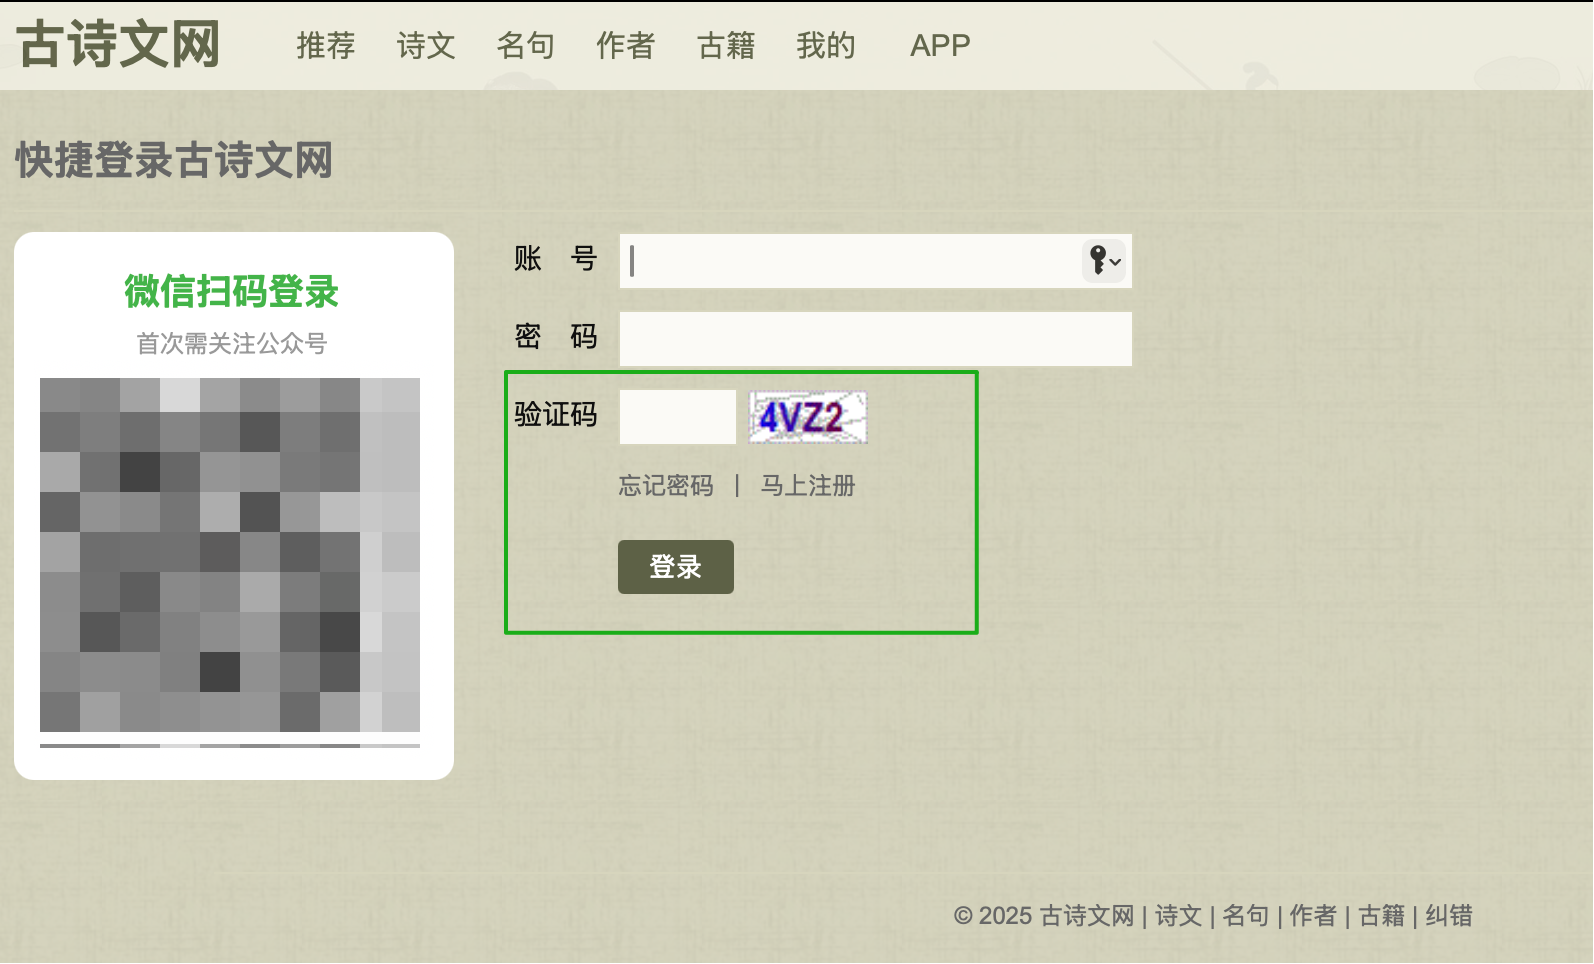
#完整代码展示:
from selenium import webdriver
from selenium.webdriver.chrome.options import Options
from selenium.webdriver.chrome.service import Service
from selenium.webdriver.common.by import By
from selenium.webdriver.support import expected_conditions as EC
from selenium.webdriver.support.ui import WebDriverWait
import time
import pytesseract
from PIL import Image
import cv2
import os

#设计函数 读取验证码中文字
def read_imgCode(path):       #path为验证码图片本地路径
    #原图为非标准格式,须用PIL转存后再用OpenCV读取
    img = Image.open(path)
    img.save('ImgCode.png')
    image = cv2.imread('ImgCode.png')

    #新图保存后删除旧图
    if os.path.exists(path):
       os.remove(path)

    #均值漂移分割 平滑处理
    image_pyr = cv2.pyrMeanShiftFiltering(image, sp=50, sr=50)
    #灰度
    image_gray = cv2.cvtColor(image_pyr, cv2.COLOR_BGR2GRAY)
    #二值化处理
    ret, image_binary = cv2.threshold(image_gray, 0, 255, cv2.THRESH_BINARY_INV|cv2.THRESH_OTSU)   #ret 二值化自适应阈值
    #开操作:先腐蚀后膨胀
    kernel1 = cv2.getStructuringElement(cv2.MORPH_RECT, (3, 3))
    bin1 = cv2.morphologyEx(image_binary, cv2.MORPH_OPEN, kernel1)

    kernel2 = cv2.getStructuringElement(cv2.MORPH_RECT, (2, 2))
    bin2 = cv2.morphologyEx(bin1, cv2.MORPH_OPEN, kernel2)
    #取反
    inverted = cv2.bitwise_not(bin2)

    #将处理后图像转化为PIL图像
    final = Image.fromarray(inverted)
    #读取文字
    text = pytesseract.image_to_string(final, lang='eng+chi_sim')
    return text

#初始化driver+配置条件
service = Service(executable_path='/usr/local/bin/chromedriver')

options = Options()
options.add_argument('--user-agent=Mozilla/5.0 (Macintosh; Intel Mac OS X 10_15_7) AppleWebKit/537.36 (KHTML, like Gecko) Chrome/137.0.0.0 Safari/537.36')
options.add_argument('--disable-blink-features=AutomationControlled')

options.add_experimental_option('excludeSwitches',['enable-automation'])
options.add_experimental_option('useAutomationExtension', False)

driver = webdriver.Chrome(service=service, options=options)

#打开目标网页
driver.get('https://www.gushiwen.cn/user/login.aspx')
#页面最大化
driver.maximize_window()

time.sleep(2)

#输入账号密码
account = WebDriverWait(driver,5).until(EC.presence_of_element_located((By.XPATH, '//input[@id="email" and @onblur="testEmail()"]')))
account.send_keys('输入你的账号')

time.sleep(1)

password = driver.find_element(By.XPATH, '//input[@id="pwd" and @onblur="testPwd()"]')
password.send_keys('输入你的密码')

#全页面截图至本地
driver.save_screenshot('screen.png')
full_screen = cv2.imread('screen.png')

#截取验证码区域
codeImage = full_screen[390: 390+50,1050: 1050+115]
cv2.imwrite('Img_code.png', codeImage)

#识别图中文字
text = read_imgCode('Img_code.png')
print(text)

time.sleep(2)

#输入验证码后自动登录
code_input = driver.find_element(By.XPATH, '/html/body/form[1]/div[4]/div[4]/input[@id="code" and @type="text"]')
code_input.send_keys(text)

#页面展示
time.sleep(3)

#退出浏览器
driver.quit()
#具体过程分步讲解:
1.创建driver对象并初始化配置条件
#初始化driver+配置条件
#1 手动指明chromedriver路径。从selenium 4开始,须使用Service类来驱动浏览器
service = Service(executable_path='/usr/local/bin/chromedriver')  #此处请用你自己的chromedriver本地路径

#2 创建Options对象,设置启动参数,隐藏自动化特征
options = Options()
#加入ua头
options.add_argument('--user-agent=Mozilla/5.0 (Macintosh; Intel Mac OS X 10_15_7) AppleWebKit/537.36 (KHTML, like Gecko) Chrome/137.0.0.0 Safari/537.36')
#关闭chrome自动化脚本,进一步模拟真人操作
options.add_argument('--disable-blink-features=AutomationControlled')
#禁用自动化控制标志
options.add_experimental_option('excludeSwitches',['enable-automation'])
#禁用自动化扩展
options.add_experimental_option('useAutomationExtension', False)

#初始化浏览器对象
driver = webdriver.Chrome(service=service, options=options)
2.打开目标网页并输入账号密码
#打开目标网页
driver.get('https://www.gushiwen.cn/user/login.aspx')

#页面最大化
driver.maximize_window()

#休眠一下
time.sleep(2)

#输入账号
account = WebDriverWait(driver,5).until(EC.presence_of_element_located((By.XPATH, '//input[@id="email" and @onblur="testEmail()"]')))
account.send_keys('请输入你的账号')

#休眠一下
time.sleep(1)

#输入密码
password = driver.find_element(By.XPATH, '//input[@id="pwd" and @onblur="testPwd()"]')
password.send_keys('请输入你的密码')

#(过程中任何一次time.sleep()都是为了模拟真人操作有所停顿)
3.识别验证码文字
本文对于目标网站中验证码采用的是先对全页面做整体截图保存,随后局部截取图中验证码部分,并利用PIL、OpenCV对原图进行边缘平滑、灰度转化、二值化等一系列处理,再利用pytesseract识别文字。
#屏幕截图至本地
driver.save_screenshot('screen.png')

#读取屏幕截图
full_screen = cv2.imread('screen.png')

#局部截取验证码,其中验证码左上角像素坐标为(1050, 390),验证码自身宽度x长度为"115 x 50"
codeImage = full_screen[390: 390+50,1050: 1050+115]

#保存验证码图片至本地
cv2.imwrite('Img_code.png', codeImage)
截取后验证码图片: 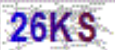
随后对验证码原图进行多重处理,并封装为一个完整函数⬇️:
#设计函数 读取验证码中文字
def read_imgCode(path):      #path为验证码本地路径
    #原图为非标准格式,无法被OpenCV直接读取。须用PIL重新保存图像为标准png格式后,再用OpenCV读取
    img = Image.open(path)
    img.save('ImgCode.png')
    image = cv2.imread('ImgCode.png')     #图1

    #新图保存后删除旧图
    if os.path.exists(path):
       os.remove(path)

    #均值漂移分割 平滑处理
    image_pyr = cv2.pyrMeanShiftFiltering(image, sp=50, sr=50)     #图2
    #转化为灰度图
    image_gray = cv2.cvtColor(image_pyr, cv2.COLOR_BGR2GRAY)     #图3
    #二值化处理
    ret, image_binary = cv2.threshold(image_gray, 0, 255, cv2.THRESH_BINARY_INV|cv2.THRESH_OTSU)   #image_binary 图4,ret 二值化自适应阈值
    #开操作:先腐蚀后膨胀
    kernel1 = cv2.getStructuringElement(cv2.MORPH_RECT, (3, 3))
    bin1 = cv2.morphologyEx(image_binary, cv2.MORPH_OPEN, kernel1)     #图5

    kernel2 = cv2.getStructuringElement(cv2.MORPH_RECT, (2, 2))
    bin2 = cv2.morphologyEx(bin1, cv2.MORPH_OPEN, kernel2)    #图6
    #取反 反转黑白图像
    inverted = cv2.bitwise_not(bin2)     #图7

    #图片展示(可选):
    cv2.imshow('1', image)
    cv2.imshow('2', image_pyr)
    cv2.imshow('3', image_gray)
    cv2.imshow('4', image_binary)
    cv2.imshow('5', bin1)
    cv2.imshow('6', bin2)
    cv2.imshow('7', inverted)
    cv2.waitKey(0)
    cv2.destroyAllWindows()

    final = Image.fromarray(inverted)
    #识别图中文字,参数“lang=“为指定语言包,此处为“英文+简体中文”
    text = pytesseract.image_to_string(final, lang='eng+chi_sim')
    return text
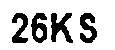
图1至图7展示如下⬇️:
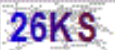 -->
--> -->
-->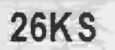 -->
-->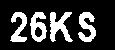 -->
-->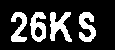 -->
-->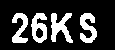 -->
-->
识别后结果⬇️:
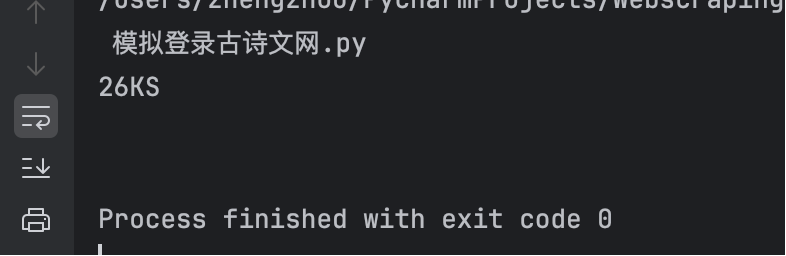
4.提交验证码结果并完成登录
#识别图中文字
text = read_imgCode('Img_code.png')
print(text)

time.sleep(2)

#输入验证码后页面自动跳转登录
code_input = driver.find_element(By.XPATH, '/html/body/form[1]/div[4]/div[4]/input[@id="code" and @type="text"]')
code_input.send_keys(text)

#页面展示
time.sleep(3)

#关闭浏览器
driver.quit()
到此,整个代码过程结束。
=====番外篇=====
但是❗️❗️❗️可能就有聪明的宝子要问了:为什么要截图提取验证码图片,而不是利用requests.get()抓取验证码url中图片呢?这是因为目标网站中给出的验证码url地址“https://www.gushiwen.cn/RandCode.ashx”是随时随地更新验证码的,在每一次刷新古诗文网站、或是单独点击该验证码网页都会重新生成一个验证码。
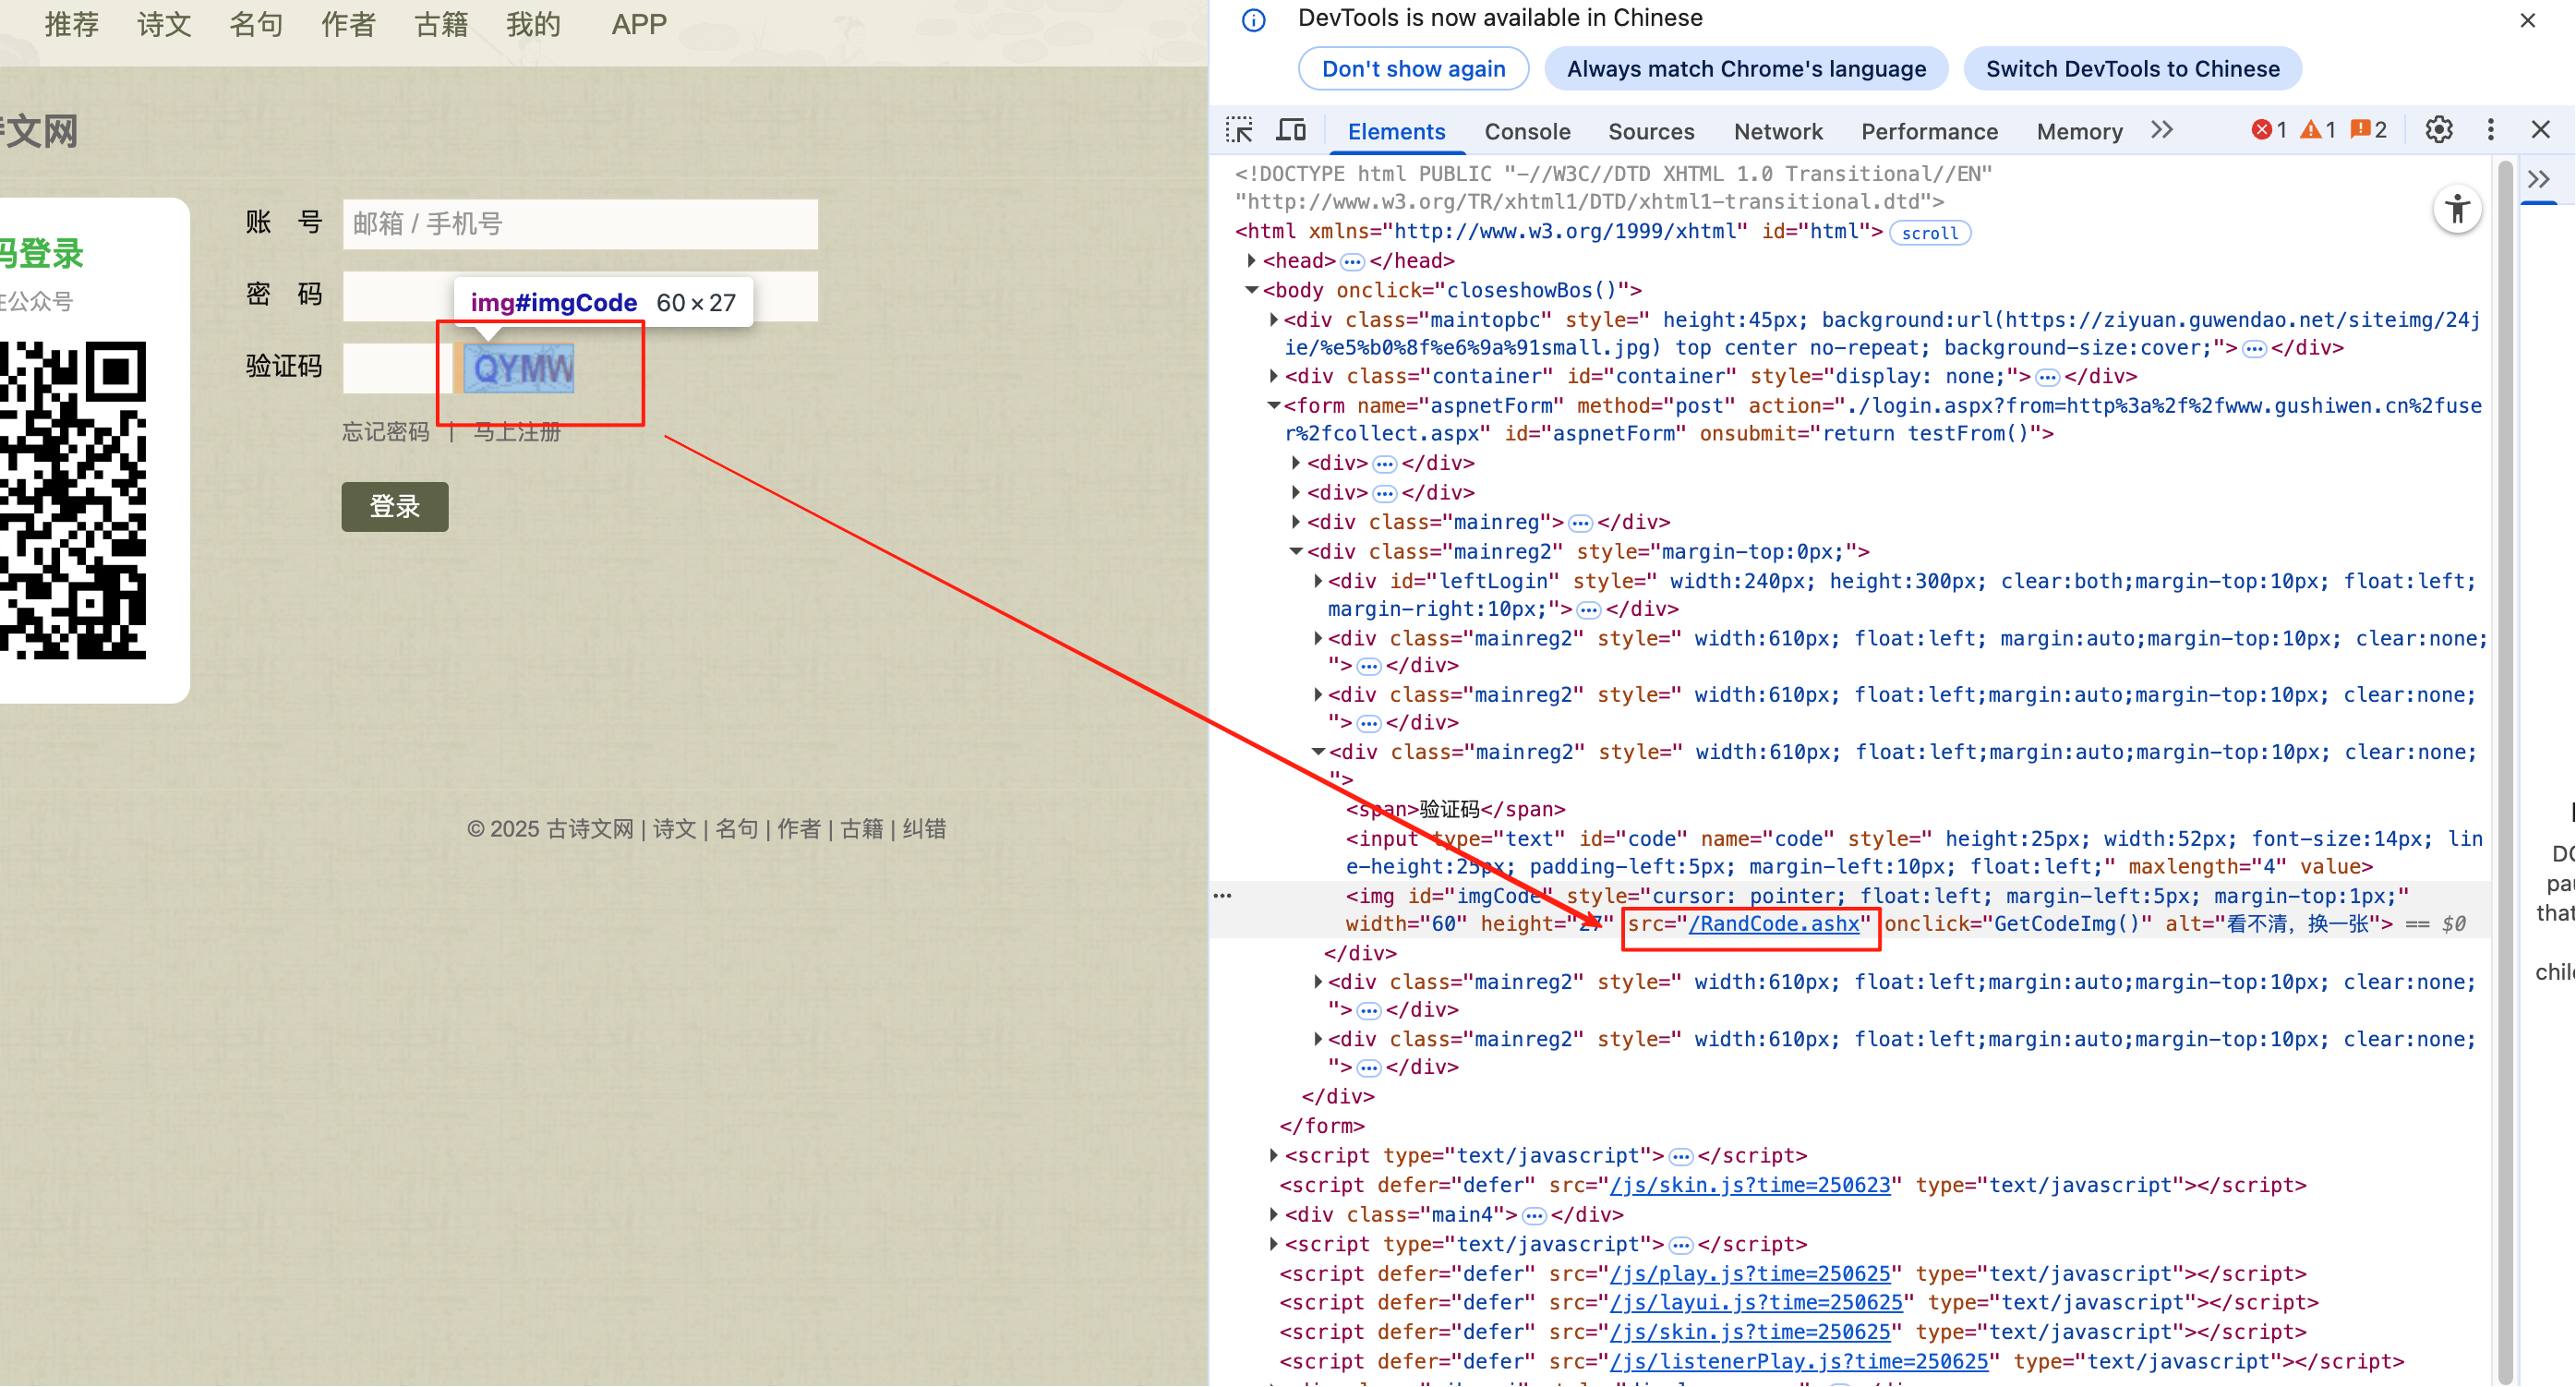
如果执行以下代码,那么在账号、密码输入阶段中网页给出的验证码和driver抓取url并发送请求下载到的验证码会不一样,造成输入结果验证失败。
...
--以上为账号、密码输入阶段的代码段--

#设计函数 下载验证码
def get_imgCode(url):
    with requests.get(url, headers={'User-Agent':ua().random}) as response:
        with open('imgCode1.png', mode='wb') as file:
            file.write(response.content)

#下载验证码图片至本地
imgCode_url = driver.find_element(By.XPATH, '//*[@id="imgCode"]').get_attribute('src')

#下载验证码至本地
get_imgCode(imgCode_url)

--以下为验证码识别代码段--
...
#For example
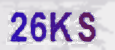
登录页面展示的验证码是:
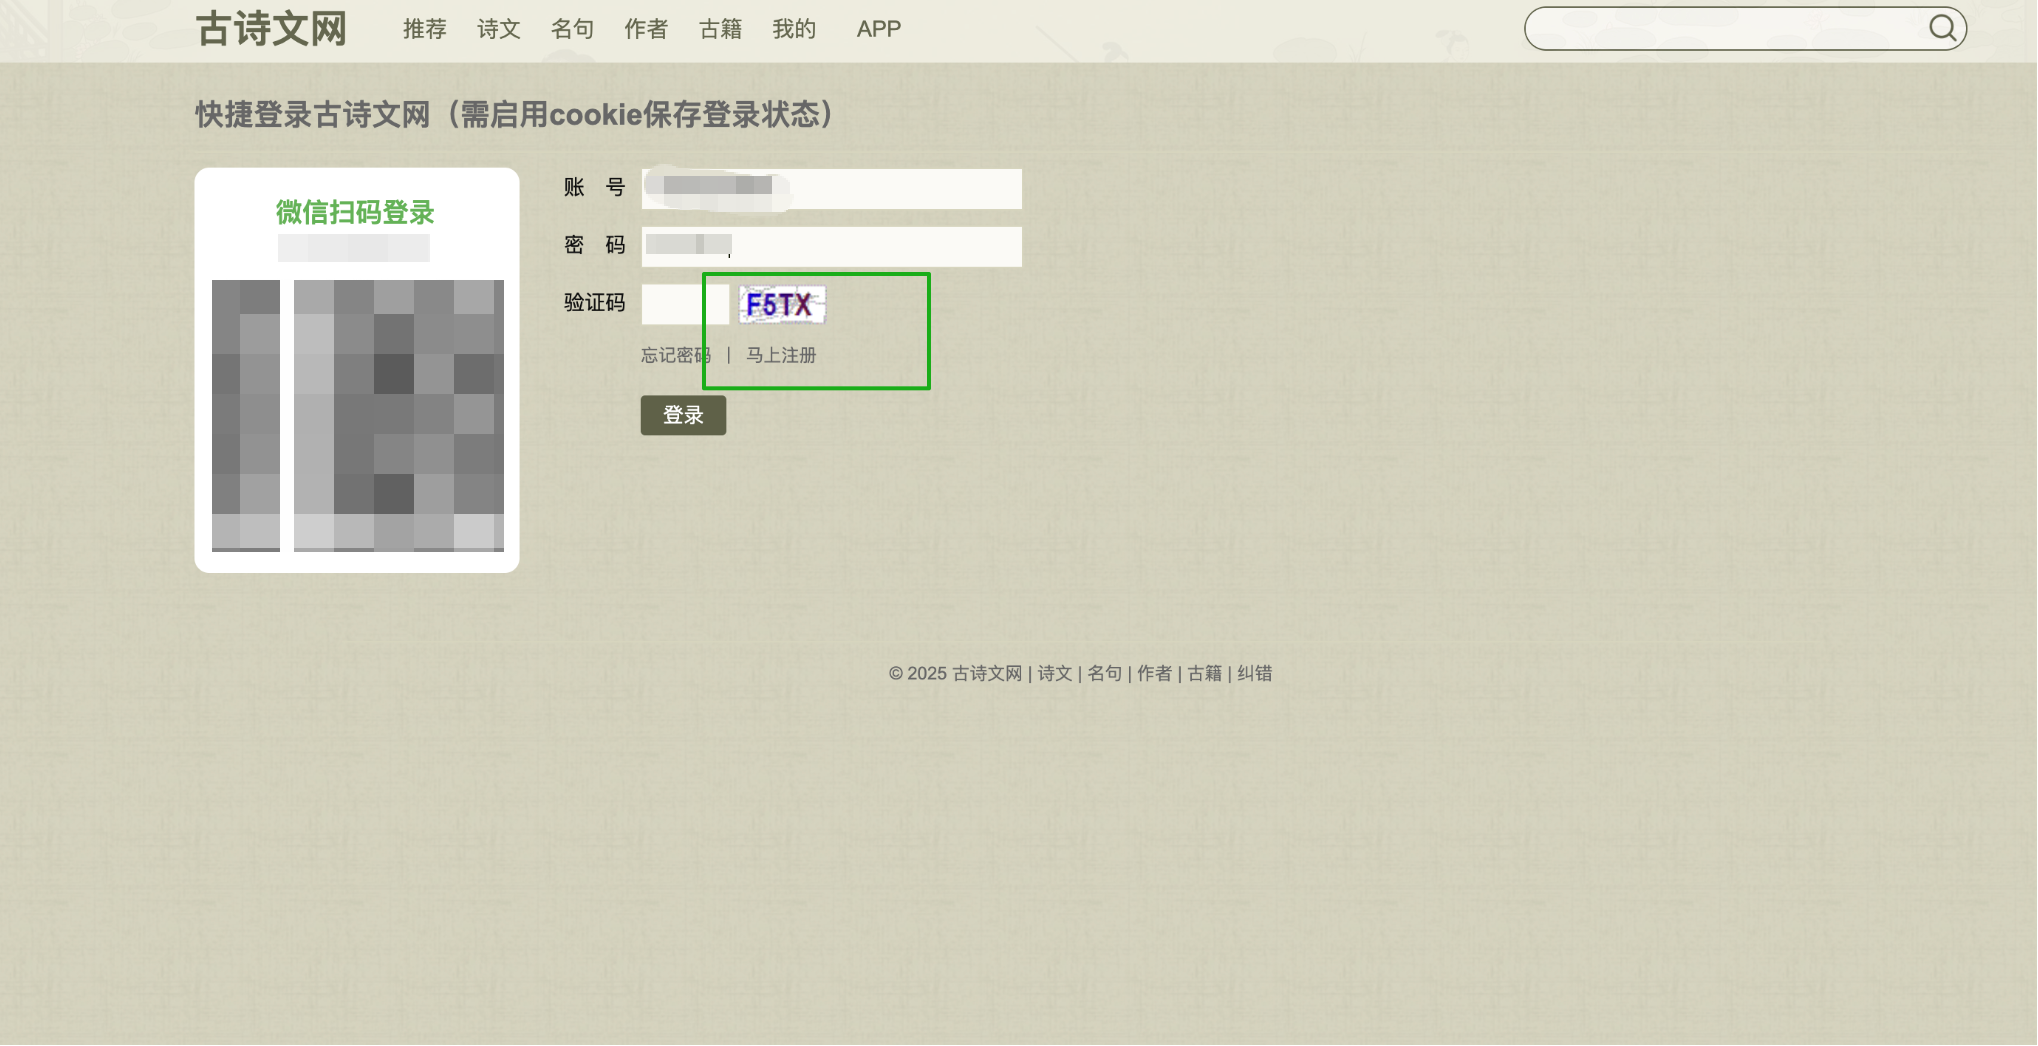
但浏览器抓取到的验证码是:
over~
本文仅作经验分享交流用,欢迎大家留言探讨哦~

汇聚全球AI编程工具,助力开发者即刻编程。
更多推荐

 19
19 0
0- 0


 已为社区贡献1条内容

所有评论(0)